
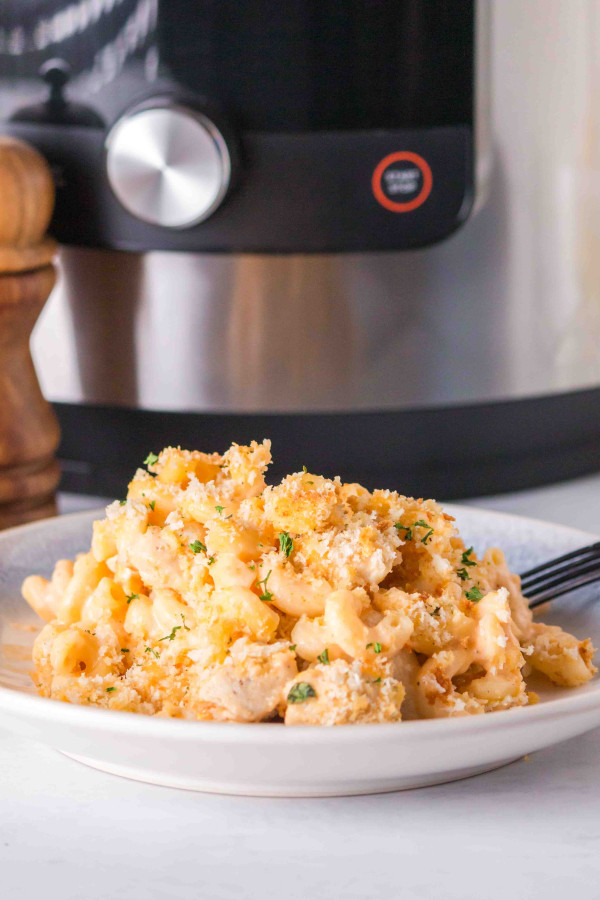
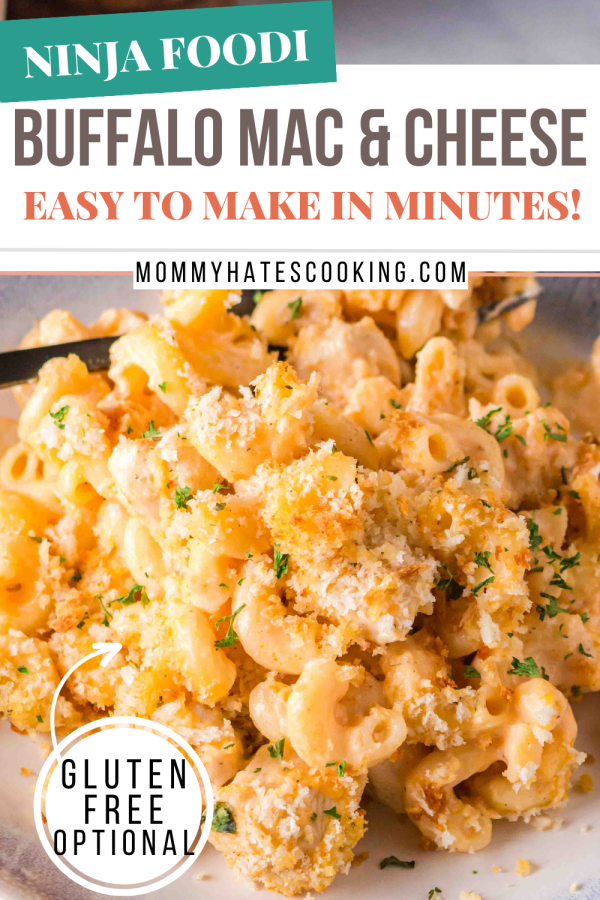
Make the BEST easy dinner with Ninja Foodi Buffalo Macaroni and Cheese, plus it can be made gluten-free too!
If you’ve seen recipes for Instant Pot Buffalo Chicken Mac, now you can make it in your own Ninja Foodi too with this twist on traditional macaroni and cheese.

Most Instant Pot Recipes can easily be adapted into Ninja Foodi Recipes. Keep this in mind if you ever see Instant Pot Recipes that you’d love to try, you can use your Ninja Foodi Multi-Cooker!
More Ninja Foodi Mac and Cheese Recipes:
Traditional Ninja Foodi Macaroni and Cheese
Ninja Foodi Jalapeno Macaroni and Cheese
What do you need for Buffalo Macaroni and Cheese?
Buffalo Macaroni and Cheese will be a process using both the Saute and Air Crisp function of your Ninja Foodi. This means that you must be using the Ninja Foodi Multi-Cooker to make this recipe. This can be used with the model that has one lid or the one that has the pressure cooking lid separate, either one will work.
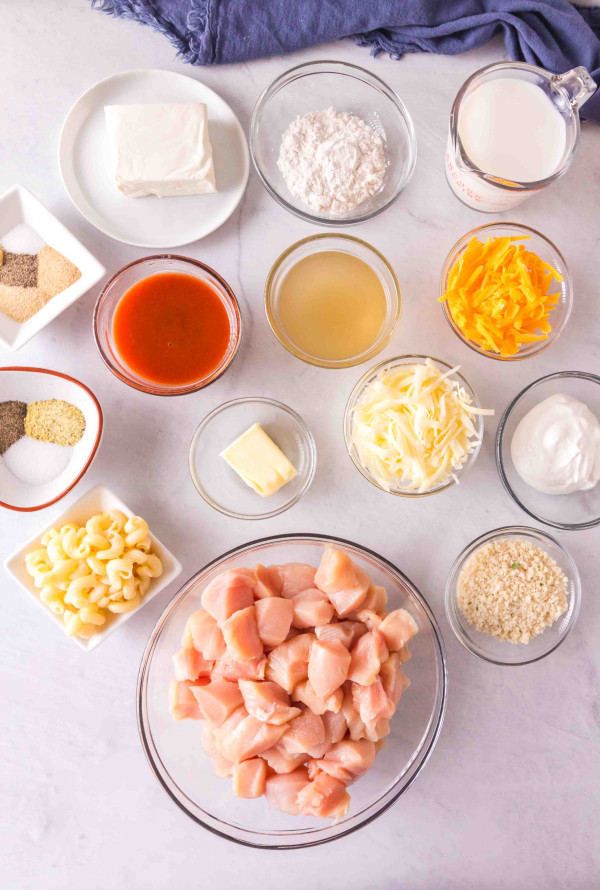
Along with the multi-cooker, the following ingredients will be needed:
- Salted Butter
- Boneless Skinless Chicken Breast
- Salt
- Lemon Pepper
- Ground Black Pepper
- Gluten-Free or Regular All-Purpose Flour
- Chicken Broth
- Milk
- Garlic Powder
- Ground Mustard
- Buffalo Hot Sauce such as Franks Redhot
- Shredded Cheddar Cheese
- Shredded Mozzarella Cheese
- Elbow Macaroni or Gluten-Free Elbow Macaroni
- Cream Cheese
- Sour Cream
- Gluten-Free or Regular Breadcrumbs
In regards to the type of cheese used, it’s best to use a block of cheese and shred it by hand with a grater. This will allow the cheese to fully melt. The pre-shredded cheese has ingredients in it to keep it from melting as well.

Each of these ingredients will be used in different steps with the recipe, the full ingredient list will be in the recipe card below.
How do you make this gluten-free?
The first swap is the pasta, use a Gluten-Free Elbow Macaroni. We prefer to use the Target Brand or Barilla, these tend to not have a slimy texture after pressure cooking.
Along with the pasta, you will also want to use gluten-free all-purpose flour and gluten-free bread crumbs. The flour should be a 1:1 swap such as Gluten-Free Bob’s Red Mill, Better Batter, or King Arthur Gluten-Free Flour.
These will be the only swaps needed but as always check all ingredients before using.
Tips for Making Ninja Foodi Buffalo Macaroni and Cheese:
The first thing that needs to be done when making this recipe is to prepare your pasta. This can be done on the stovetop or using the Ninja Foodi pot. This is completely up to your preference.
If you choose to use the Ninja Foodi, add your pasta to the pot of the Ninja Foodi along with 4 cups of water and then pressure cook on high pressure for half the time listed on the boxed pasta.
Once the timer goes off, quickly release the pressure by moving the nozzle to VENT and releasing all of the pressure.
When the pasta is cooked it can be set aside while using the SAUTE function to prepare the buffalo chicken and the sauce.
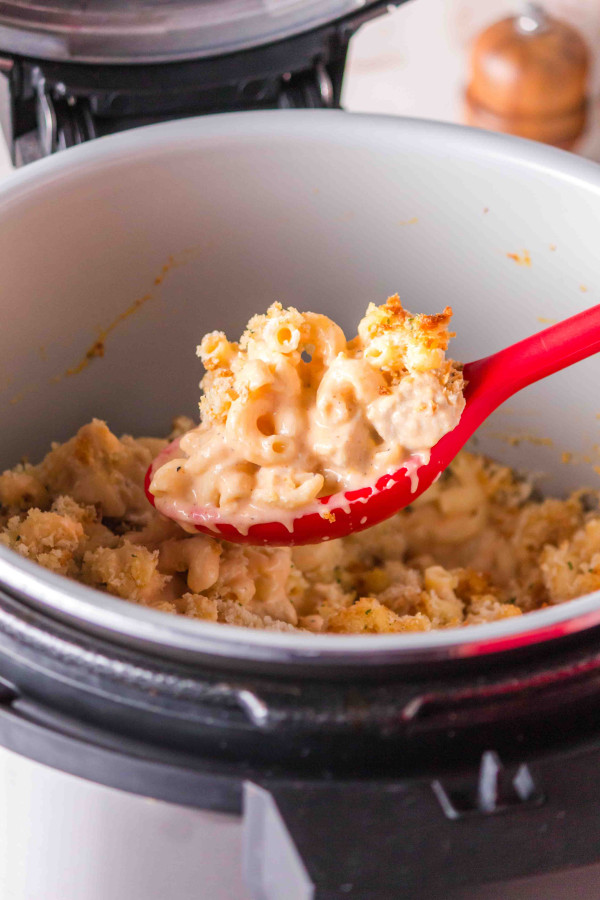
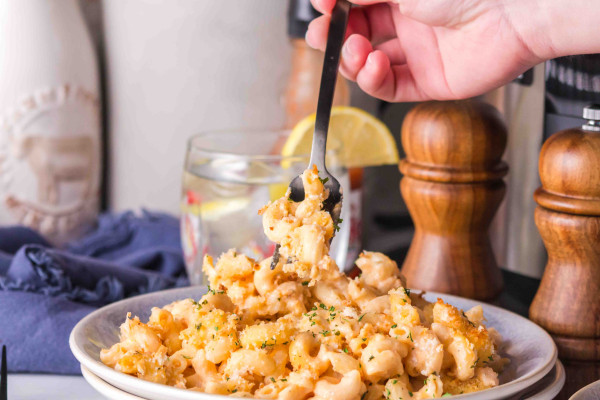
The chicken, pasta, and sauce will be combined and topped with breadcrumbs, then made crisp using the Air Crisp function. The result will become a favorite comfort food for your family!
If you want it even spicer add some red pepper flakes on top!
How do you store leftover buffalo chicken macaroni and cheese?
Leftover buffalo chicken macaroni and cheese can be stored in an airtight container for 3 days.
To warm it up, add a bit to a heat-proof bowl and sprinkle some cheese on top. Warm this up in the air fryer at 300 degrees F for 2-3 minutes.
More Buffalo Chicken Recipes:
Ninja Foodi Buffalo Chicken Wings
Ninja Foodi Buffalo Chicken Dip
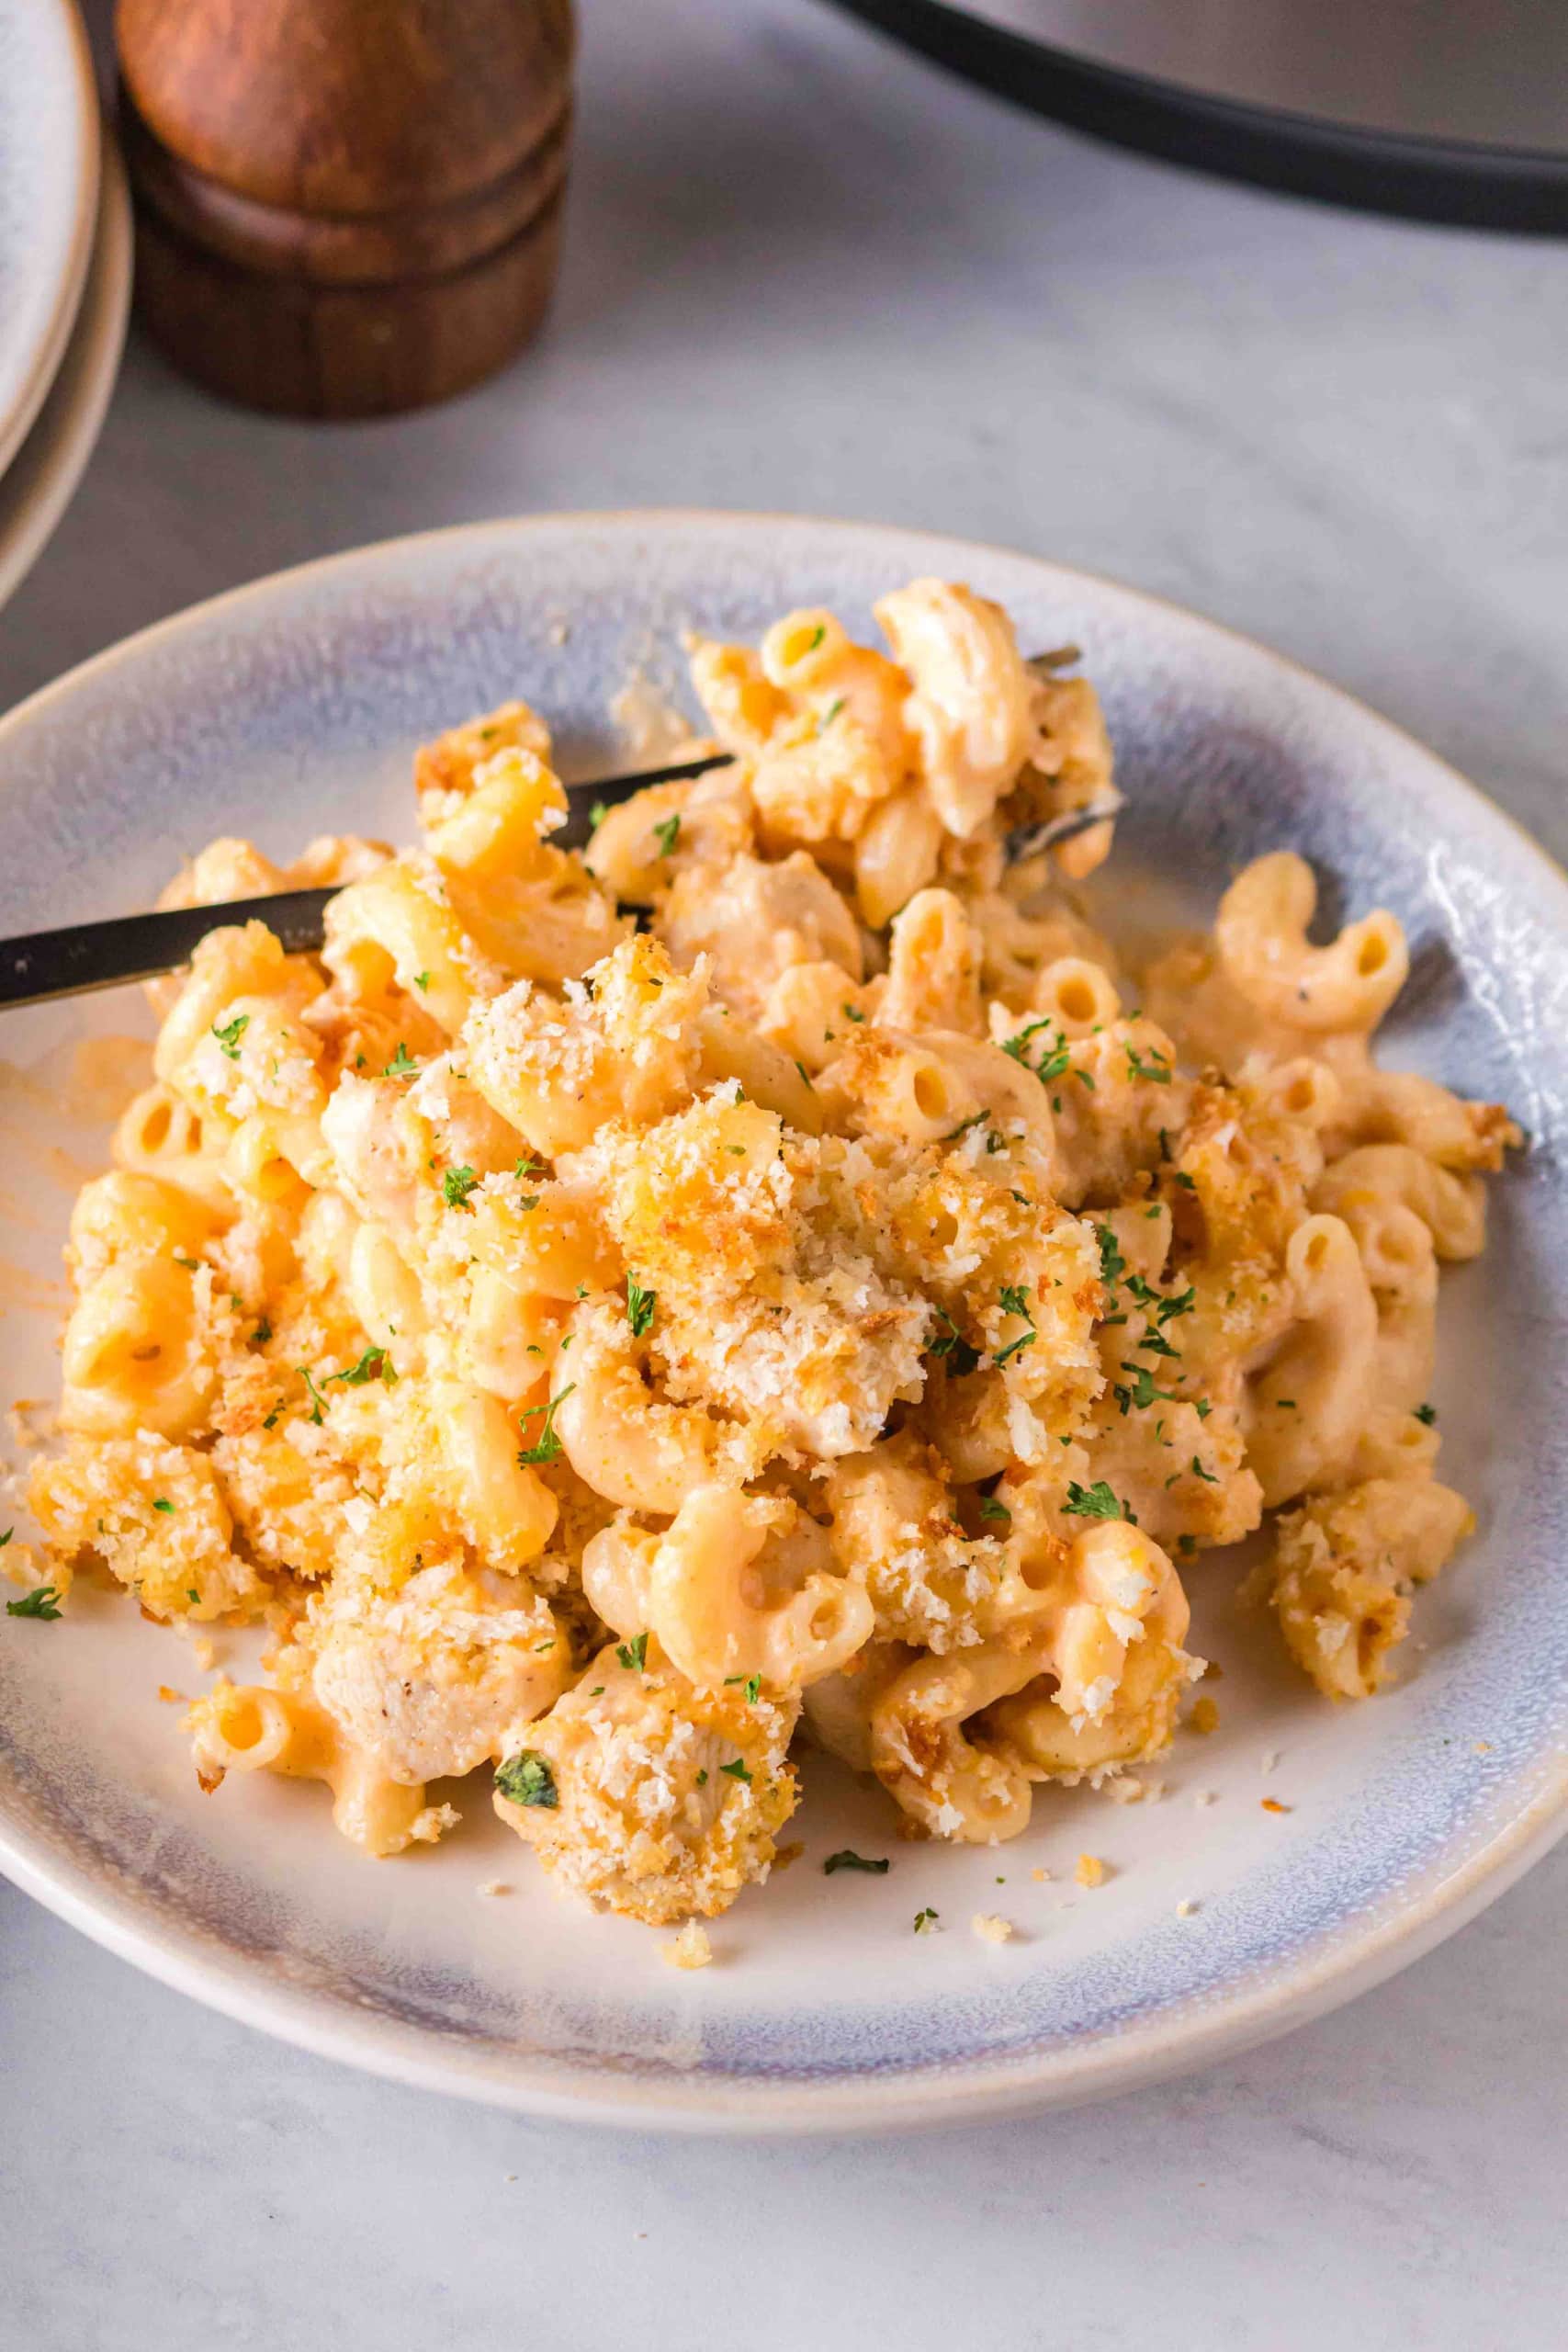
This is a fun twist on classic macaroni and cheese and one your whole family will enjoy, be sure to make a batch of Ninja Foodi Buffalo Macaroni and Cheese!
Ninja Foodi Buffalo Chicken Macaroni and Cheese
Ingredients
Chicken
- 2 Tbsp Salted Butter
- 1 1/2 Pounds Boneless, Skinless Chicken Breast (Cut into bite-size pieces)
- 1 tsp Salt
- 1 tsp Lemon Pepper
- 1/2 tsp Ground Black Pepper
Sauce
- 2 Tbsp Salted Butter
- 3 Tbsp Gluten-Free or Regular All-Purpose Flour
- 1/2 Cup Chicken Broth
- 2 Cups Milk
- 1 tsp Onion Powder
- 1 tsp Garlic Powder
- 1/2 tsp Ground Mustard
- 1/2 tsp Salt
- 1/2 tsp Ground Black Pepper
- 1/2 Cup Buffalo Hot Sauce
- 1 Cup Shredded Cheddar Cheese
- 1 1/2 Cup Shredded Mozzarella Cheese
- 16 oz Gluten-Free or Regular Elbow Macaroni (Cook according to the box instructions.)
- 4 oz Cream Cheese (Room Temperature)
- 1/3 Cup Sour Cream
Panko Topping
- 1 Cup Gluten-Free or Regular Panko Bread Crumbs
- 1 Tbsp Melted Butter
Instructions
Pasta
- Pasta can be cooked according to the box instructions or it can be cooked in the Ninja Foodi. If using the Ninja Foodi add the pasta along with 4 cups of water to the pot of the Ninja Foodi, then cook on high pressure for half the time indicated on the box. Be sure the nozzle is set to SEAL and when the timer goes off quickly release the steam by moving the nozzle to VENT. For example, if it says 8 minutes stovetop, cook it for 4 minutes on high pressure in the Ninja Foodi.
Chicken
- Set the Ninja Foodi to Saute/Sear Level 5.
- Add the butter and melt completely.
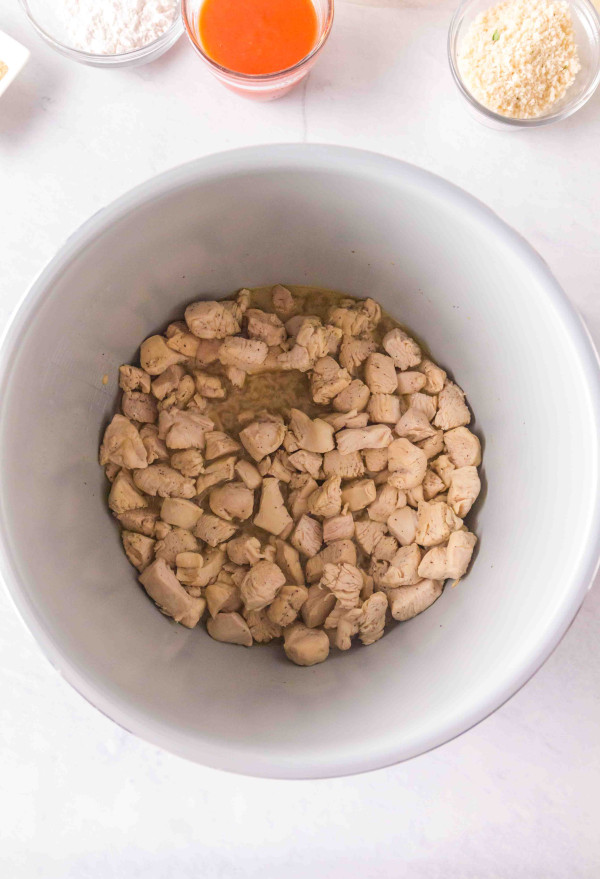
- Add the diced chicken and sprinkle with salt, lemon pepper, and ground black pepper.
- Cook the chicken until no longer pink about 5-8 minutes or until the internal temperature reaches at least 165°F.
- Remove the chicken from the pot and set aside.
- Leave about 2 tbsp of the fat and oil from the chicken in the pot.
Sauce and Final Product
- Place the pot back into the machine of the Ninja Foodi and set on Sear/Saute Level 5 or High.
- Add butter and melt completely.
- Once the butter is melted, add the flour and whisk to create a paste.
- Once the paste is created, add the chicken broth and whisk until well combined.
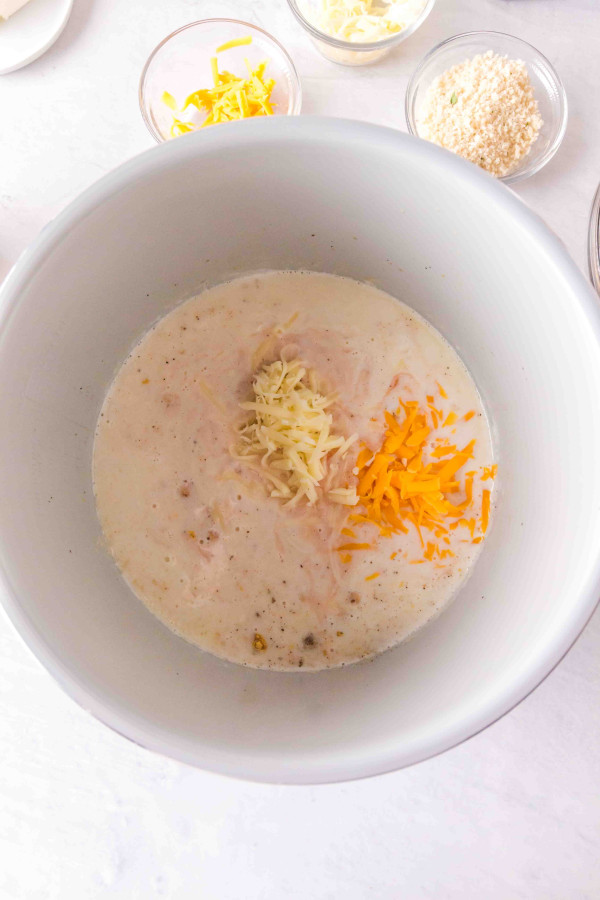
- Pour in the milk and whisk all together.
- Keep mixing on HIGH for 4-5 minutes.
- Add the onion powder, garlic powder, ground mustard, salt, and pepper. Mix until all spices are combined.
- Add the hot sauce and cheese, and mix well.
- Reduce heat to low and mix until the cheeses are melted.
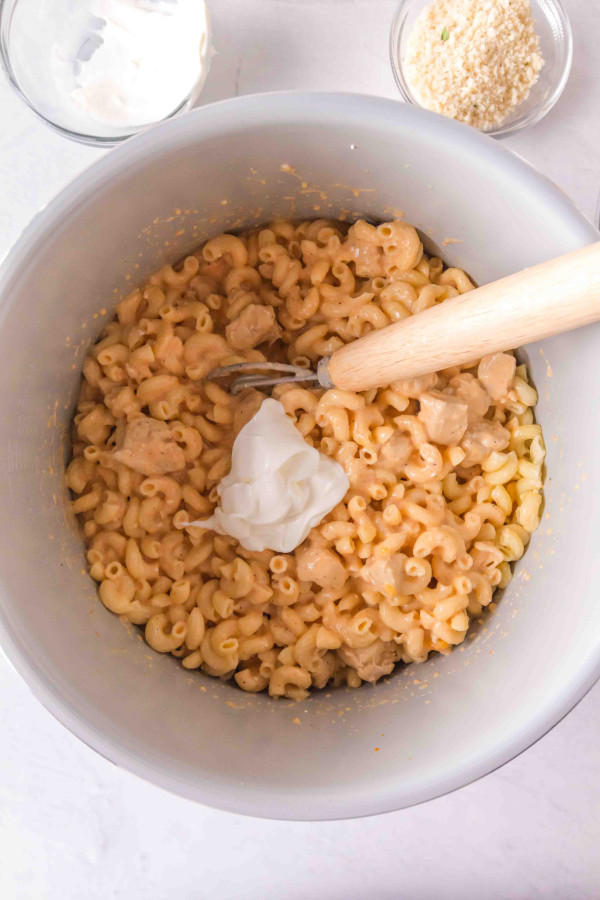
- Add the cooked pasta and mix until all of it is coated.
- Add in the cream cheese and sour cream, stirring to combine.
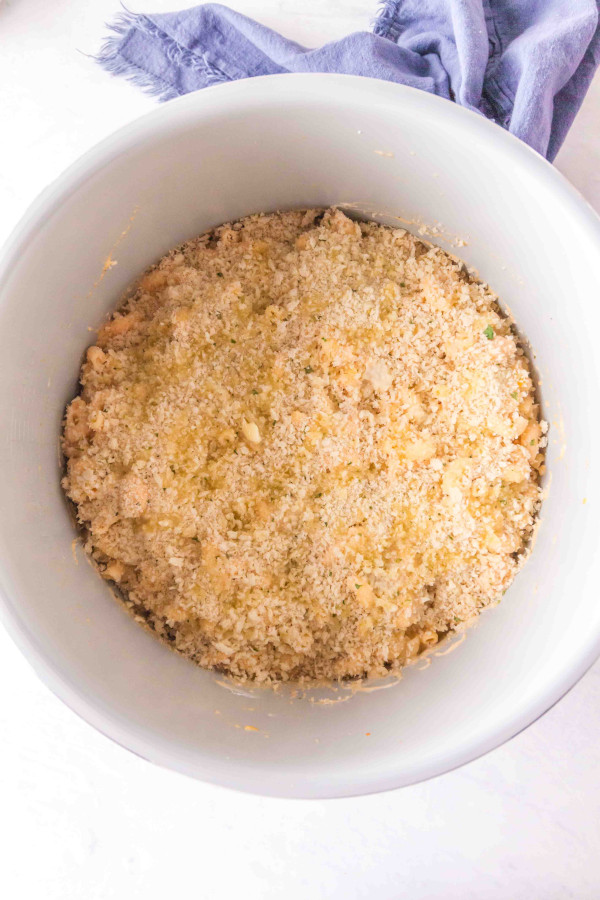
- Spread evenly in the cooking pot.
- Sprinkle the bread crumbs in an even layer and drizzle with butter.
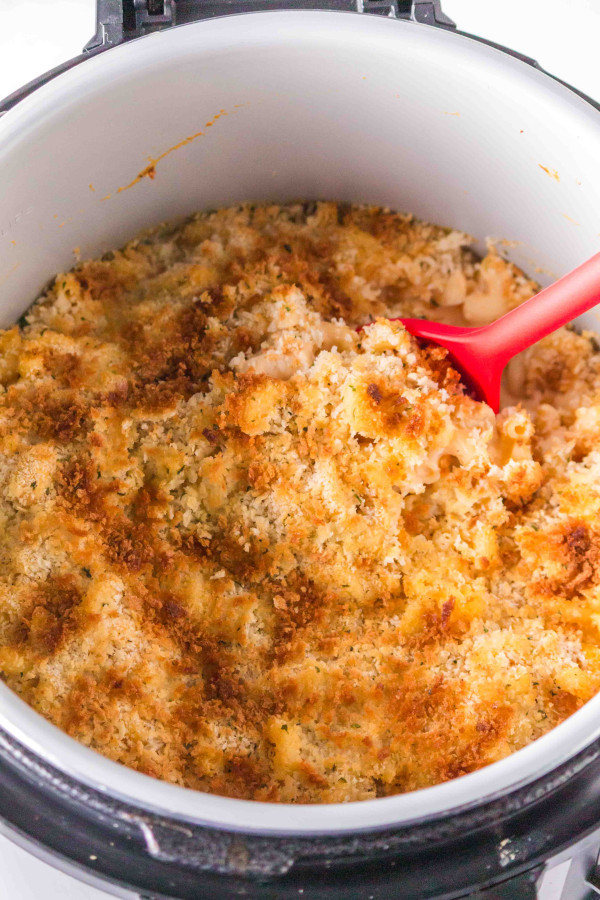
- Change the Ninja Foodi to AIR FRYER or AIR CRISP mode and cook at 375°F for 5-6 minutes until golden brown on top.
- Serve and Enjoy!
Notes
Nutrition
did you make this recipe?
Make sure to tag #mommyhatescoooking on Instagram and follow for more @momhatescooking

Leave A Reply!