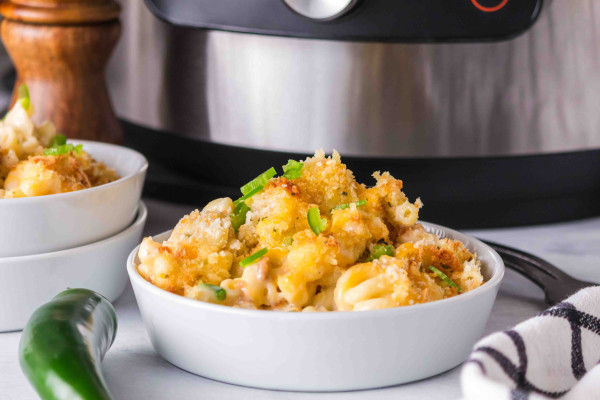
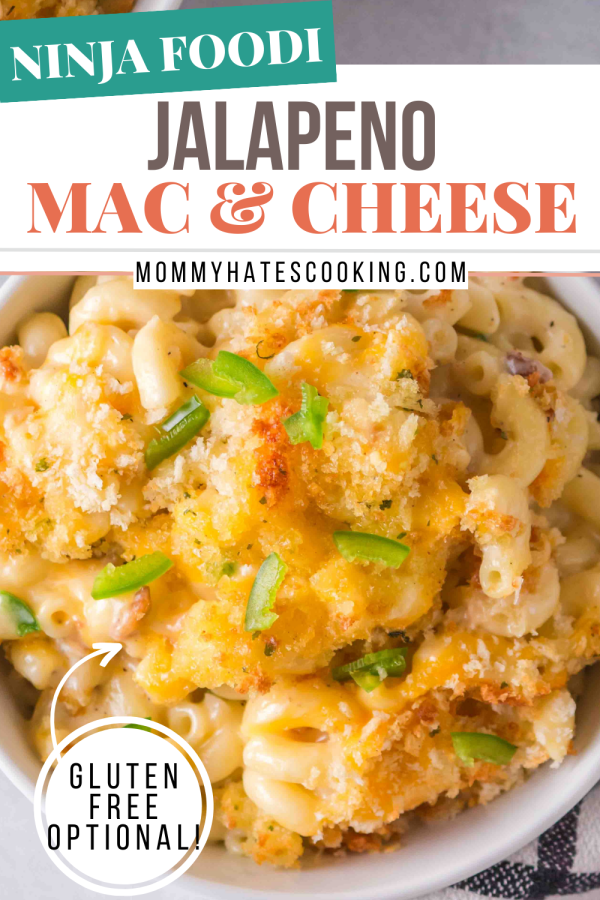
Ninja Foodi Jalapeño Macaroni and Cheese is the BEST way to add some extra spice to your Mac and Cheese!
One of our all-time favorite recipes is this Ninja Foodi Macaroni and Cheese, you can add a spicy kick with this Ninja Foodi Jalapeño Macaroni and Cheese!
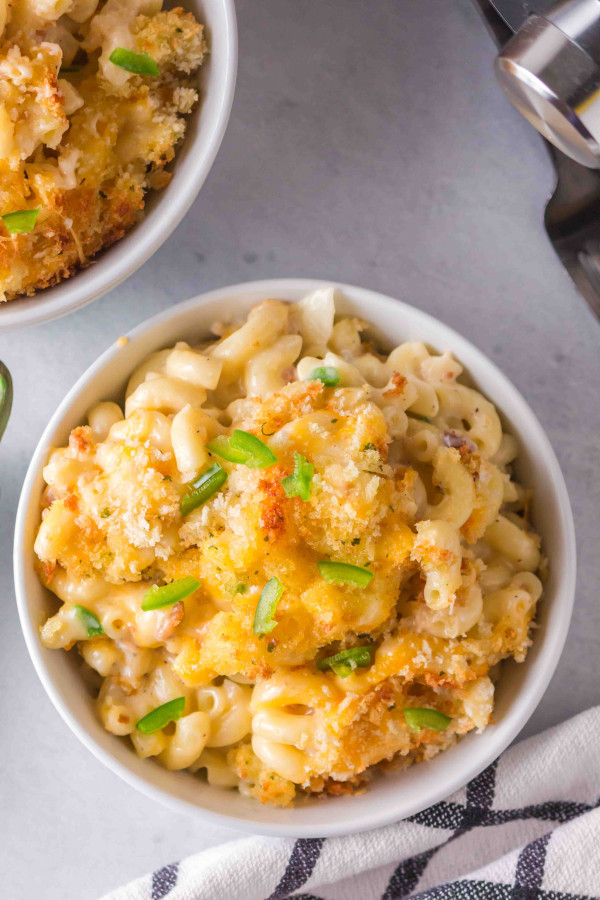
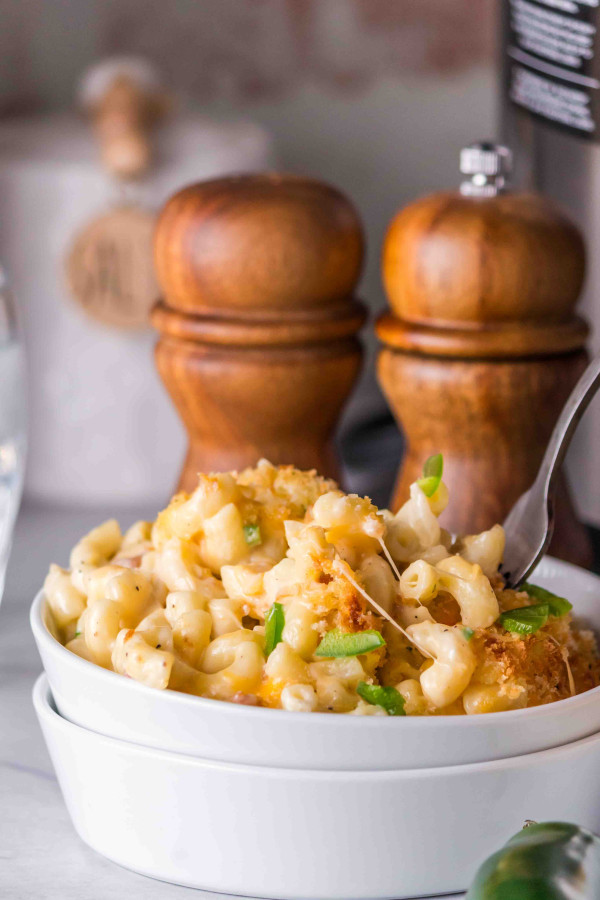
This recipe will combine the creamy cheese with elbow macaroni to make a wonderfully easy macaroni and cheese recipe.
What do you need for this Macaroni and Cheese Recipe?
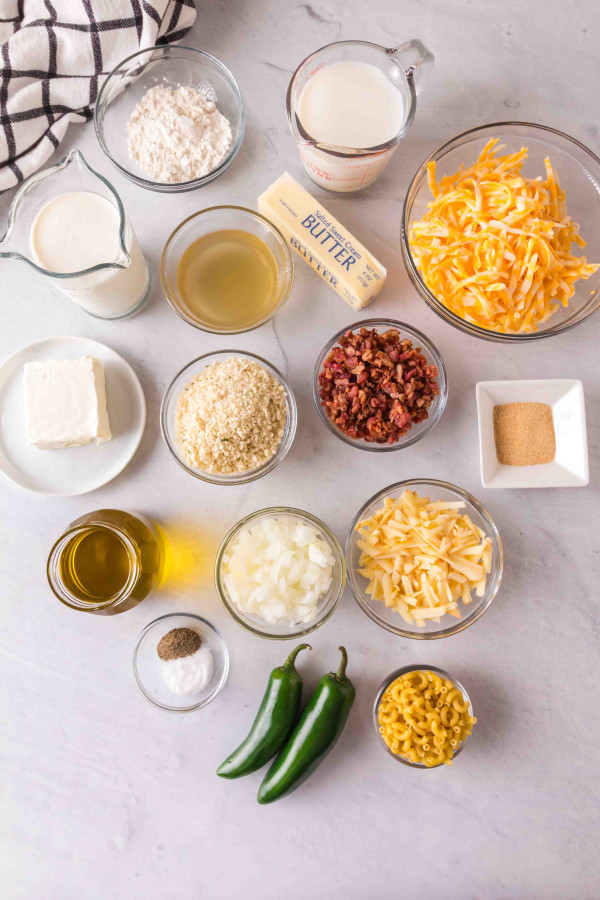
- Elbow Macaroni Pasta or Gluten-Free Elbow Macaroni Pasta
- Salted Butter
- Sweet Onions
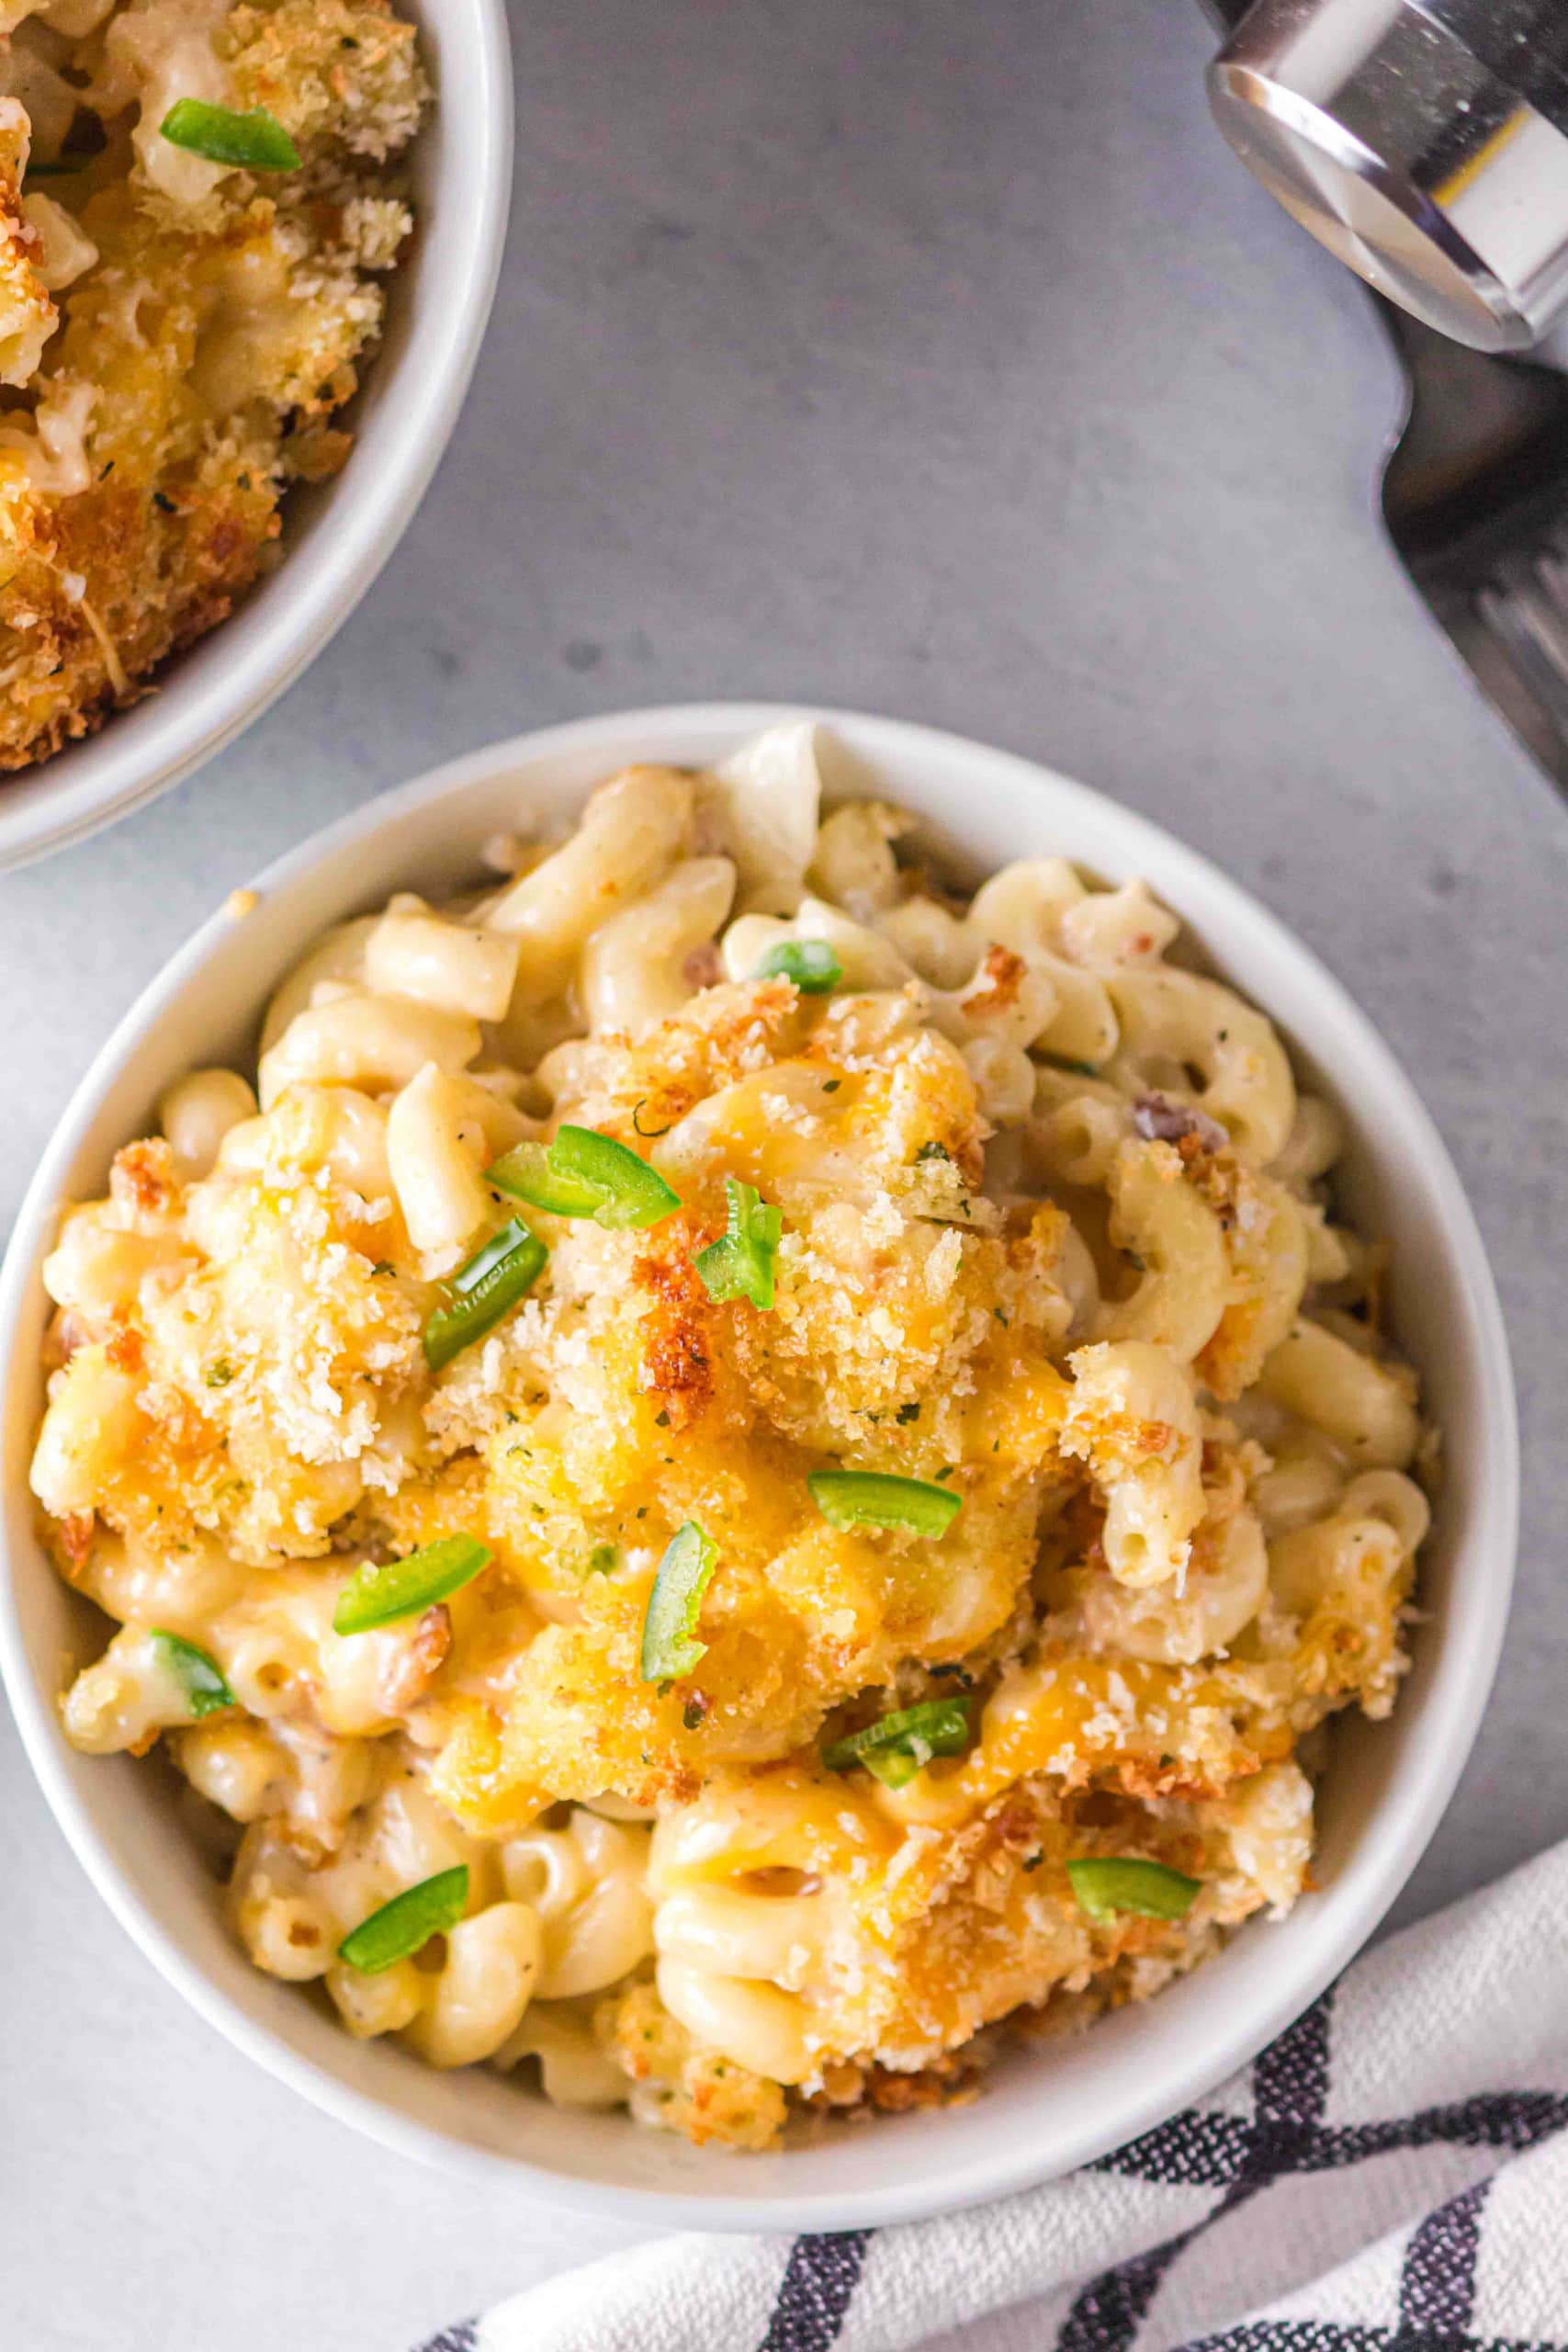
- Jalapenos
- All-Purpose Flour or Gluten-Free All-Purpose Flour
- Chicken Broth
- Heavy Cream
- Milk
- Garlic Powder
- Salt
- Ground Black Pepper
- Cream Cheese
- Bacon Bits
- Shredded Colby Jack
- Shredded Gouda Cheese or Mozzarella
- Breadcrumbs or Gluten-Free Breadcrumbs
- Olive Oil
How do you make this recipe Gluten-Free?
Just a few simple swaps are needed to make Gluten-Free Ninja Foodi Jalapeño Macaroni and Cheese.
The first swap is the pasta, use a Gluten-Free Elbow Macaroni. We prefer to use the Target Brand or Barilla, these tend to not have a slimy texture after pressure cooking.
Along with the pasta, you will also want to use gluten-free all-purpose flour and gluten-free breadcrumbs. The flour should be a 1:1 swap such as Gluten-Free Bob’s Red Mill, Better Batter, or King Arthur Gluten-Free Flour.
These will be the only swaps needed but as always check all ingredients before using.
What type of pasta should you use?
For this version of Ninja Foodi Macaroni and Cheese, we are going to use Elbow Macaroni. If you need to or prefer, you can use Gluten-Free Elbow Macaroni.
What type of cheese should you use?
This recipe calls for Colby Jack, Gouda, and/or Mozzarella. Each of these works wonderfully in this recipe to make a creamy cheese mixture.

The best option is to buy a block of the cheese and shred it yourself at home. If you buy pre-shredded cheese it has ingredients in it that cause it not to melt or stick together, it makes it much harder to melt when mixing it with the pasta.
It’s always best to grate the cheese by hand to get the best cheesy mac.
Can you use milk alternatives?
This recipe is best made with Heavy Cream or Half and Half. Whole Milk will also work, but it’s best to use cow’s milk for this recipe.
Almond Milk or Oat Milk will not have the same consistency and will not yield the same results.
Tips for Making Ninja Foodi Jalapeño Macaroni and Cheese:
This recipe will use a Ninja Foodi Multi-Cooker, it needs to have both the pressure cooker function and the air crisp or air fryer function. If you do not have these functions, then this recipe is not for you, it will not work.
The first step for this recipe will be cooking your pasta with the pressure cooker function. It is very important to remember that when cooking pasta, be sure to quickly vent the pasta once the cooking time is up by moving your pressure release valve to VENT immediately. If you do not do this right when the timer goes up, then your pasta will overcook.
The rule of thumb is to cook the pasta for half the time listed on the box for the stovetop method.
If you are using gluten-free pasta, many times it comes in a 12-ounce box, this is okay to use, it will work out just fine with 12 ounces.
Once the quick release has been used, you will move on to make the sauce and then add in the cheese.
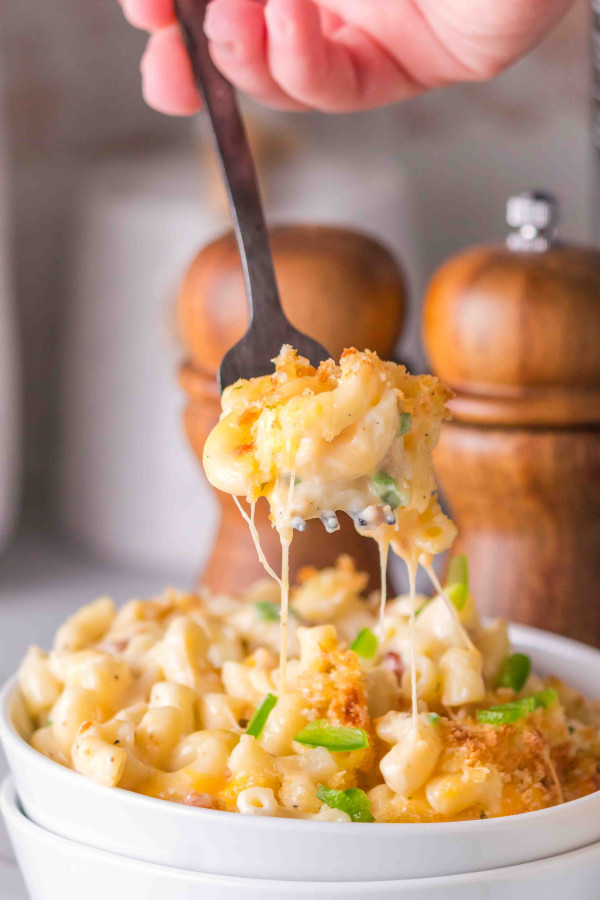
The final steps will be to use the air crisp function along with the bread crumbs to add a crispy top layer to your macaroni and cheese.
How do you store leftover Mac and Cheese?
This macaroni and cheese can be stored in an airtight container in the fridge for up to 4 days.
To reheat it, use a microwave-safe bowl and reheat for 3-4 minutes stirring throughout.
Another option is the use the Air Crisp function or Air Fryer and heat in a heat-safe dish at 330°F for 4-5 minutes, additional shredded cheese and bread crumbs can be added too.
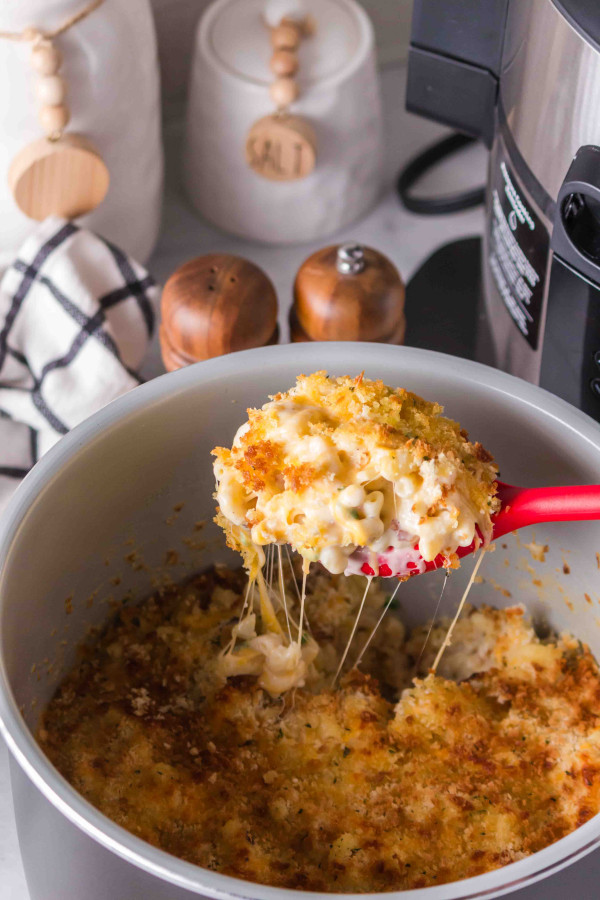
For best results serve this fresh and warm right out of the Ninja Foodi.
This is a great way to make macaroni and cheese and will soon be one of your favorite new recipes!
Ninja Foodi Jalapeño Macaroni and Cheese
Ingredients
- 16 oz Elbow Macaroni Pasta or Gluten-Free Elbow Macaroni Pasta
- 6 Tbsp Salted Butter
- 1/2 Cup Chopped Sweet Onions
- 2 Tbsp Chopped Jalapenos
- 1/4 Cup All-Purpose Flour or Gluten-Free All-Purpose Flour
- 1 Cup Chicken Broth
- 1 Cup Heavy Cream
- 1 Cup Milk
- 2 tsp Garlic Powder
- 1 tsp Salt
- 1/2 tsp Ground Black Pepper
- 4 oz Cream Cheese
- 1/3 Cup Bacon Bits
- 3 Cups Shredded Colby Jack, Divided
- 1 Cup Shredded Gouda Cheese, Divided (or Mozzarella)
- 3/4 Cup Breadcrumbs or Gluten-Free Breadcrumbs
- 2 Tbsp Olive Oil
Instructions
- Cook the pasta according to the information on the package and set aside.(Ninja Option – The pasta can be cooked in the Ninja Foodi by adding the pasta along with 4 cups of water or broth into the pot of the Ninja Foodi. Secure the pressure cooker lid and set the nozzle to SEAL. Cook on high pressure for half the time listed on the box, typically 3-4 minutes. Move the nozzle to VENT immediately after the cooking time is over. The pasta can be drained if needed and set aside while you do the remaining steps.)
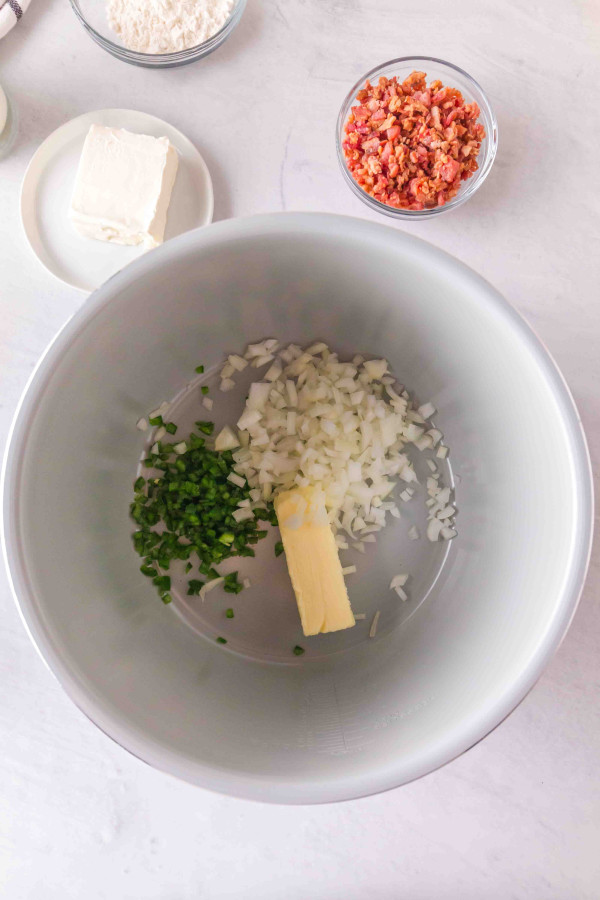
- In the pot of the Ninja Foodi, set to SAUTE/SEAR on HI, put the butter, onion, and chopped jalapenos in the pot.
- Stir until the butter is melted.
- Add in the flour and whisk until you have a paste.
- Pour in the chicken broth and whisk to make a sauce.
- Still on high heat, add in the cream and milk. Whisk to combine. Do not boil.
- Add in the garlic powder, salt, and ground pepper. Mix well.
- Reduce to medium heat about a #3, and add in the bacon bits, cream cheese, 1 cup of shredded mozzarella, and 1 cup of Colby jack. Mix until the cheese is well melted.
- Add in the cooked pasta and mix to coat the pasta with the sauce.
- Spread evenly in the Ninja Foodi inner pot.
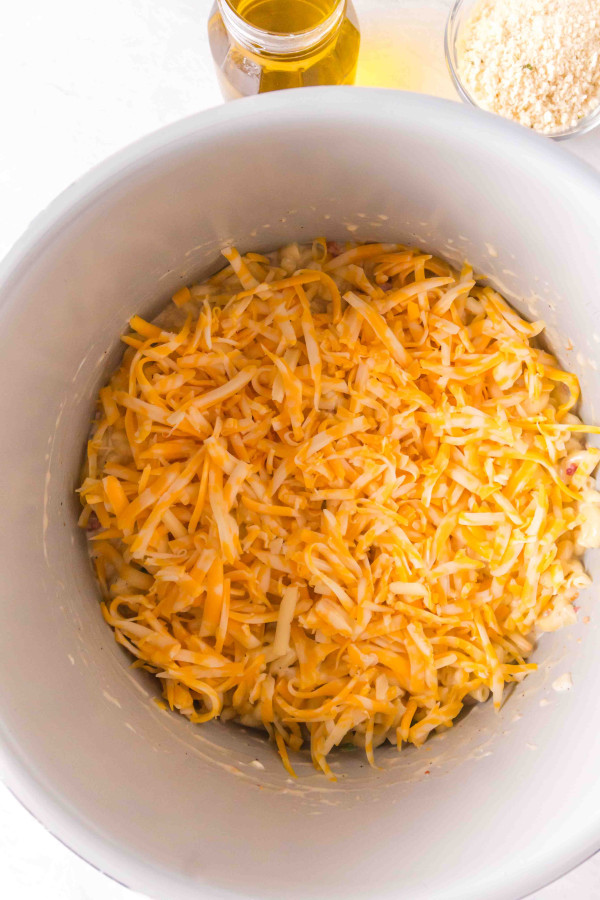
- Add the remaining cheese on top.
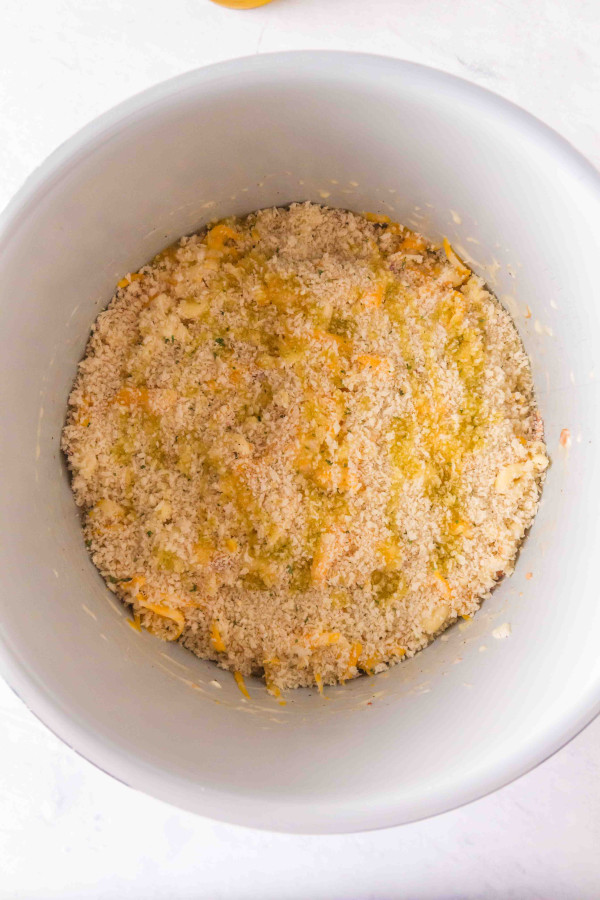
- Sprinkle the breadcrumbs and olive oil drizzle on top.
- Set to AIR FRYER setting 375°F for 5-7 minutes until golden brown on top.
- Serve!
Notes
Nutrition
did you make this recipe?
Make sure to tag #mommyhatescoooking on Instagram and follow for more @momhatescooking
Leave A Reply!