
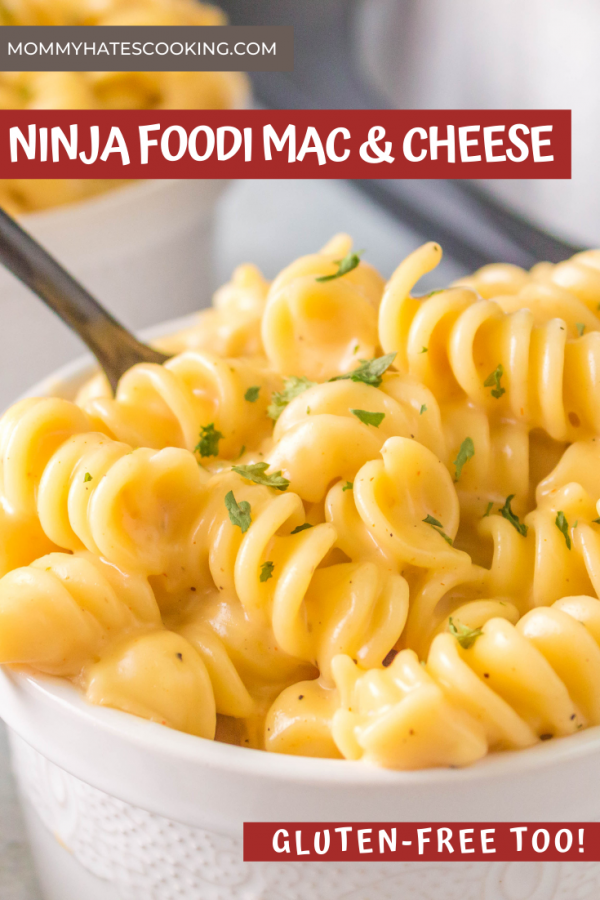
Make a big pot of Ninja Foodi Macaroni and Cheese in minutes, easy to make gluten-free too!
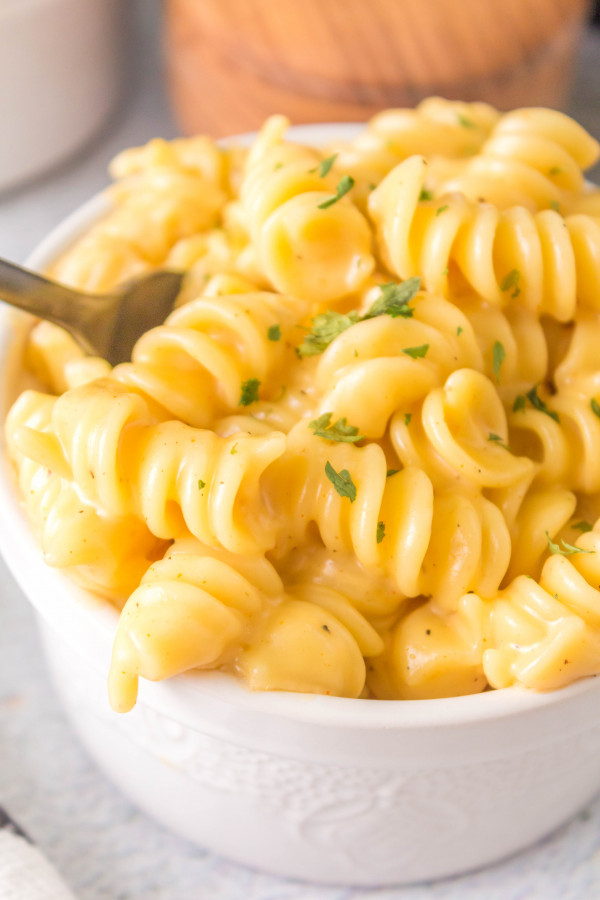
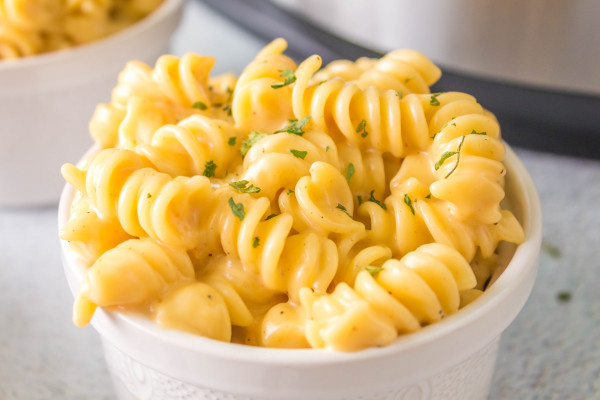
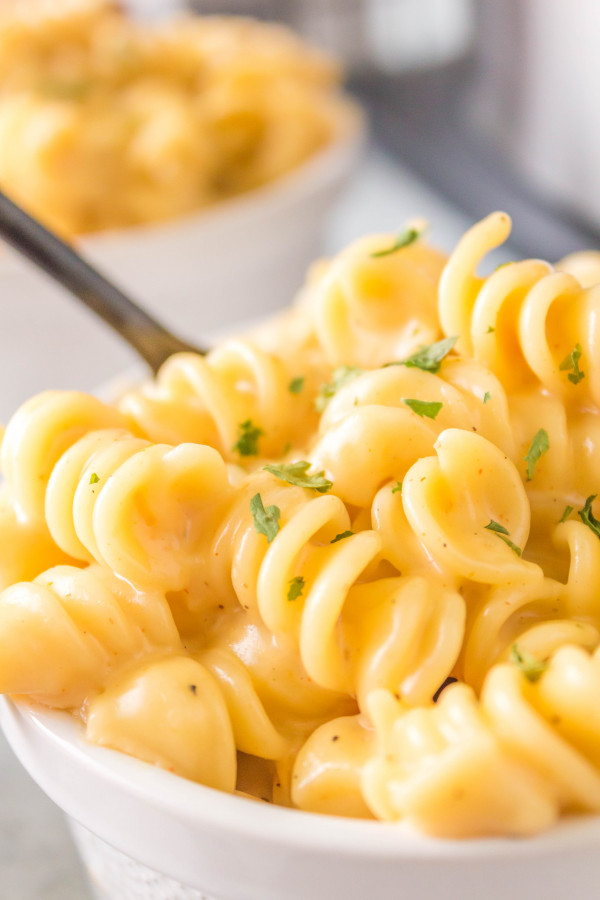
One of the best meals to make in your Ninja Foodi is this Ninja Foodi Macaroni and Cheese. It’s creamy, cheesy, and so delicious!
It can also easily be made gluten-free too if that’s a need, so it’s completely up to you.
How do you make Gluten-Free Ninja Foodi Macaroni and Cheese?
The only swap that you need for this recipe to be gluten-free is to swap the pasta with a gluten-free Rotini.
Barilla pasta is by far my favorite gluten-free pasta. They make both regular and gluten-free, so just be sure that you are in fact buying the gluten-free variety.
What type of pasta should you use?
The pasta used in this recipe is Rotini, which will take 3 minutes to cook; however, if you use a different pasta it may take longer.
The general rule is that it will take half the listed time on the box in the Ninja Foodi, so if it says that the time will be 8 minutes on the stovetop, then it would be 4 minutes in the Ninja Foodi.
Keep this in mind if you use a different type of pasta.
Next, let’s talk about cheese.
What cheese should you use for Ninja Foodi Macaroni and Cheese?
Not all cheese is the same, the pre-shredded cheese DOES NOT melt like the blocks of cheese do. They have some extra ingredients added to keep them fresh longer which means they don’t melt the same.
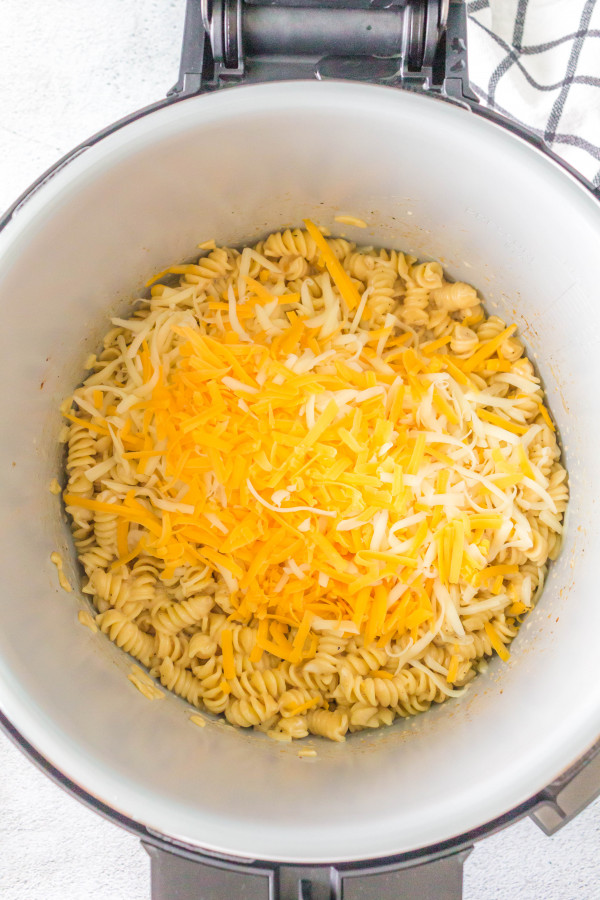
It’s best to use a block of cheese and then shred it yourself at home for this recipe.
I suggest mixing a variety of cheeses that give this even more flavor and depth.
First, start out with cheddar cheese but then mix in an additional cheese such as Mozzarella, Provolone, or Monterey Jack. Each of these melts really well and will endure the higher heat.
Another important thing to note, do not to use fresh mozzarella. It’s very watery and will not melt properly, if you use mozzarella use a block of it that is low-moisture such as this one.
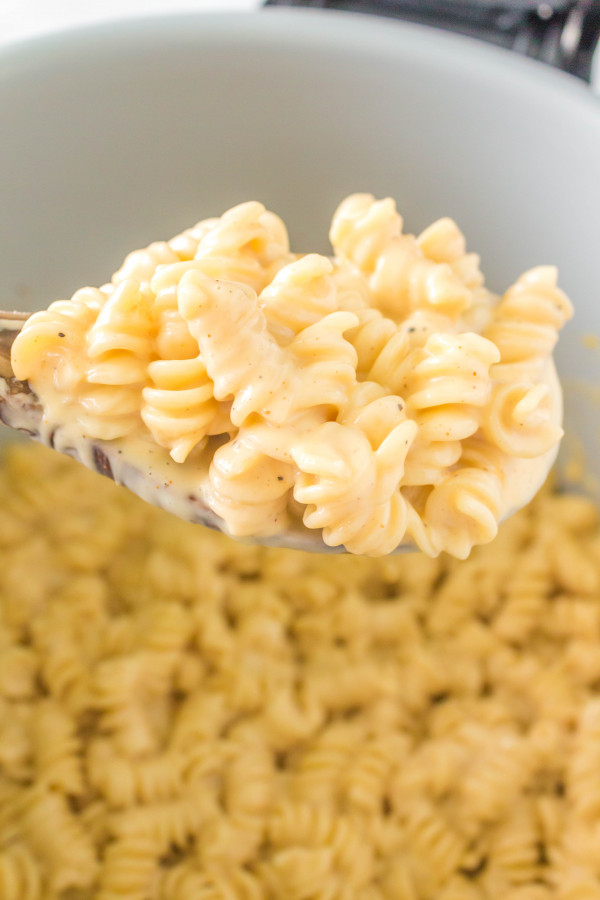
Mixing the variety of cheeses will ensure that you get a nice, creamy macaroni and cheese.
If you prefer it to be even creamier, you can also add about 4oz of cream cheese too, this is totally optional but you can do that with this recipe too.
Can you store the leftovers?
The leftovers can be stored in an airtight container in the fridge for 2-3 days; however, remember with dairy and cheese products it’s best to serve this warm right out of the pot.
We rarely keep the leftovers of Macaroni and Cheese, but that is a personal preference.
Now, are you ready to try your own Ninja Foodi Macaroni and Cheese? Let’s get started!
Add this one to your list of Ninja Foodi Pasta Recipes!

Ninja Foodi Macaroni and Cheese
Ingredients
- 16 oz Box Uncooked Rotini Pasta (or Gluten-Free Pasta)
- 4 Cups Chicken Broth
- 1/2 Tsp Salt
- 1/2 Tsp Ground Pepper
- 1/2 Tsp Smoked Paprika
- 1 Cup Cream or Half and Half
- 2 1/2 Cups Fresh Shredded Cheese (Use a block of cheese and shred, see notes)
Instructions
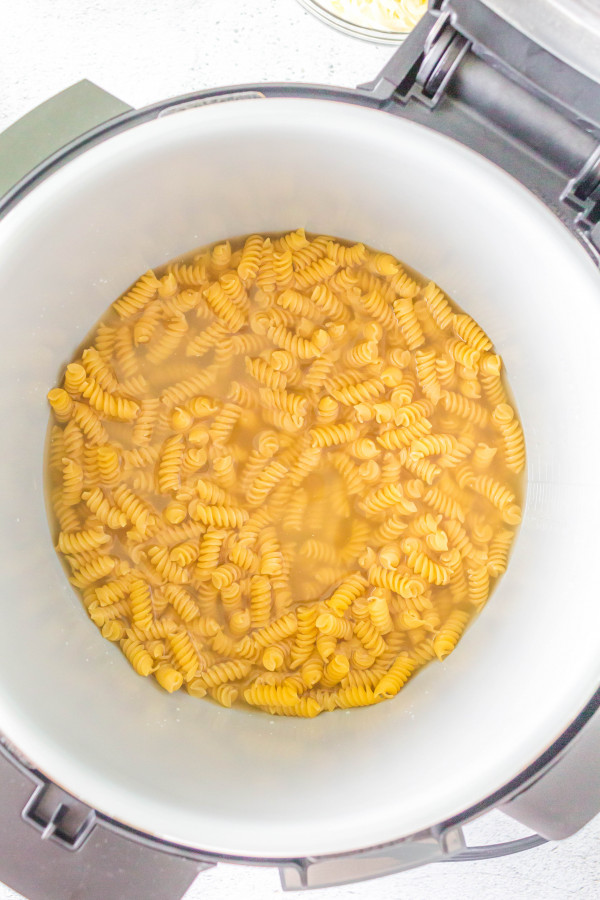
- In the pot of the Ninja Foodi, pour the uncooked pasta and chicken broth.
- Gently mix with a spatula so that all the pasta is under the broth and not sticking together.
- Secure the pressure cooker lid, turn the nozzle to SEAL. Cook on high pressure for 3 minutes.
- Once done, move the nozzle to VENT and quickly release all of the steam. (If your pasta is not cooked fully, you can open the lid, test it, and then shut the lid and let it sit for another 1 minute to fully cook if you used a different type of pasta.)
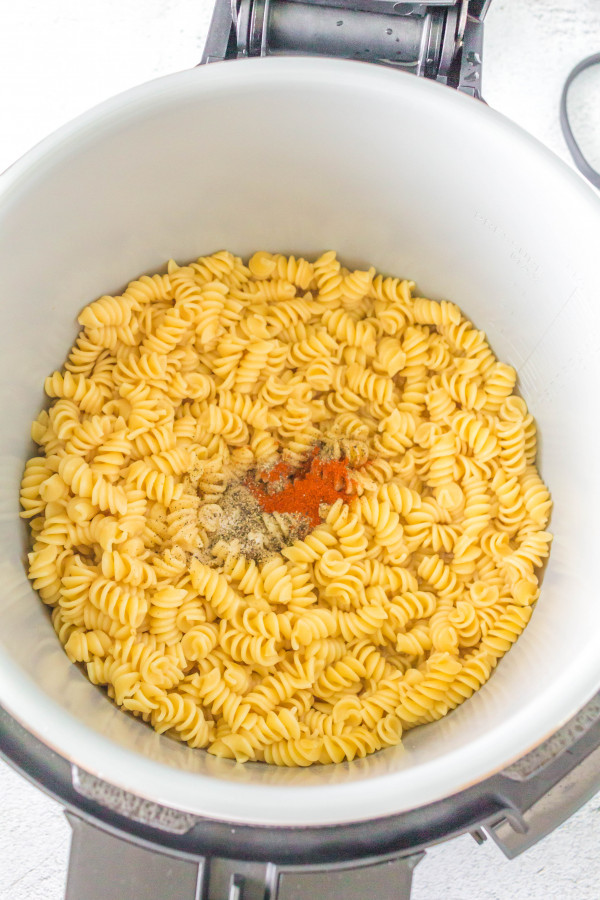
- With a spatula, mix up the pasta.
- Turn the Ninja Foodi to OFF.
- Add in the salt, pepper, and paprika.
- Pour in the cream and mix well.
- Add in the cheese and mix until it's all melted and no longer stringy.
- Serve immediately.
Video
Notes
Nutrition
did you make this recipe?
Make sure to tag #mommyhatescoooking on Instagram and follow for more @momhatescooking

Comments & Reviews
Maureen says
This looks so yummy! My son would love this. He loves pasta!
Maureen | http://www.littlemisscasual.com
Heather says
Hands down THE BEST mac and cheese recipe I’ve ever made for my family. I’ve done many different versions. This is the only one that has quick and easy steps, dinner is done fast, no extra steps and no additional dishes dirtied just to make a meal. I do everything according to the recipe and haven’t changed a thing. It is SO creamy and so flavorful. It’s a must!!
Mommy Hates Cooking says
So happy to hear this! We can’t make mac and cheese any other way now!