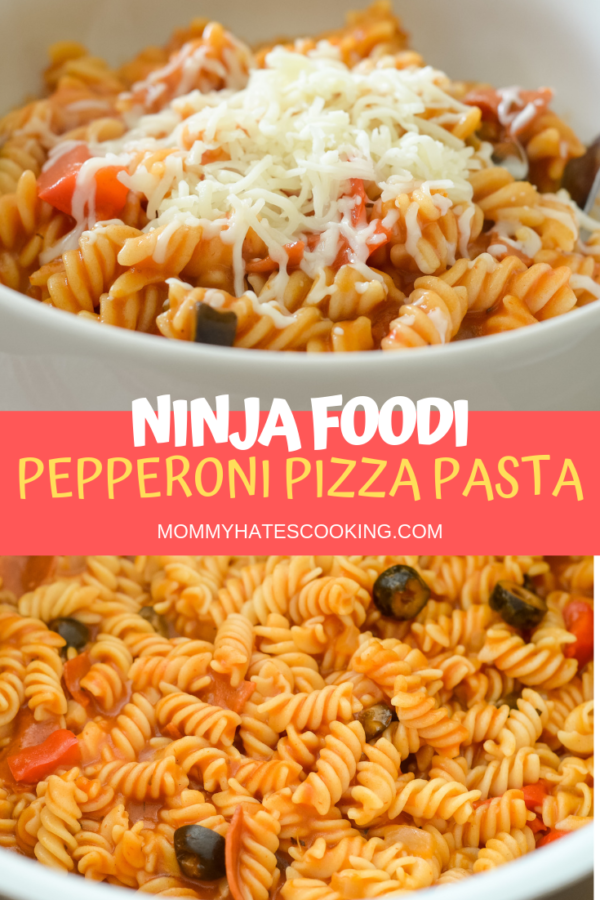
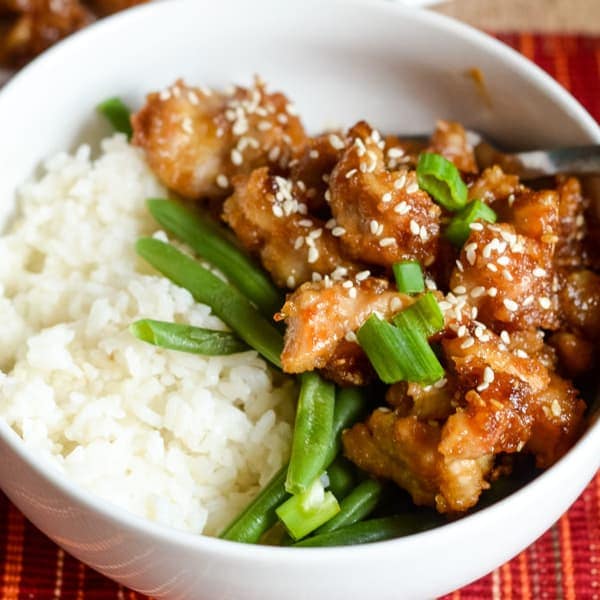
This Ninja Foodi Pizza Pasta is a great go-to quick meal to make on a busy night.
This can be made in a Pressure Cooker or Instant Pot too!
We are just a week away from starting school again! I am going to admit that it’s bittersweet. We had a very full and fun summer. I actually took a lot of time off this summer in comparison to years past.

It probably didn’t appear that way if you read this blog but on the back end, I definitely took more time to spend with my kids than work. I am very much ready to get back to my normal work routine though and the kids routine too.
It was a good break though, I think I really needed time to just live a little and not be so focused on work, but all good things come to a close. I’m hoping to work smarter this year and be able to do the same thing next summer as well.
In the midst of this summer, I’ve been using my Ninja Foodi like a crazy woman! Not even kidding!
This Ninja Foodi Pizza Pasta is just another great one to add to the list of Ninja Foodi Recipes.
What do you do if you don’t have a Ninja Foodi?
First off…WHY?! Secondly, this can be made in the Instant Pot or Pressure Cooker too, I’m fairly certain most of the country has an Instant Pot, so for sure it works well in that too.
How do you make Gluten-Free Ninja Foodi Pizza Pasta?
This is simple…just use gluten-free pasta! It’s best to use one that does not get gummy since you are not going to be draining this pasta. I have found that the best brands are Barilla and Skinner for pressure cooker pasta recipes.
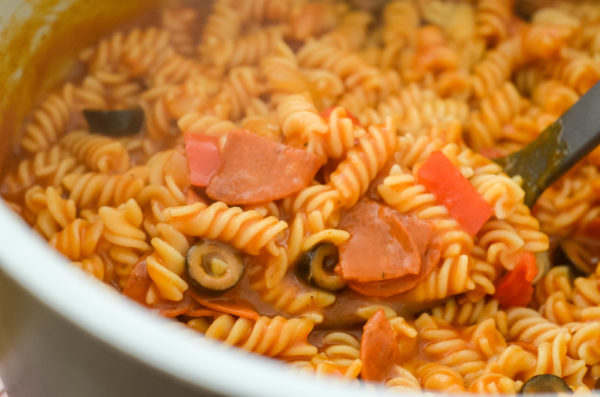
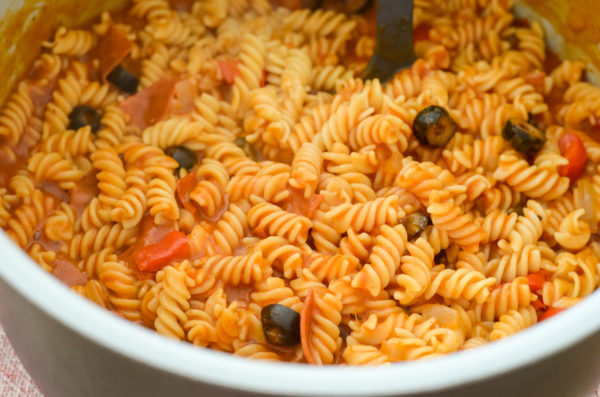
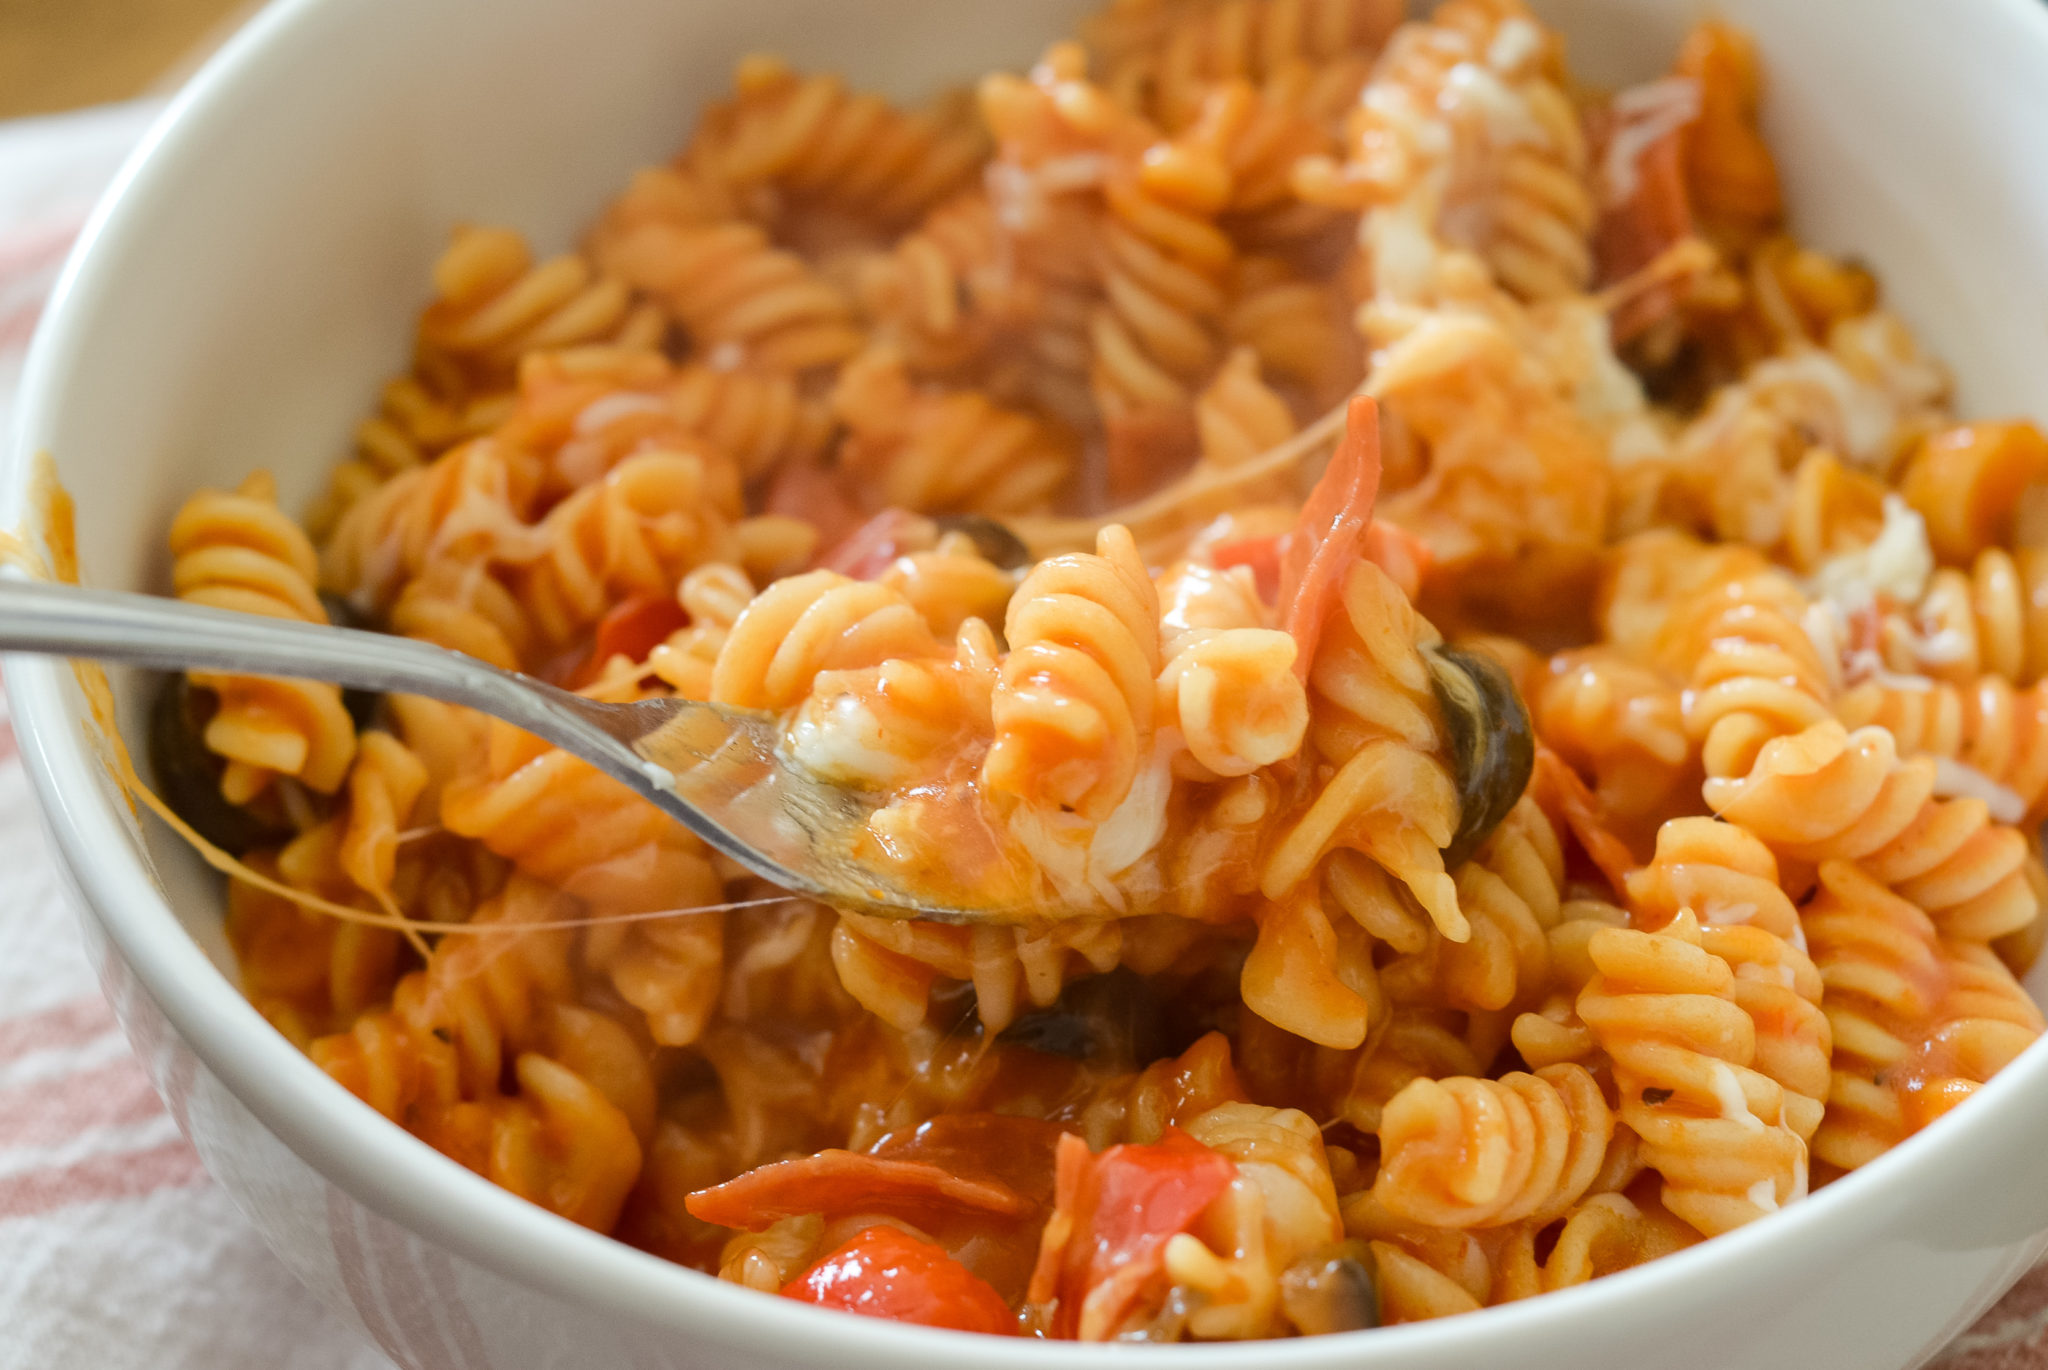
This Ninja Foodi Pepperoni Pizza Pasta is truly one of our favorites, especially on a busy night. I have a feeling we’ll have more of those as school starts up.
What do you need for Ninja Foodi Pizza Pasta?
- Pasta
- Bell Peppers
- Sweet Onion
- Black Olives
- Pepperoni
- Pizza Sauce
- Tomato Sauce
- Italian Cheese
That’s it! Very simple, pantry style ingredients and it can all be made in just 10 minutes using a Ninja Foodi, Pressure Cooker, or Instant Pot!
That’s my kind of dinner, plus it tastes like pizza in a pasta form, which happens to be a kid-friendly favorite around our home.
If you like this one, you will also enjoy this Gluten-Free Instant Pot Taco Pasta.
Ninja Foodi Pizza Pasta (Pressure Cooker)
Ingredients
- 1 12 oz Package of Pasta or Gluten-Free Pasta
- 4 Cups Water
- 1 Red or Green Bell Pepper Diced
- 1/4 Cup Sweet Onion Diced
- 1/4 Cup Black Olives Sliced
- 1/2 Cup Thinly Sliced Pepperoni
- 14 oz Jar of Pizza Sauce
- 8 oz Can of Tomato Sauce
- 1/2 Tbsp Dried Italian Seasoning
- Mozzarella or Italian Cheese
- Garlic Salt to Taste
Instructions
- In the pot of the Ninja Foodi or Instant Pot, add in the pasta along with the water.
- Stir in the pepper, onion, olives, pepperoni, pizza sauce, tomato sauce, and Italian Seasoning, DO NOT stir in the cheese, reserve the cheese for topping.
- Be sure the water is covering the pasta so that it is all under the water.
- Close the lid and seal the nozzle.
- Manual pressure on high for 6 minutes.
- Quick-release immediately when it's done, if this isn't done immediately the pasta can get mushy.
- Serve topped with cheese and add garlic salt to taste.
- Let it cool for about 5 minutes before serving to thicken up.
Notes
Nutrition
did you make this recipe?
Make sure to tag #mommyhatescoooking on Instagram and follow for more @momhatescooking
Comments & Reviews
Tracy Boyd says
Hi. I am new to this ninja. This will be my first recipe I’m trying. Can this be converted into a American chop suey recipe with hamburger? And if so…what would you change?
Thank you
Tracy
Mommy Hates Cooking says
I’m not sure on that because I haven’t done that one, but here is one that you can use for it to get the correct conversions – https://www.pressurecookingtoday.com/instant-pot-pressure-cooker-american-chop-suey-aka-beefaroni/. It would be made with the ‘pressure cooker’ function on the Foodi.
Ryan Cote says
I think the recipe calls for too much water or sauce.. mine turned out quite watery 🙁
joanna says
I have followed the recipe. It’s way too watery! In fact I ended up having a soup 🙁
Joanna says
Actually after giving it a bit of time (5 min) it’s fine! Very tasty and in right consistency
Mommy Hates Cooking says
So glad to hear that, I was about to comment that too. With this one I like to let it cool about 5 minutes and it all thickens up. I’m going to add that too because it’s not clear on the recipe. Thank you for commenting!!!