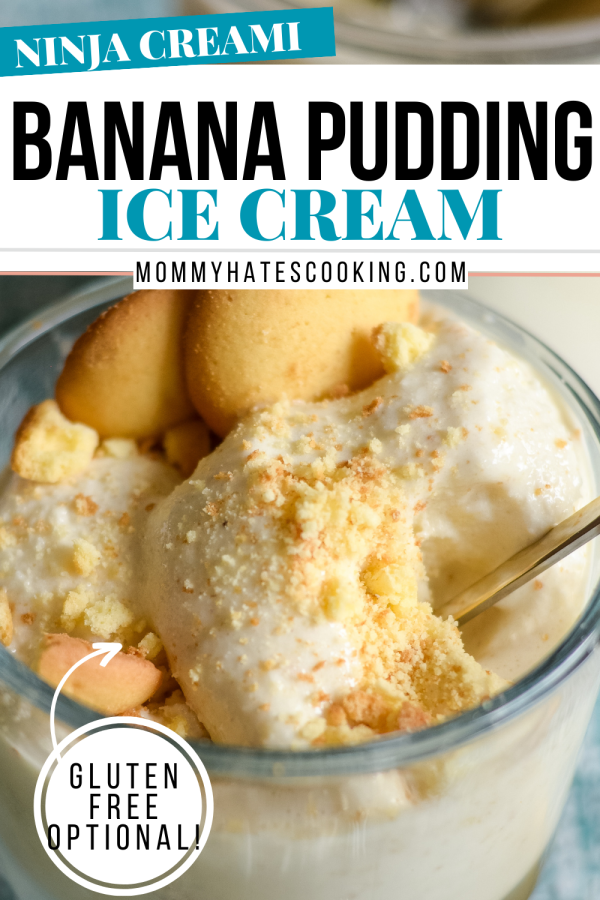
Use your Ninja Creami to make Ninja Creami Banana Pudding Ice Cream, this ice cream is easy to make gluten-free too! Make this AMAZING ice cream all in your Ninja Creami Machine!
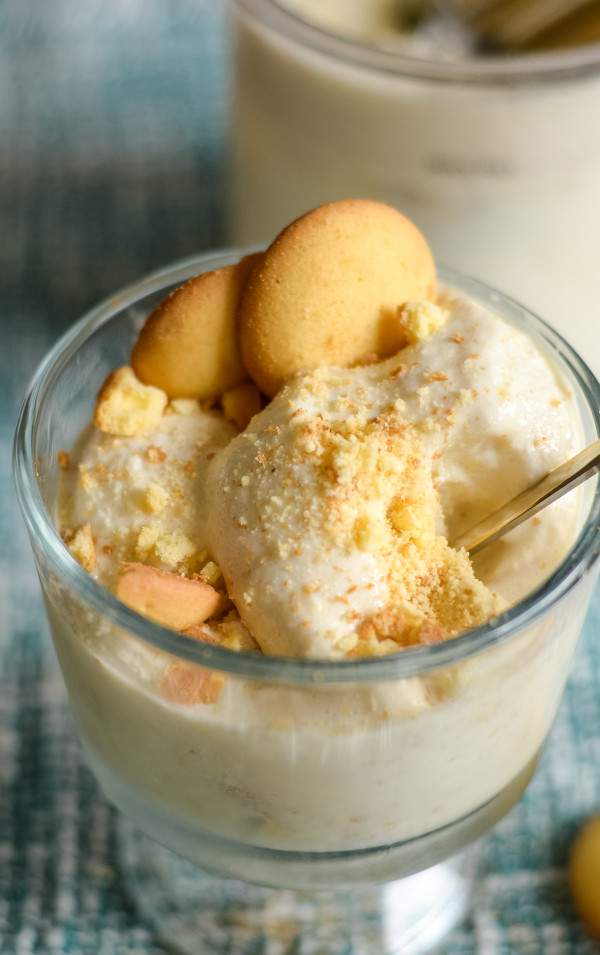
Do you love Banana Pudding with wafers on top? We sure do and this Ninja Creami Banana Pudding Ice Cream is going to provide you with all of those delicious flavors in one cold treat. This is by far one of our favorite ice creams to make in the Ninja Creami.
Let’s talk about the Ninja Creami!
Have you fallen in love with the Ninja Creami Machine? It’s no secret around here that I make Ninja Foodi Recipes daily, but I’ll be honest and say that I have had my Ninja Creami for A LONG TIME…since they came out and never really got into it…until recently.
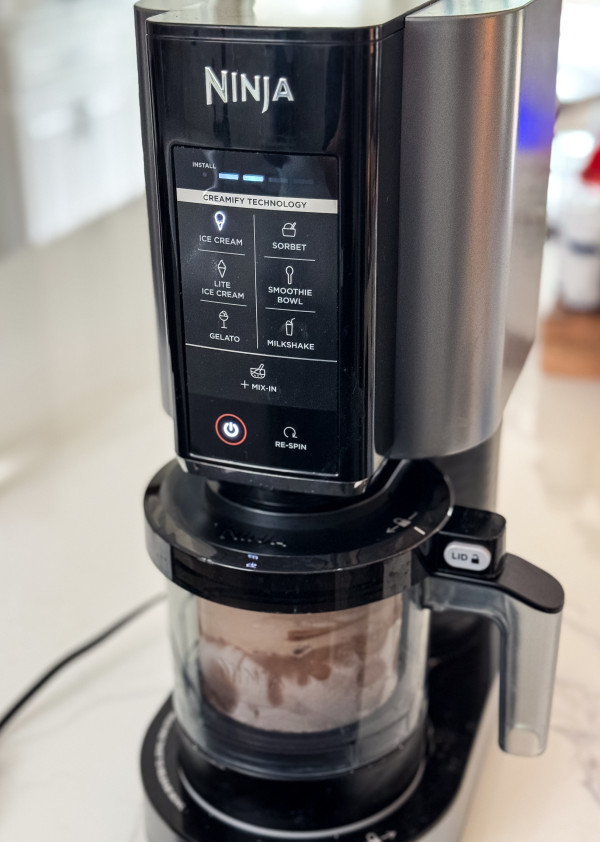
The Ninja Creami comes with 2-pint jars with lids that you can make a variety of frozen treats in. Primarily we use it for ice cream; however, you can easily blend milkshakes, protein shakes with protein powder, and more.
The key with the Ninja Creami is that you sometimes have to adapt it a bit.
Ninja Creami Prep Tips:
It’s also very important to remember that your frozen treats have to chill in the freezer for 24 hours before blending them. This is referred to as the base of the recipe, the base needs to be frozen all the way through.
If yours is fully frozen before 24 hours, then you would be fine to blend it up, but in order to get the best consistency, it’s always best to freeze it for a full 24 hours.
It also needs to be frozen flat and even on a level surface, meaning it’s not leaning to the side or tossed in the freezer.
When using the machine, remember that you need to press the button and move the handle right to release your blender assembly from the machine.
For more assembly questions, be sure to refer to the manufacturer’s instructions for your machine. There are a few different models now.
What happens when your Ninja Creami Ice Cream is crumbly?
Lastly, the MOST IMPORTANT tip I’ve discovered over using ours is that sometimes when you first spin it in your machine, it will come out crumbly and not at all like the consistency of ice cream.
If this happens, add 1-2 Tbsp of milk to the mixture and then blend it again on the ICE CREAM function.
Then, open that lid and you will find the perfect consistency of ice cream. Remember to also stir up the bottom of the pint, sometimes ingredients get stuck in the crevices of the pint, so be sure to stir it up well.
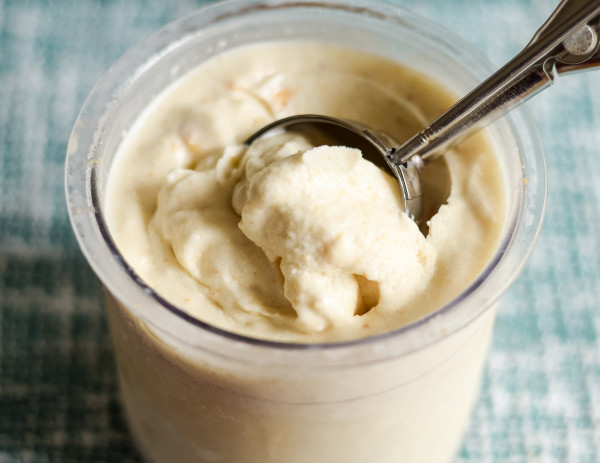
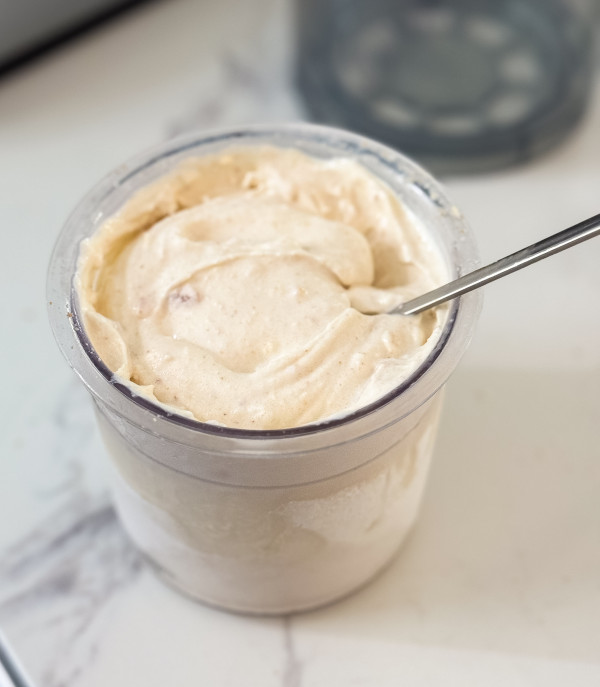
Ninja Creami ice cream comes out of the machine similar to a soft serve depending on the amount of spins that you use.
What ingredients do you need for Ninja Creami Banana Pudding Ice Cream?

- Instant Banana Pudding
- Marshmallow Fluff
- Vanilla Extract
- Banana
- Milk
- Vanilla Wafers or Gluten-Free Vanilla Wafers
Gluten-Free Option for Ninja Creami Banana Pudding Ice Cream:
If you are planning to make this gluten-free be sure that you use the Jell-O Brand of Instant Pudding, the off-brands are not all gluten-free. Then, you would also want to use Gluten-Free Vanilla Wafers. These are typically easy to find at Walmart or Sprouts.
How do you make Ninja Creami Banana Pudding Ice Cream?
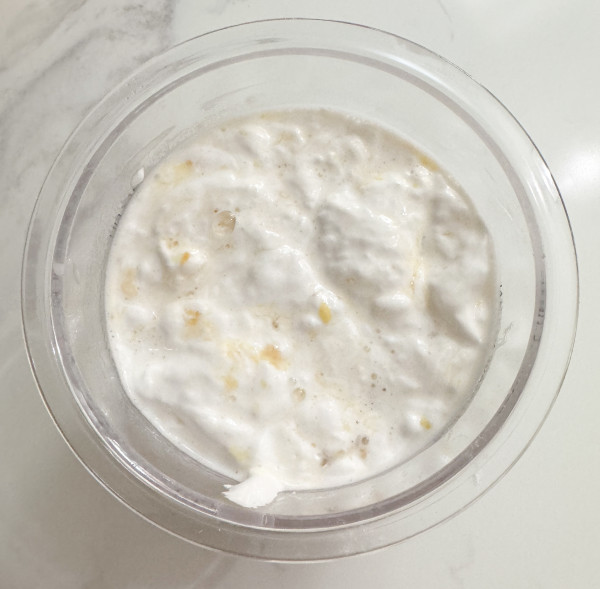
Using your Ninja Creami pint, add in the banana pudding mix, vanilla extract, marshmallow cream, half a banana, and then add milk to the fill line. The marshmallow cream will make it chunky, but this is fine, just mix or stir it a bit.
Once is lightly mixed, go ahead and place the lid on the pint and freeze for 24 hours. This will be your ice cream base to use in the Ninja Creami ice cream maker.
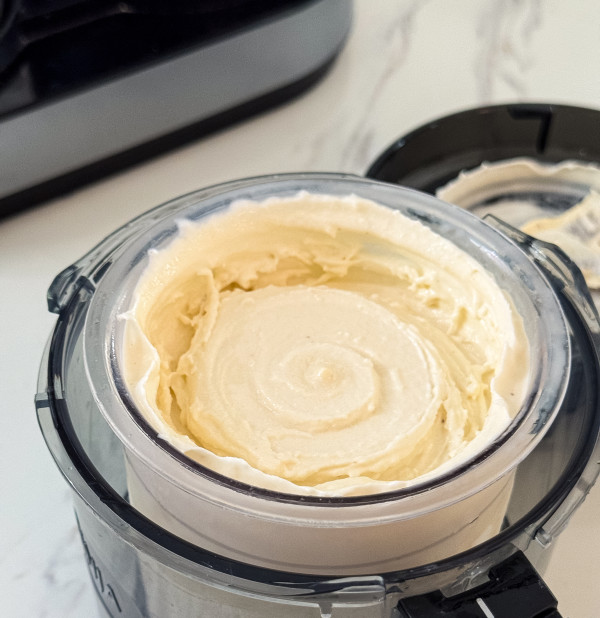
After 24 hours, it’s time to do the first spin on your machine. Remove the gray lid and place your pint into the base with the handle that comes with the Creami, secure the lid, place the bowl assembly back into your machine, and secure it.
Use the ICE CREAM function to give it a first spin.
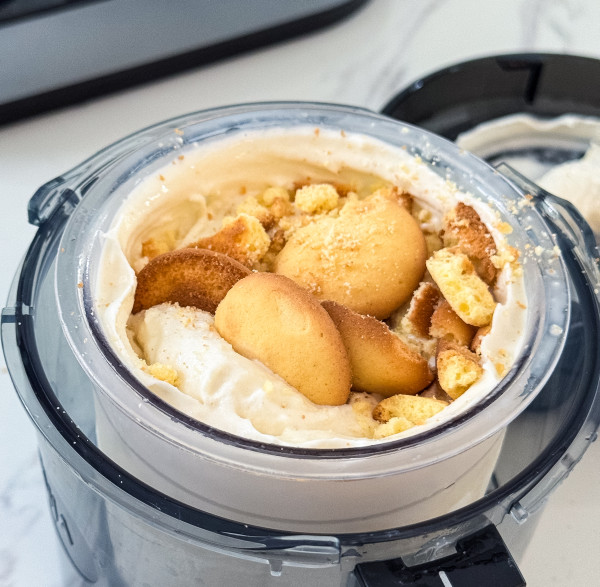
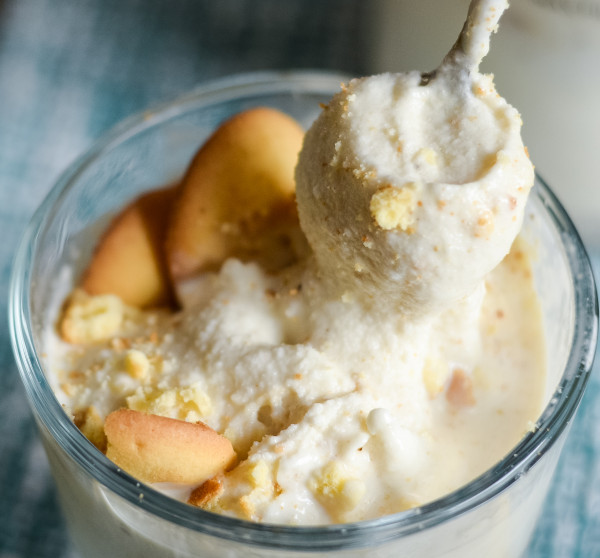
Once released, carefully remove the lid and see if it’s at your desired consistency. If it is, make a nice valley in the middle of the pint to add the crushed vanilla wafers.
Resecure the lid assembly and add it back to the machine. Then, use the MIX-IN function to mix it all together.
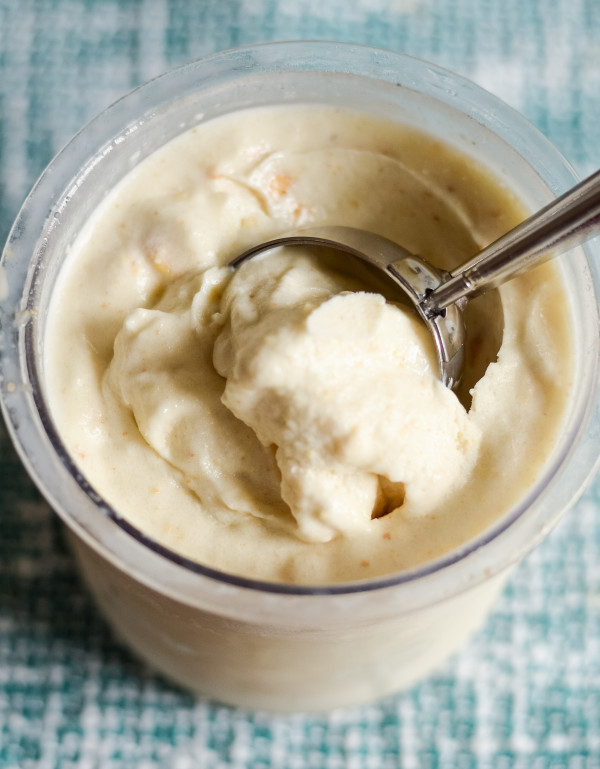
Carefully remove the lid and serve the ice cream mixture or store for later.
How do you store Ninja Creami Ice Cream?
Ninja Creami Ice Cream can be stored in the pint jars that they are mixed in along with the gray storage lid. Simply add the lid place the ice cream in the freezer and eat as desired.
If you do not have a lid, you can also use freezer-safe plastic wrap too.
Ninja Creami Banana Pudding Ice Cream is at the top of my list, it’s a rival with our Ninja Creami S’mores Ice Cream Recipe. We’re a house divided too as my daughter’s favorite is the S’mores version and my son’s is the Banana, with my husband and I divided as well.
That just means that you all need to make them both because they are just so good!
Enjoy!

Ninja Creami Banana Pudding Ice Cream
Ingredients
- 2 Tbsp Banana Instant Pudding
- 3/4 Cup Marshmallow Fluff
- 1 tsp Vanilla Extract
- 1/2 Banana
- 3/4 Cup Milk (to the Line)
- 1/2 Cup Crushed Vanilla Wafers or Gluten-Free Wafers
Instructions
- Using the pint that comes with the Ninja Creami, add in the banana pudding, marshmallow fluff, vanilla extract, and 1/2 banana.
- Pour in the milk to the line indicated on the pint jar to stop at.
- Stir up the ingredients well to get the pudding mixed in.
- Add the lid and freeze flat in the freezer for at least 24 hours.
- When ready to serve, remove the lid and secure it into the mixer of the Ninja Creami. Use the ICE CREAM function to mix it up.
- Once mixed, open the lid. If the ice cream is crumbly, you can add a tablespoon of milk and remix it with the ice cream function. If the consistency is good, make a hole in the center with a spoon and add in the crushed wafers.
- Resecure the lid and re-mix the ice cream with the ADD-INS function.
- Carefully remove the lid and serve.
Notes
Nutrition
did you make this recipe?
Make sure to tag #mommyhatescoooking on Instagram and follow for more @momhatescooking

Leave A Reply!