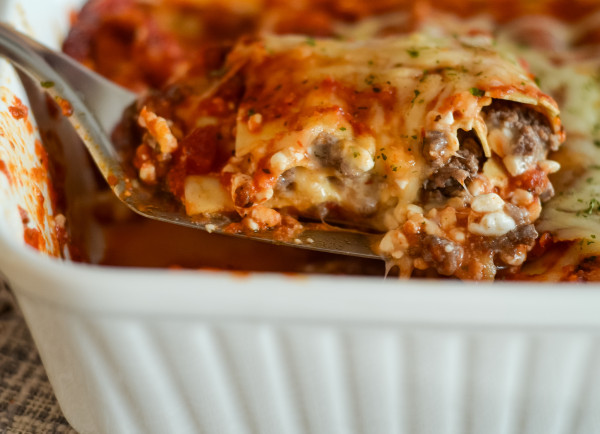
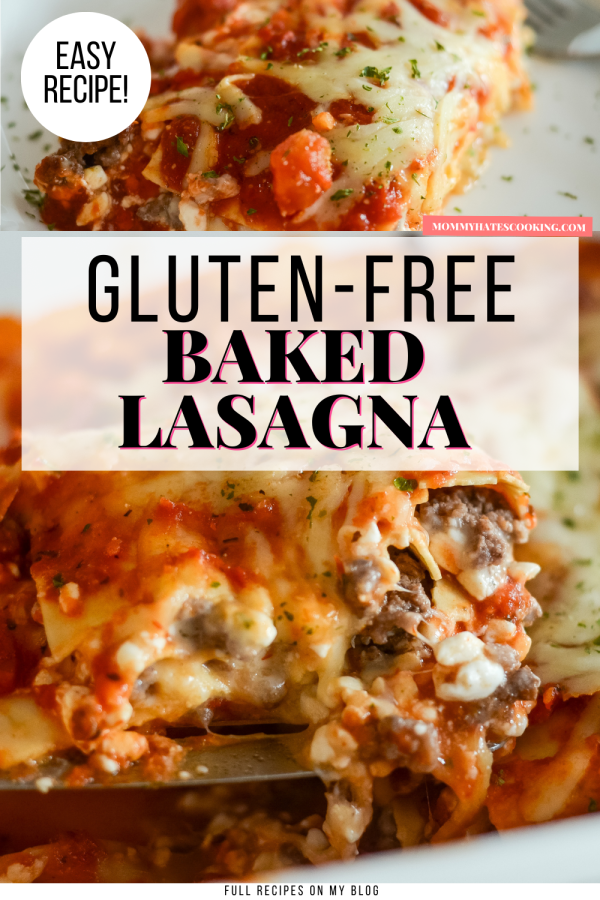
Make the easiest dinner with this Gluten Free Baked Lasagna Recipe, it uses cottage cheese instead of ricotta!
This gluten-free lasagna can easily be made gluten-free or not gluten-free, it’s totally up to you and only involves swapping out the layer of noodles for a gluten-free lasagna noodle.
What gluten-free pasta should you use for lasagna?
These days there are a variety of gluten-free noodles to choose from. We typically use Barilla Oven-Ready Lasagna Noodles, as these are easily found at your local grocery store.
Any lasagna noodles that you prefer can be used, however, for this recipe, they must be OVEN READY. Barilla Gluten Free Lasagna Noodles are oven-ready. This recipe is written for oven-ready lasagna noodles, so be sure to use these or the recipe will need to be altered.
If you are not using oven-ready lasagna then you will need to boil noodles before proceeding with the recipe and the cooking time will then be altered.
Can you use cottage cheese in lasagna?
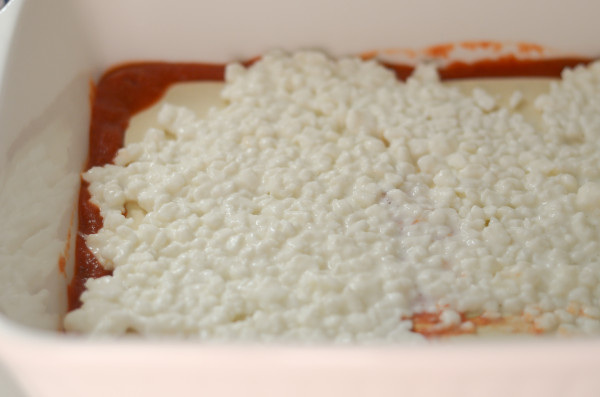
Traditionally, lasagna includes a layer of Ricotta cheese, the Ricotta mixture can be replaced with Cottage Cheese.
This is what we do in this recipe, low-calorie cottage cheese can also be used. This is completely up to you and your preference.
Tips for Making Gluten Free Baked Lasagna:
This recipe can be made in a 9×13 baking dish, casserole dish, or lasagna pan.
Before beginning to assemble the lasagna, the ground beef will need to be cooked in a medium-sized skillet, along with the ground beef add a little bit of Italian Seasoning and Garlic Salt to season the meat.
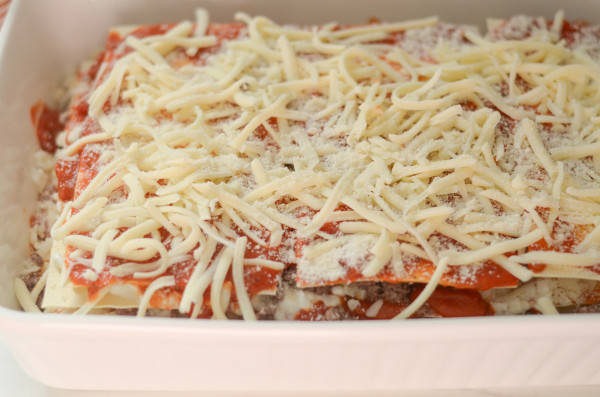
I suggest using a block of Mozzarella Cheese and hand grating it as the pre-shredded Mozzarella Cheese does not melt the same way as a block of cheese will.
Along with Mozzarella Cheese, use Grated Parmesan Cheese and Cottage Cheese. These cheeses will be layered in between the lasagna noodles.
After each layer, a bit of Marinara Sauce will be added.
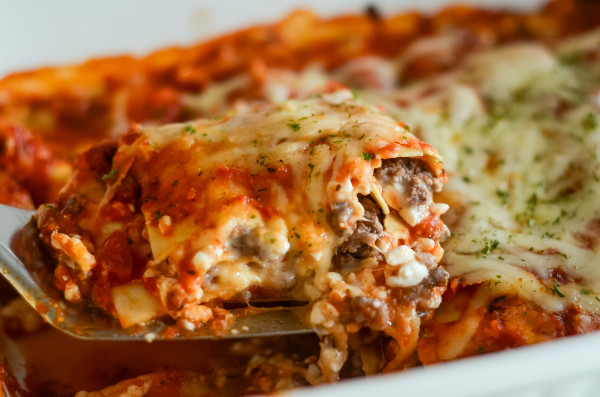
This recipe made 3 layers for us using about 1/3 of the ingredients with each layer. The first layer will include a little bit of marinara on the bottom of the dish, and the final layer will be topped with gluten-free lasagna noodles and any remaining sauce or cheese.
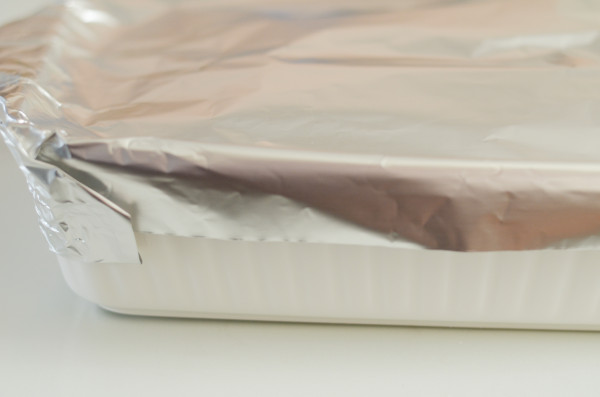
When ready to place in the oven, cover the entire dish with aluminum foil. This will be baked for about 30 minutes before removing the foil.
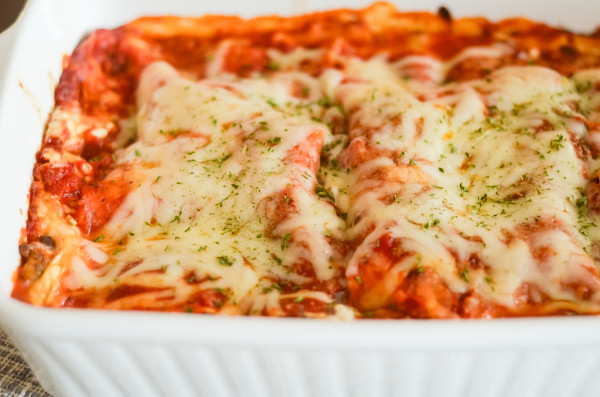
When the foil is removed, if you see any pasta that is not under liquid, use a spoon or fork to just push it down. This can occur with the top layer of noodles. Once the lasagna looks good and is under the liquid, carefully place it back in the oven, uncovered for 10-15 minutes.
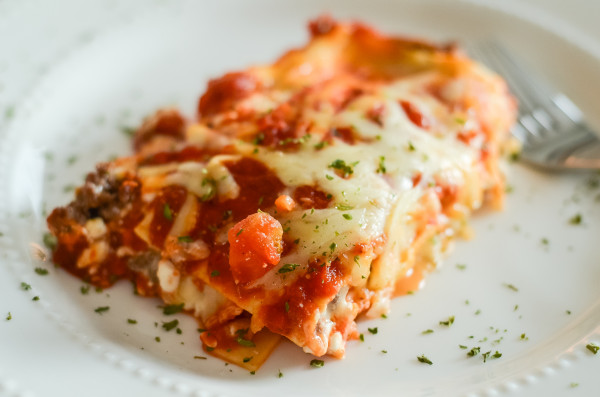
The key is to get it nice and golden brown on top with melted cheese and soft pasta.
Before serving or adding into the oven, additional Garlic Salt or Italian Seasoning can be added to your taste.
Looking for a Ninja Foodi option? Try this Ninja Foodi Lasagna!
How do you store leftover lasagna?
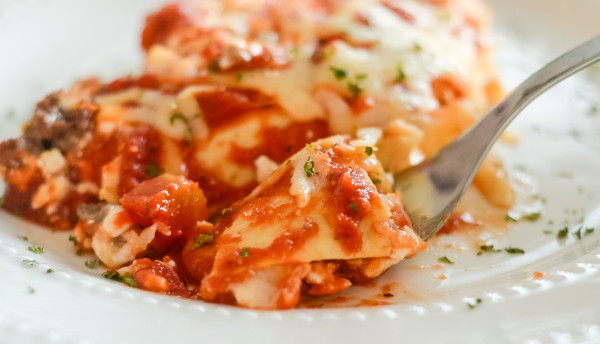
Leftover lasagna can be stored in an airtight container in the refrigerator for 3-4 days. When ready to serve, reheat it on a microwave-safe plate for 2 minutes before serving.
I always feel like leftover lasagna is even better than fresh out of the oven, lasagna always makes great leftovers.
Can you store lasagna in the freezer?
This lasagna can be stored in the freezer in a variety of ways.
First, if you want to make this a freezer meal, prepare the lasagna in a freezer-safe dish and cover it with plastic wrap and then with aluminum foil. The entire lasagna can be placed in the freezer until you are ready to bake it. This lasagna is being placed in the freezer UNCOOKED.
When ready to serve at a later time, let it thaw for 1-2 hours before then proceeding with the cooking instructions in the recipe card.

It’s best to use the lasagna within 3 months of storing.
If you only want to store the leftover lasagna, add it to a freezer-safe container and store in the freezer for up to 3 months. Remember that already-cooked lasagna can be mushy when reheated, so it is best to store it uncooked if using the freezer method.
This can easily be paired with Gluten-Free Garlic Bread too!
Lasagna is the ultimate comfort food and it’s even better when you can make it gluten-free for a crowd too. This recipe is always a big hit with our kids and can easily be adapted to your personal tastes!
If you enjoy this you will love this Ravioli Lasagna that can also easily be made gluten-free!

Gluten Free Baked Lasagna
Ingredients
- 1 Pound Lean Ground Beef
- 1/2 tsp Garlic Salt
- 1 tsp Gluten-Free Italian Seasoning
- 12 oz Gluten-Free Oven Ready Lasagna Noodles
- 24 oz Cottage Cheese
- 24 oz Marinara Sauce or Meat Sauce
- 2 Cups Shredded Mozzarella Cheese
- 1 Cup Grated Parmesan Cheese
- Garlic Salt to Garnish
- Italian Seasoning to Garnish
Instructions
- Preheat the oven to 375°F.
- Start by cooking the ground beef in a medium-sized skillet on medium-high heat, add in the garlic salt and Italian seasoning.
- Carefully remove the meat and drain it.
- Coat a 9×13 casserole dish or lasagna pan with nonstick cooking spray.
- Add about 1/2 cup sauce to the bottom of the prepared dish, then add gluten-free lasagna noodles. If using the Barilla gluten-free lasagna noodles this is about 3 noodles. They do spread out some during cooking time.
- Top with 1/3 of the cottage cheese, shredded mozzarella, parmesan cheese, and meat. The ingredients will be used to complete 3 layers.
- Add another layer of lasagna noodles, about 3 of the gluten-free noodles. Top with about 1/2 cup of sauce.
- Repeat the layer of cottage cheese, shredded mozzarella, parmesan cheese, and meat. Top with lasagna noodles and sauce, then repeat. This should do 3 layers with ingredients.
- After the final layer, top it with 3 lasagna noodles and the remaining sauce and cheese. Add a dash of garlic salt and Italian seasoning if preferred on top.
- Cover the dish with foil and bake in the pre-heated oven for 30 minutes.
- After 30 minutes, carefully remove the foil from the dish. If needed use a fork or spoon and press down any noodles that need to be under the liquid.
- Continue to cook for an additional 10-15 minutes until nicely golden brown on top.
- Carefully remove and let cool for 5-10 minutes before serving.
Notes
Nutrition
did you make this recipe?
Make sure to tag #mommyhatescoooking on Instagram and follow for more @momhatescooking
Leave A Reply!