Today it’s my turn! I’m so excited to share with you this recipe that was linked up a few weeks ago on Make Bake Create for Baked Apple Chips! It’s going to be perfect for you for back to school lunches and snacks! It’s right around the corner, friends!
If you are late to the party, no worries, every Wednesday come and link up your favorite projects from the week. This could be any food, recipes, crafts or DIY! Since there are 5 hosts… your link will be seen on 5 blogs at once.
 Your hosts are Rachel from Bubbly Nature Creations, Sarah from Hope In Every Season, Kristy from Mommy Hates Cooking, Brandi from The Creative Princess and Vanessa from The Rookie Seamstress.
We would love for you to follow us on Google+!
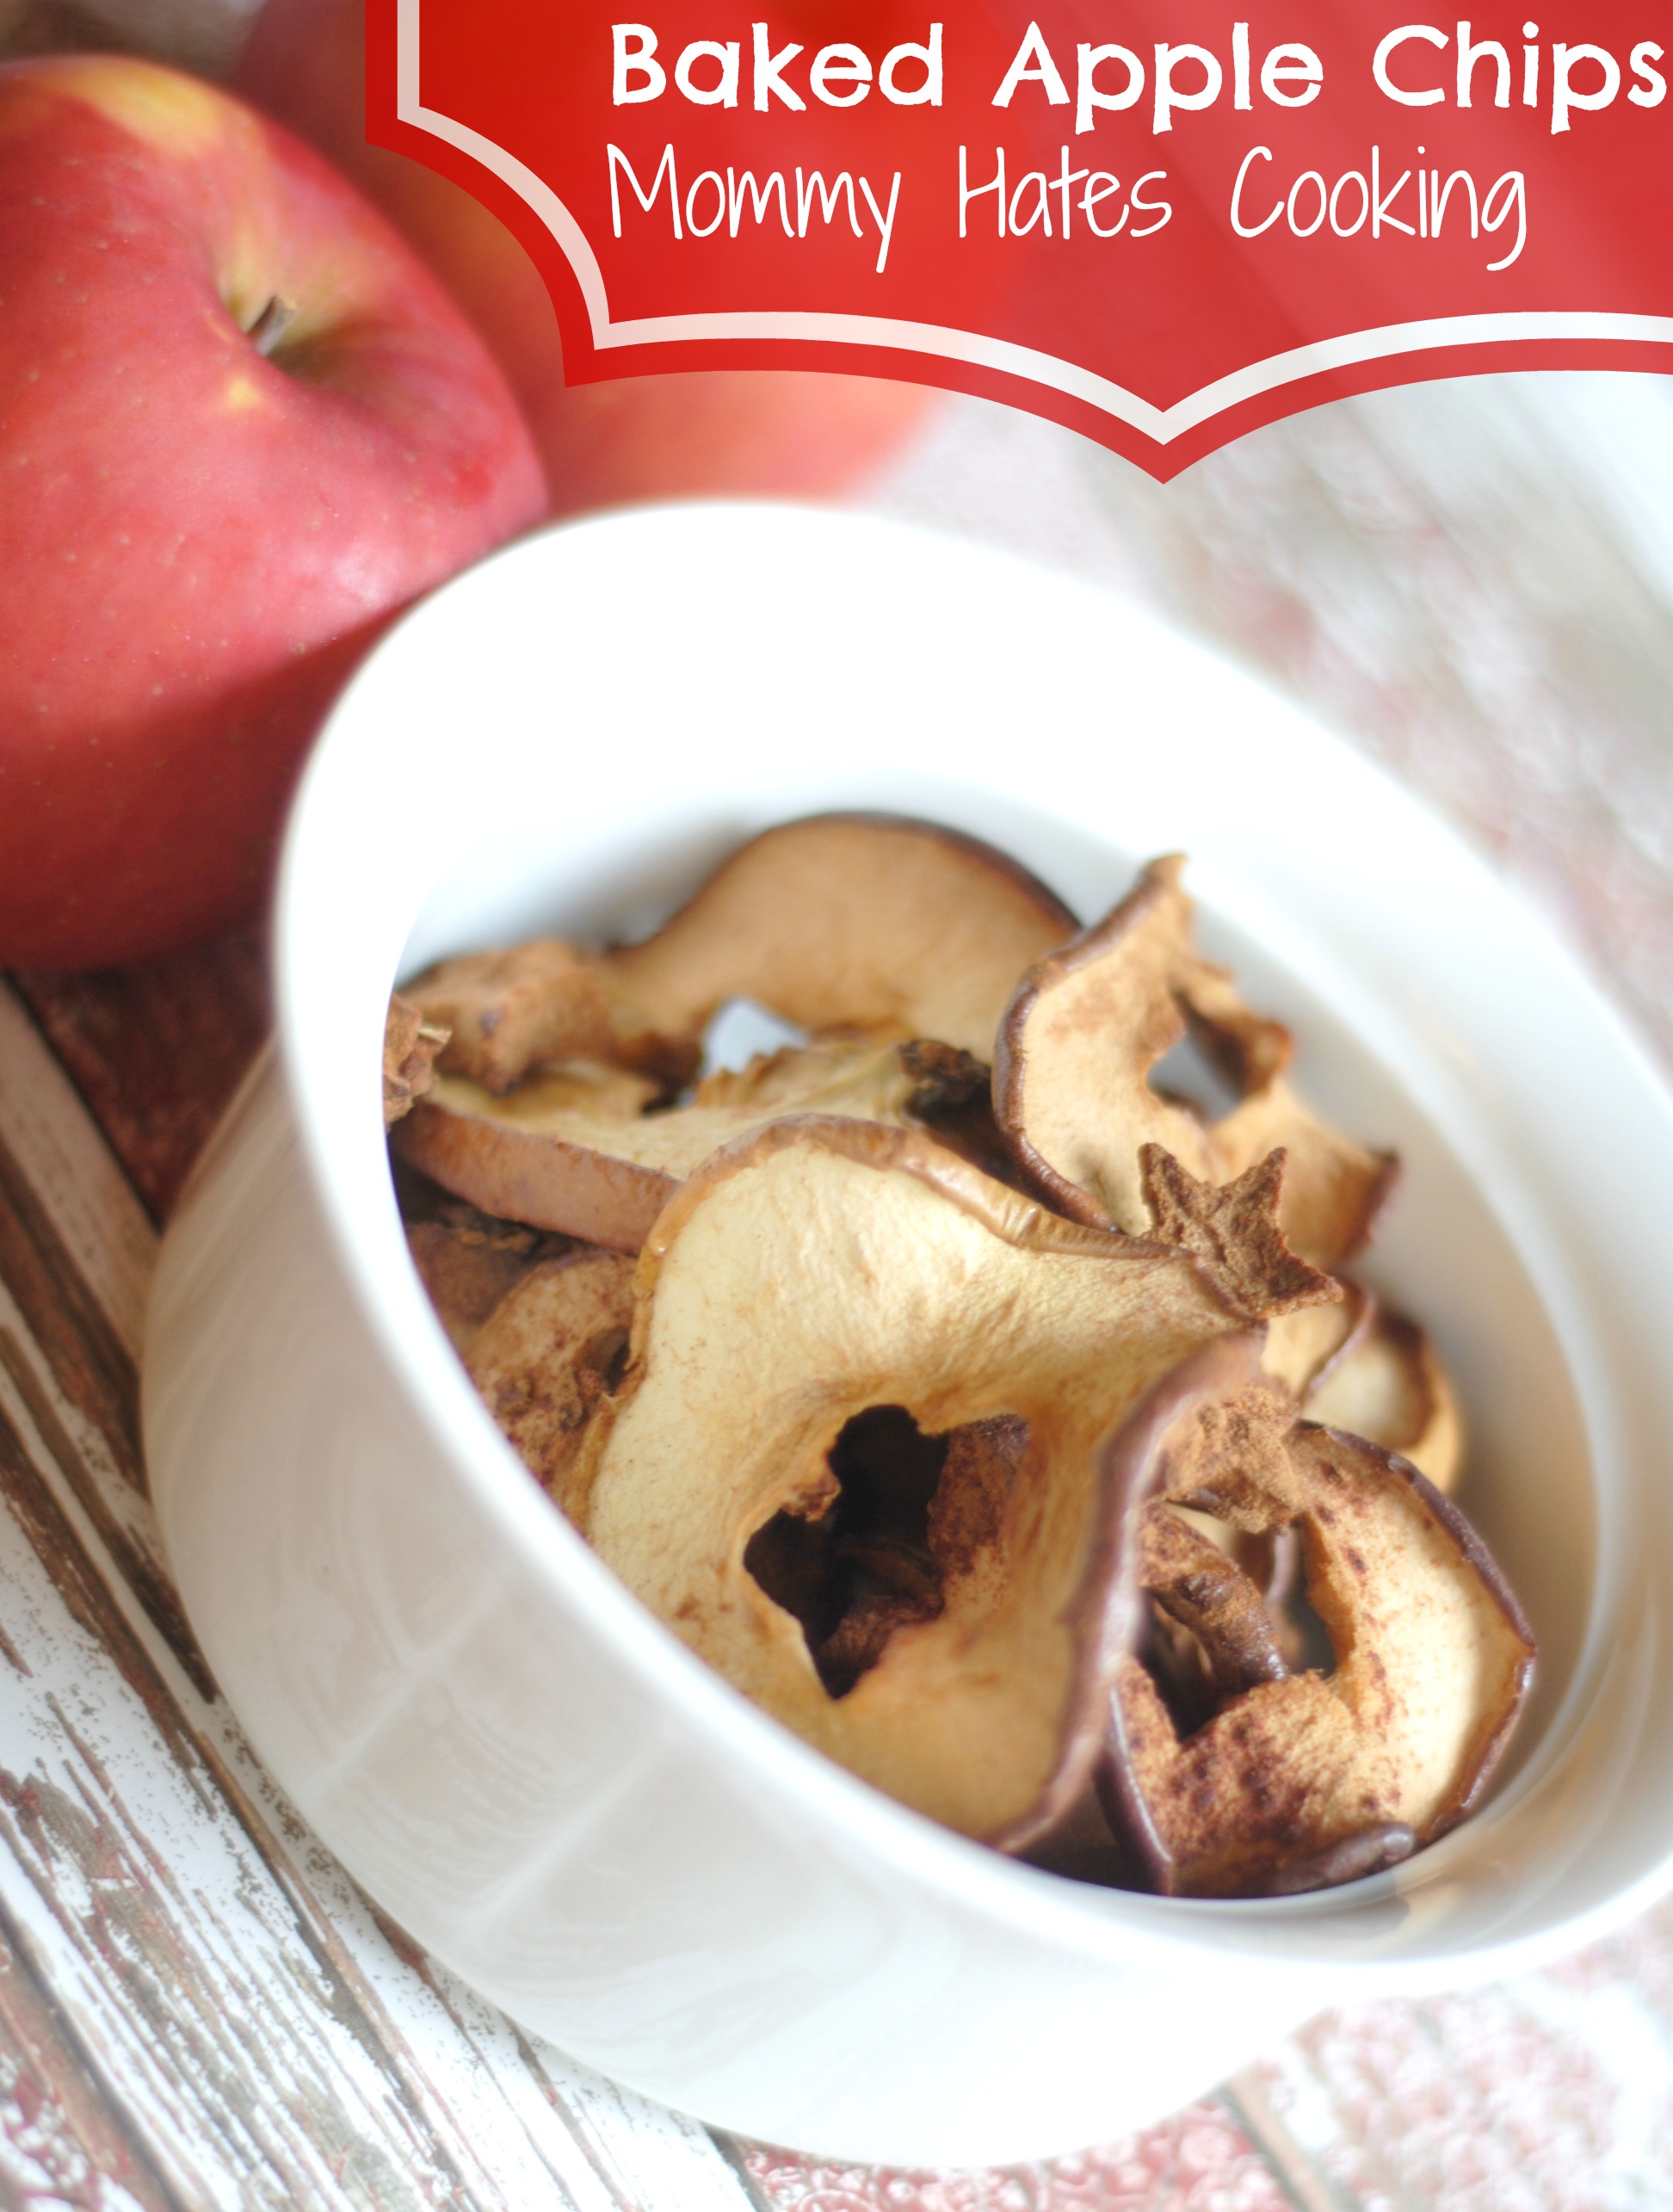
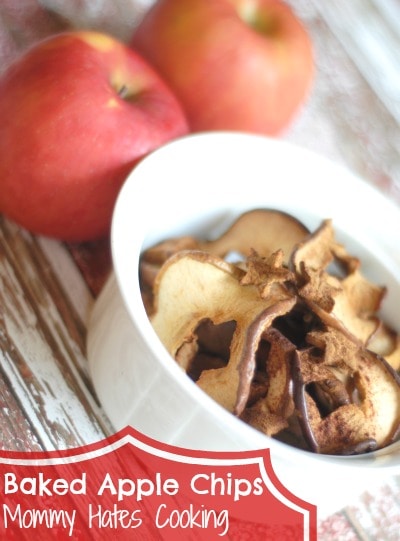
This week I am so excited to share with you this recipe for Baked Apple Chips! When I first saw this recipe linked up on Make Bake Create, I knew that I had to try it. First it’s simple, you will likely already have the ingredients on hand! Plus, what a wonderful snack or lunch item for the kids!
I love that by making these myself, I know exactly what is in them instead of buying them at the store full of preservatives.
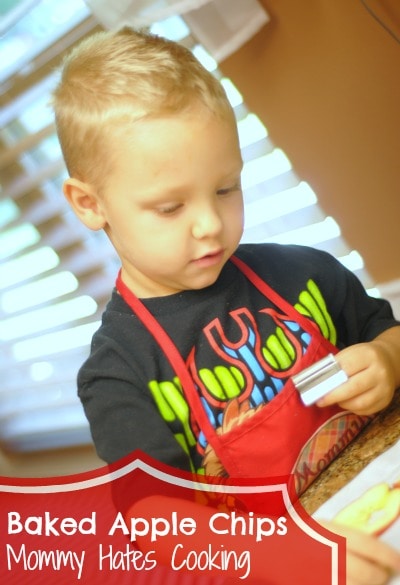
Even better for me was that my son was so excited to help me make these. He is an extremely picky eater, so I was happy that he was getting involved with baking these and hoped that would help him enjoy them and at least try them.
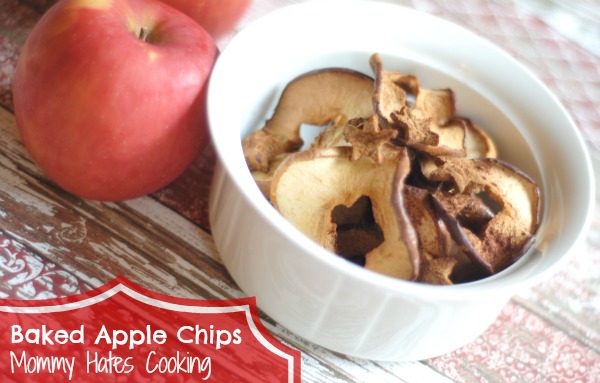
The recipe is simple and all you need is some parchment paper, apples, cinnamon, and a little cookie cutter to cut the center out of the apples. The hardest part for me was getting the apples sliced thin enough so ours were a little bit more thick than I would of liked but still delicious!
Also, it’s a good idea to be sure and check them around 1 hour and 45 minutes because my first batch was done before 2 hours even though the original recipes bakes them up to 2 hours and 15 minutes. Most likely it’s going to depend on just how hot your oven gets, so be sure and just keep a close eye on them because cook time may vary.
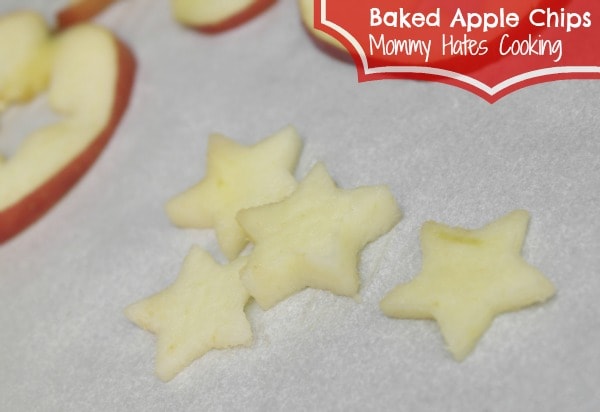
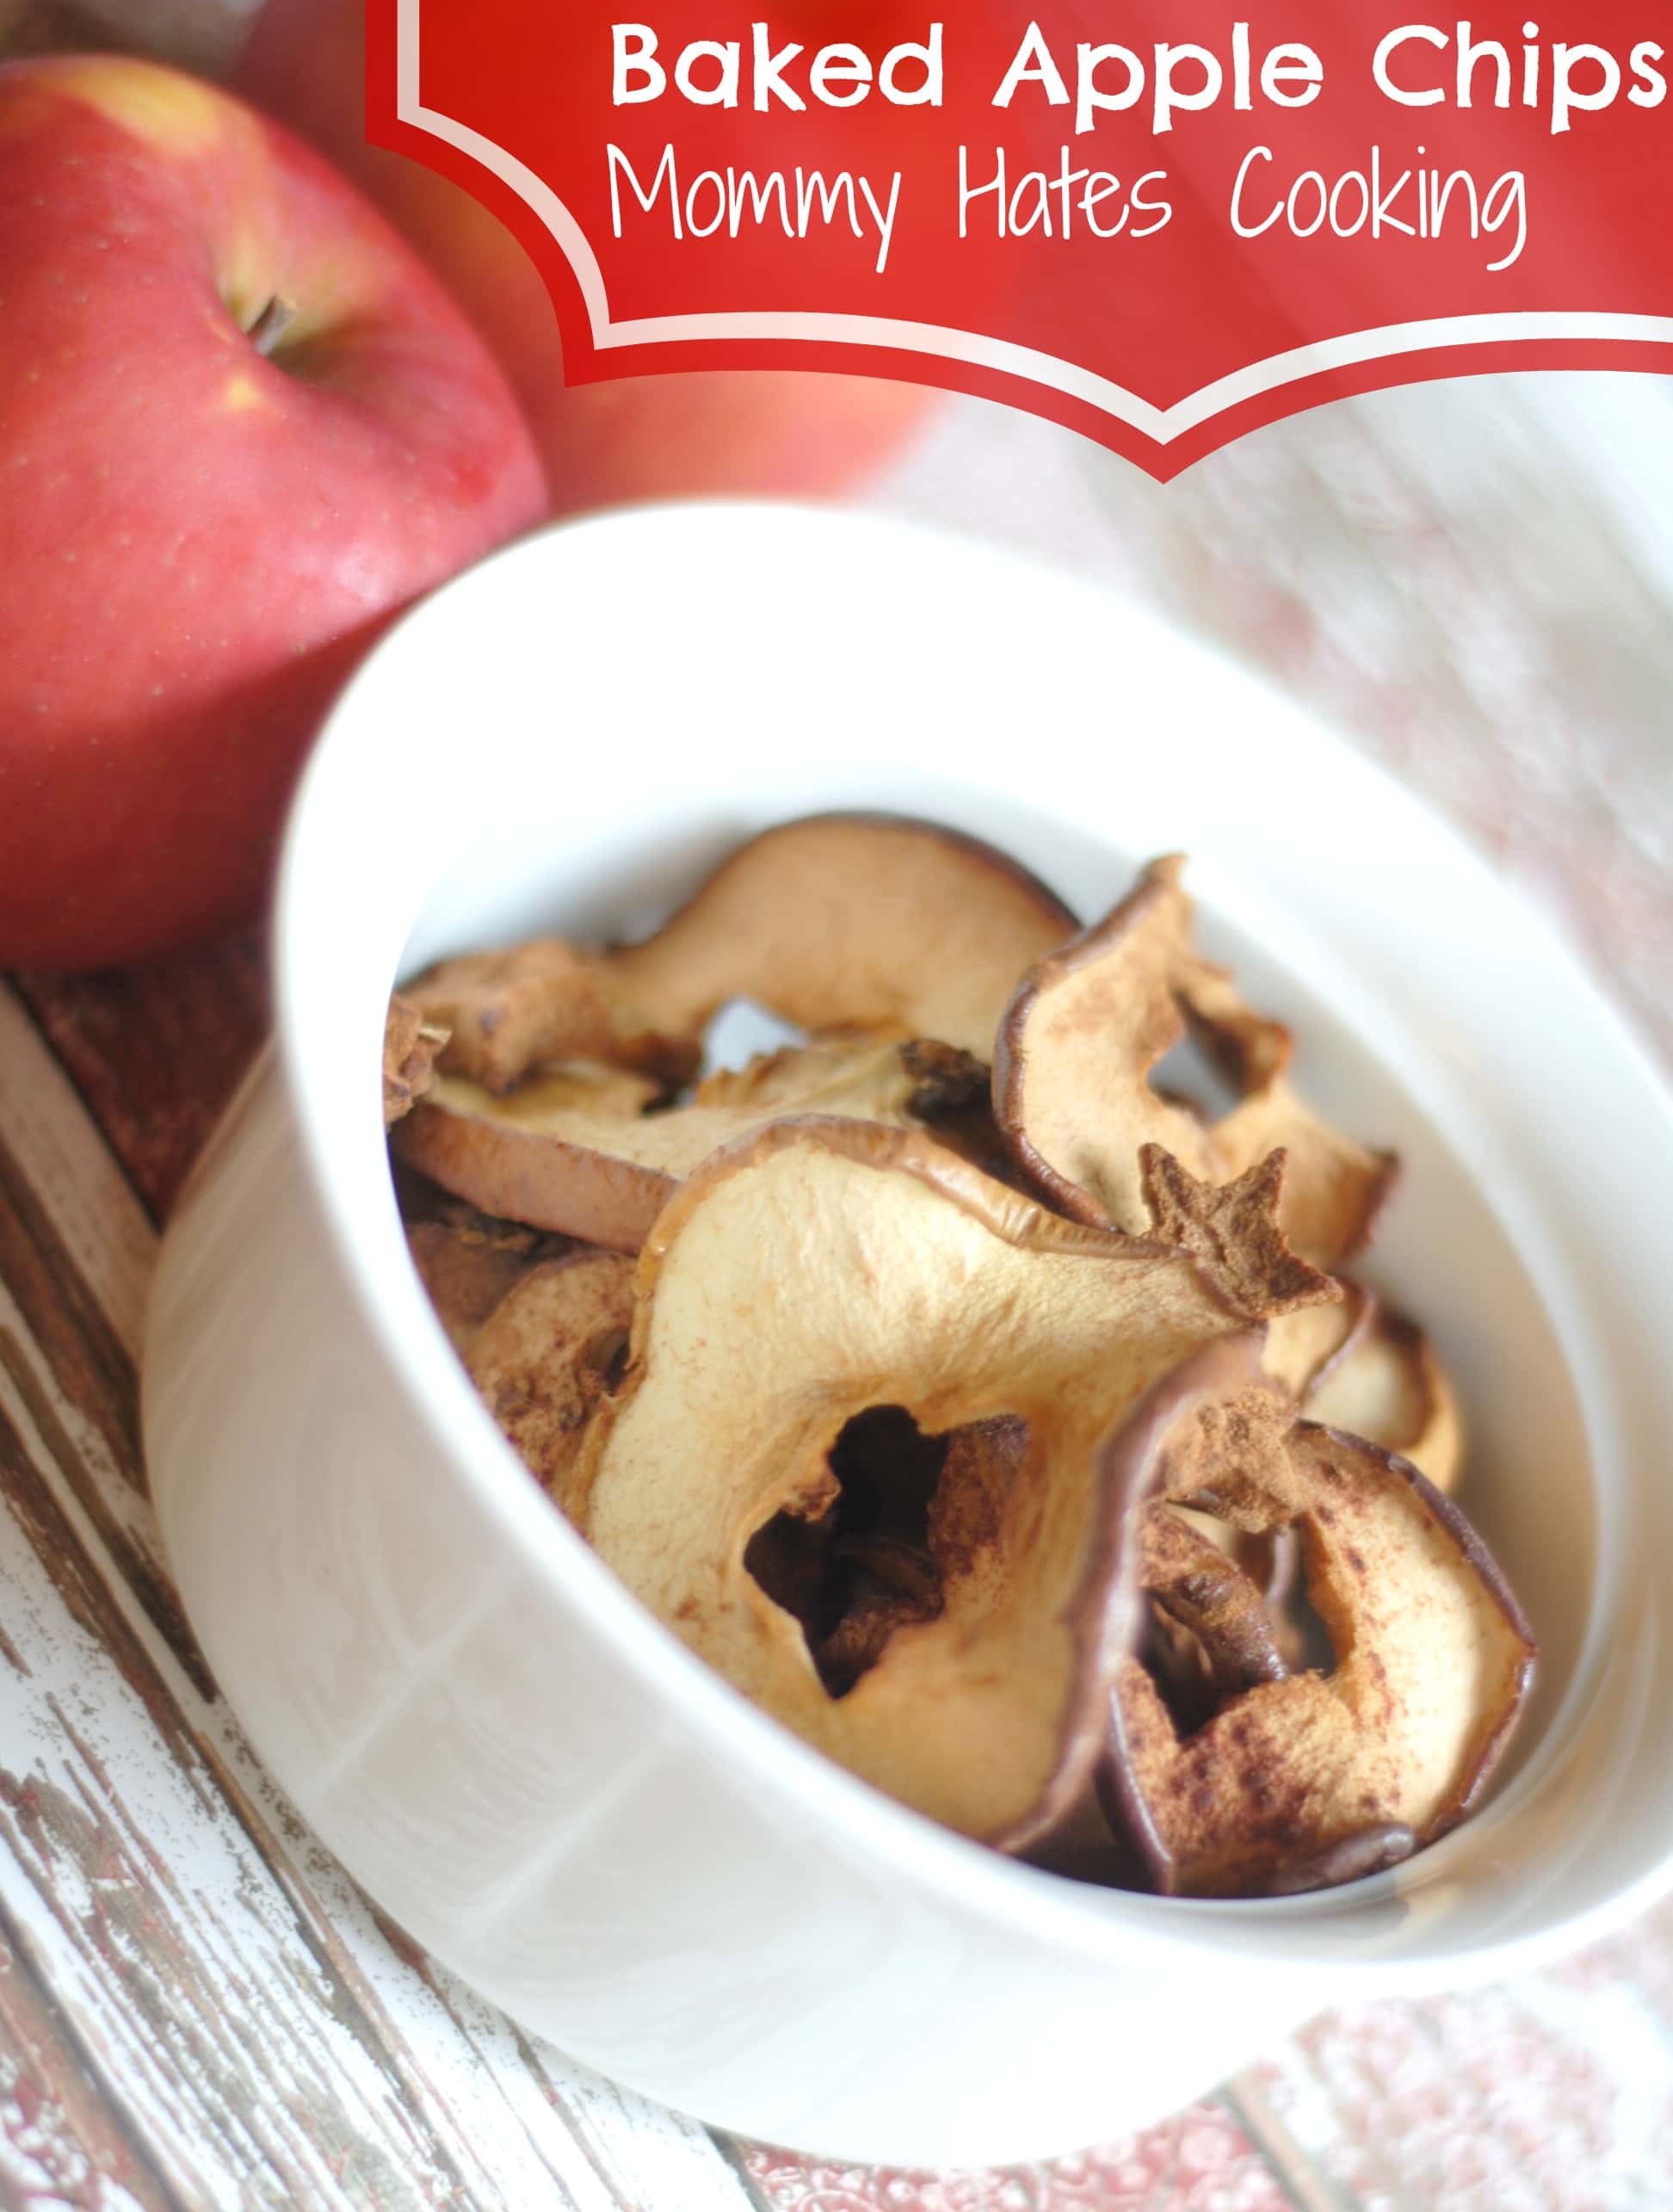
We used a star cookie cutter for the core of ours and it was the perfect job for my little man. He went to town cutting out the centers.
Now, this is the fun part…these don’t need to be perfect. All you need to do is have fun with your kids and for me that meant just letting him cut them out and not worrying about how ‘picture’ perfect they actually are. They turned out fabulous and it was a great way to enjoy an afternoon with my son. We talked about apples, cooking, and baking so it turned into a nice learning time for him!
Are you ready to get to baking? I’ll be sharing this recipe with you in a Ziplist format; however, be sure and head over to DIY Dreamer to see the original recipe as well!
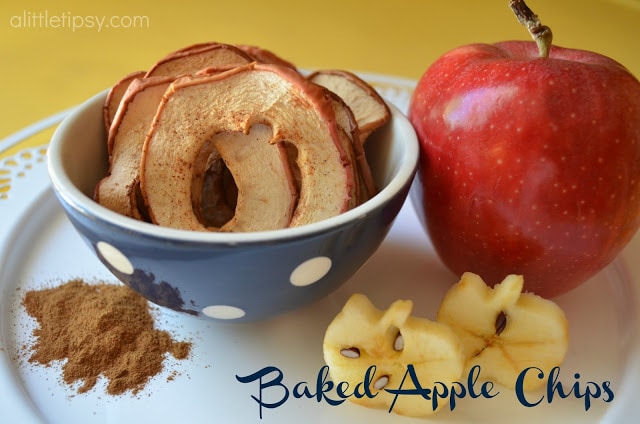
Photo Source on this Picture: DIY Dreamer by A Little Tipsy
Now it’s time for the recipe but first the kid friendly verdict…

Kid Tested and APPROVED! He loved them and so will you!
Be sure to follow our Make Bake Create Party Pin Board where we will be pinning the projects linked up here!
* You may link up any DIY/ recipe/ food type post.
* You may link as many links as you want.
* Be sure to include The Make Bake Create button or text link to in your linked post; this is recommended to be featured!
* By linking up you are agreeing that the photos are yours or that you have permission to use them, that we may use those photos to feature your project on a blog post, Facebook, Pinterest, or Twitter with a link back to your blog of course.
(We may also occasionally MAKE YOUR PROJECT OURSELVES- with a link back to your recipe or tutorial, this gets more exposure for you… and potentially lots of traffic!)
‘); // ]]>
Baked Apple Chips
Ingredients
- 2 Red Apples
- Cinnamon
- Also Needed:
- Parchment Paper
- Mini Cookie Cutter
- Cookie Sheet
- Knife
Instructions
- Preheat oven to 275*.
- Begin by slicing the applies in half then slicing them as thin as possible.
- Next use the cookie cutter and cut the core or the center out, be sure to get all the seeds out too.
- Place each apple slice on a parchment lined cookie sheet.
- Once the cookie sheet is full sprinkle cinnamon evenly over the applies. This took about 1-2 Tbsp of cinnamon for me but will vary.
- Place them on the top rack in the oven to bake for 1 hour.
- After 1 hour, remove them and turn them over carefully, bake for another 1 hour up to 1 hour and 15 minutes.
- I would suggest checking them after 45 minutes on each side to be sure they do not overcook.
Nutrition
did you make this recipe?
Make sure to tag #mommyhatescoooking on Instagram and follow for more @momhatescooking

Comments & Reviews
Rachel says
I love love the shapes. So cute and tasty!
Winnie says
Thank you for the party Kristi and for this awesome recipe!
I’d probably eat most of it myself 🙂
Leigh says
Could you use other fruits besides apples?