

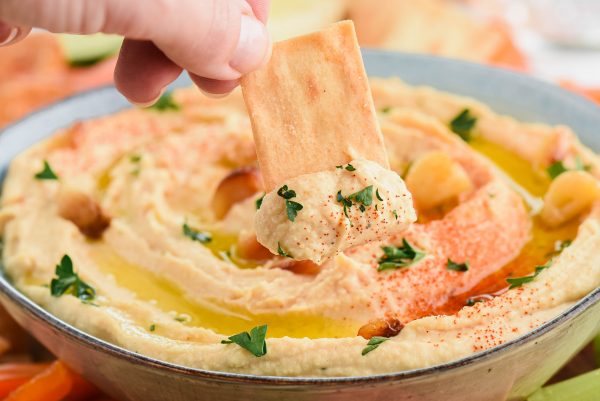
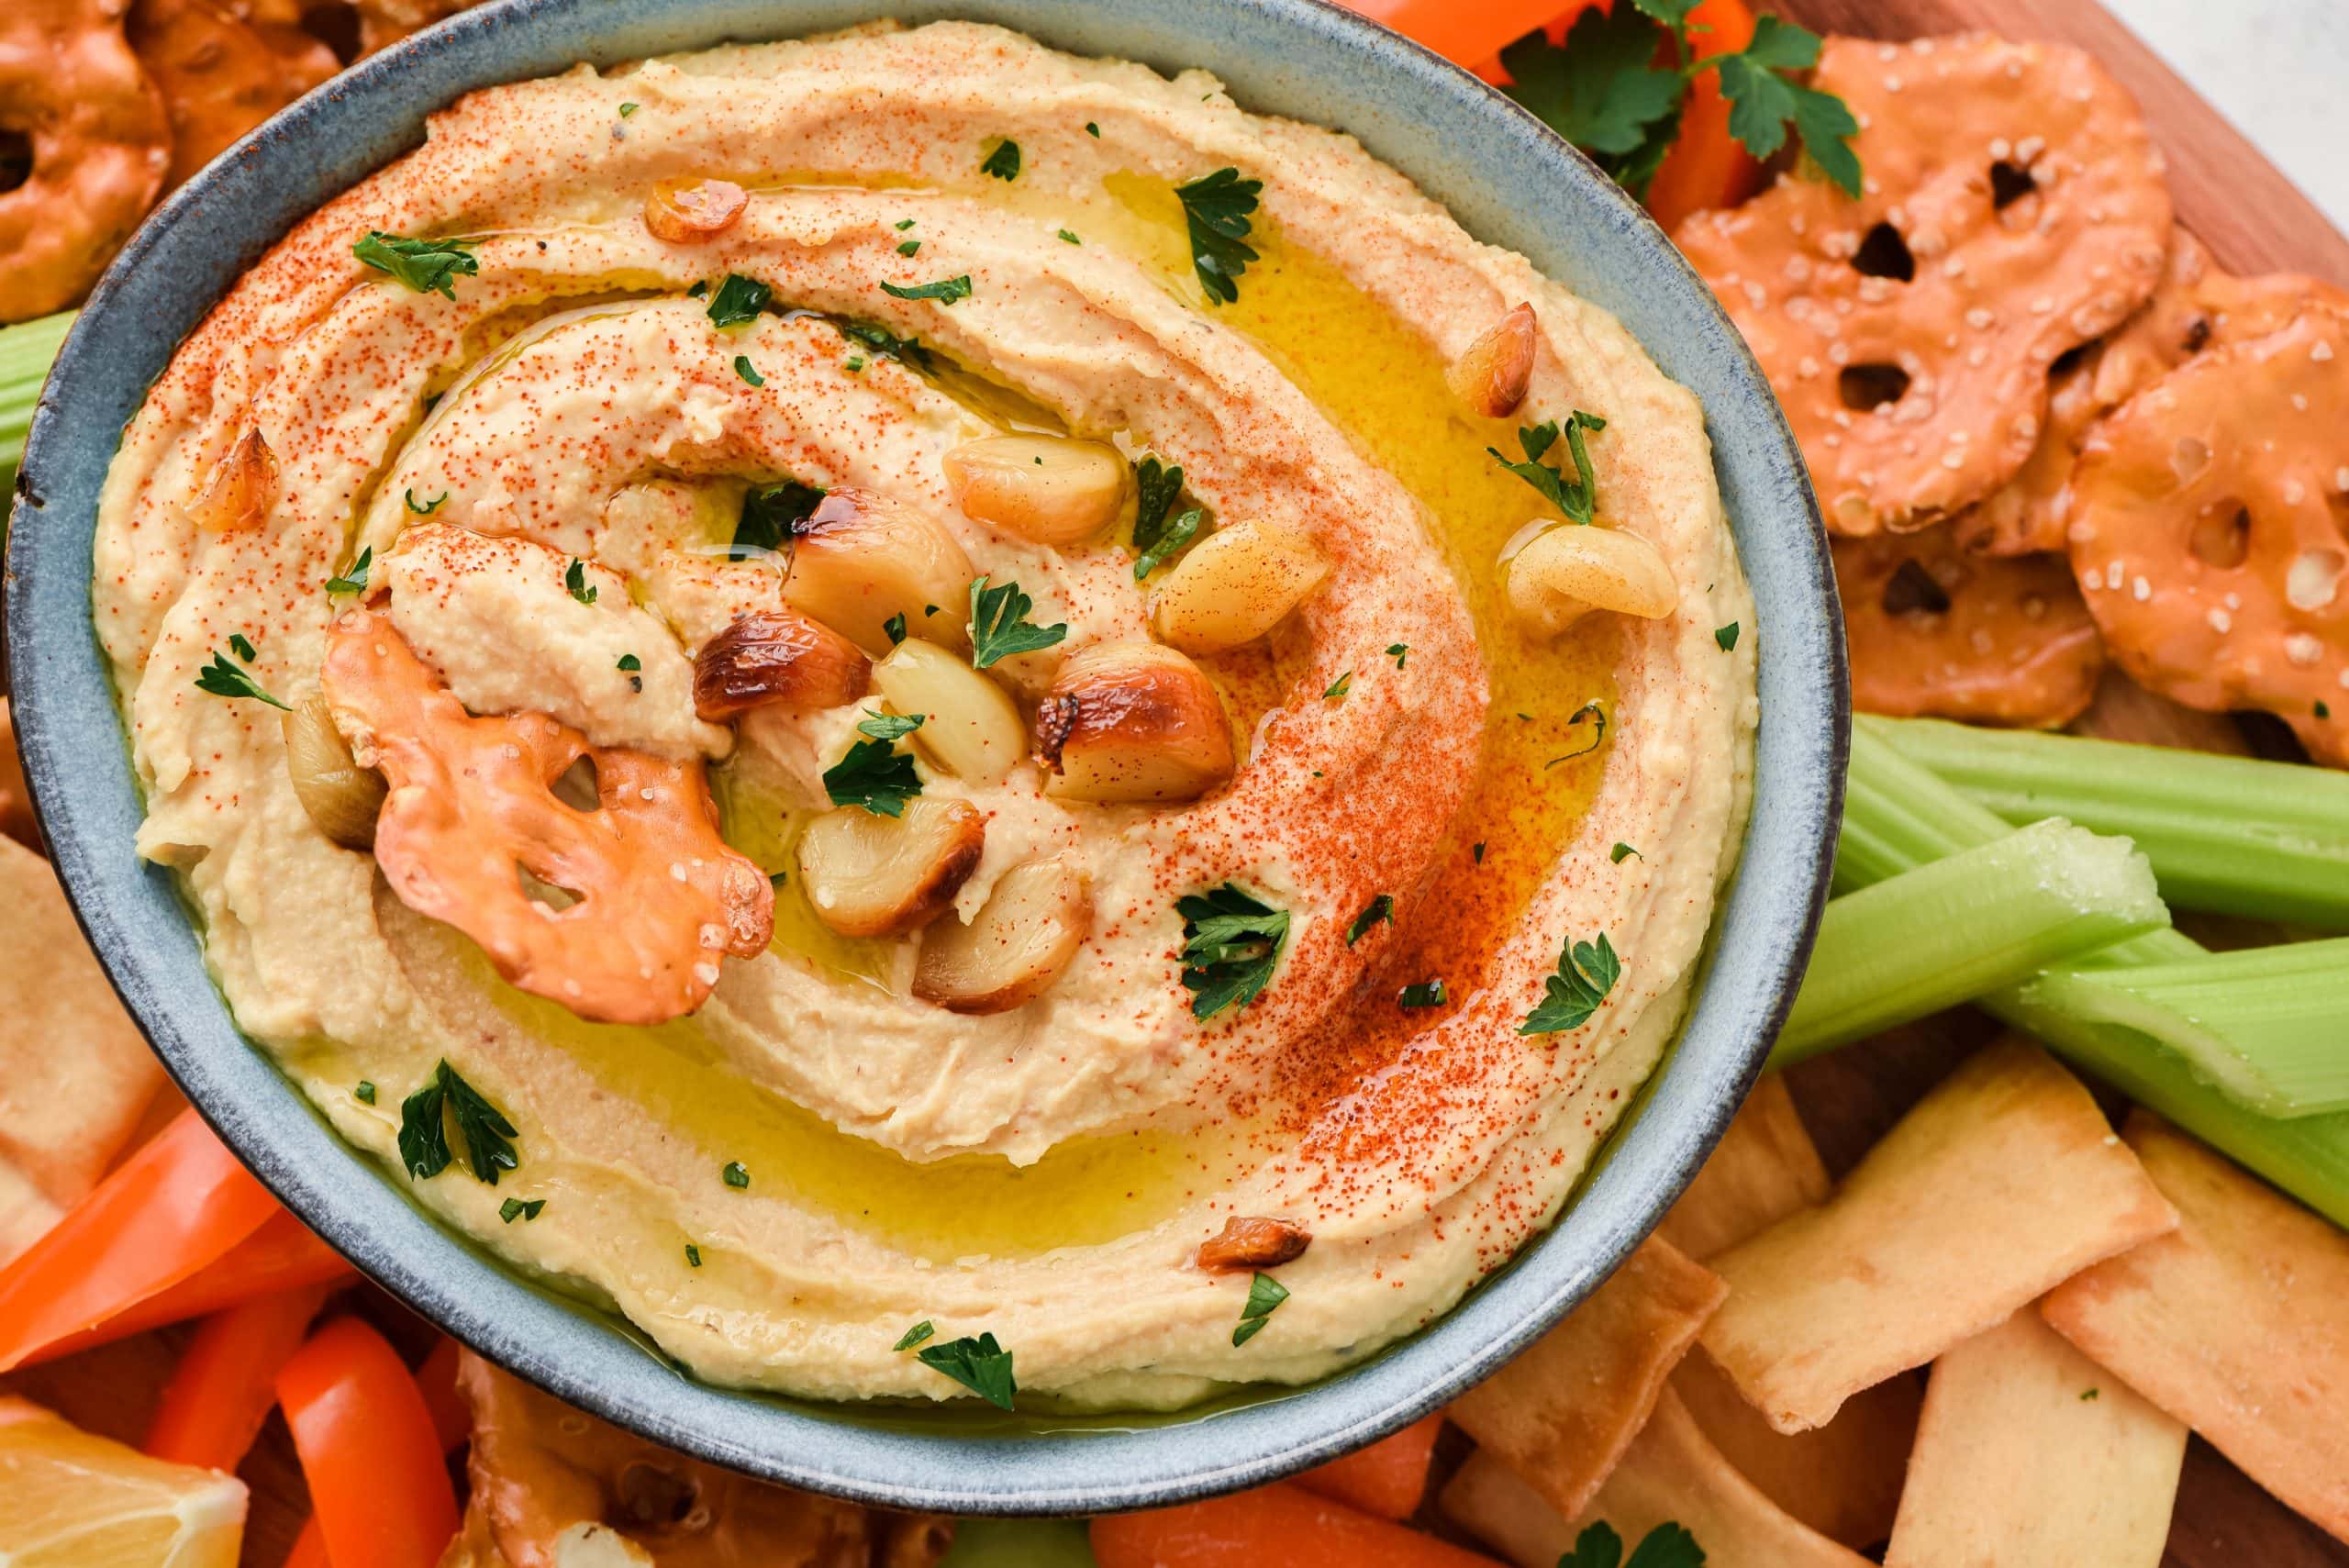
When you need a delicious, wholesome snack, you are going to love having this easy dip ready to serve in your fridge. This ultra-creamy roasted garlic hummus is the perfect go-to snack paired with a variety of vegetables or pita chips. It’s easy to prepare in advance and store in the fridge to quickly serve throughout the week.
Making your own dips from scratch can sound scary, but honestly, it’s so straightforward. A few standard pantry items, along with a food processor, will make dip recipes a breeze. This hummus gives your family a high-protein, fiber-rich snack that feels like a special treat with very little effort.
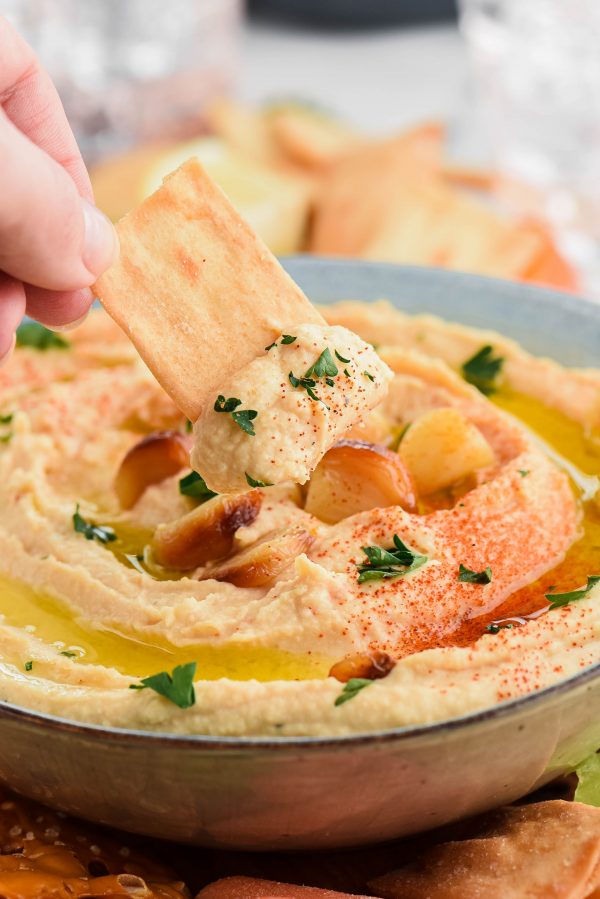
Table of contents
What is Roasted Garlic Hummus?
Roasted garlic hummus is a smooth, creamy Mediterranean dip made from blended chickpeas or garbanzo beans, tahini paste, olive oil, and fresh lemon juice. This version is elevated by blending in entire heads of oven-roasted garlic, which eliminates the hard bite of raw garlic and creates a sweet, buttery flavor. This is a nutrient-dense appetizer that provides great plant-based protein.
Why you’ll love Homemade Hummus
- Ready in minutes, this hummus blends up in less than 5 minutes once the garlic is roasted.
- Simple pantry ingredients like chickpeas, olive oil, and lemon.
- Easy to make gluten-free!
- Kid-friendly, perfect treat for the kids throughout the week.
- Easy snack to have on hand for quick breaks.
- Packed with protein and nutrition!
Ingredient Notes

Canned Chickpeas – Also labeled as garbanzo beans, these form the filling, high-protein base of your hummus.
Water – Provides the liquid needed to combine the dip.
Tahini – A smooth paste made from ground sesame seeds that adds a classic rich, and slightly nutty undertone to the dip.,
Olive Oil – Helps create a silky, emulsion-rich texture while adding a smooth finish.
Lemon Juice – Freshly squeezed lemon juice cuts through the richness of the beans and tahini with a bright pop of flavor.
Roasted Garlic – Roasting whole heads of garlic caramelizes the cloves, making them soft and sweet.
Salt – Balances out the earthy sesame flavor.
Black Pepper – Adds additional balance to the sesame flavor.
How to Make Roasted Garlic Hummus
Roasting the Garlic
- Preheat the oven to 400°F.
- Cut the top 1/2″ off two garlic bulbs.
- Place bulbs and tops on a piece of aluminum foil and drizzle with canola or olive oil.
- Bring sides up and seal like a packet.
- Place on a baking sheet and bake for 45 minutes or until garlic is brown, soft, and fragrant.
- Remove cloves by squeezing the bulb upside down or use a paring knife to ease them out.
To make the Hummus
- Place chickpeas in a microwave safe bowl with 2 tbsp water.
- Cover with a wet paper towel and microwave for 1 minute and 30 seconds.
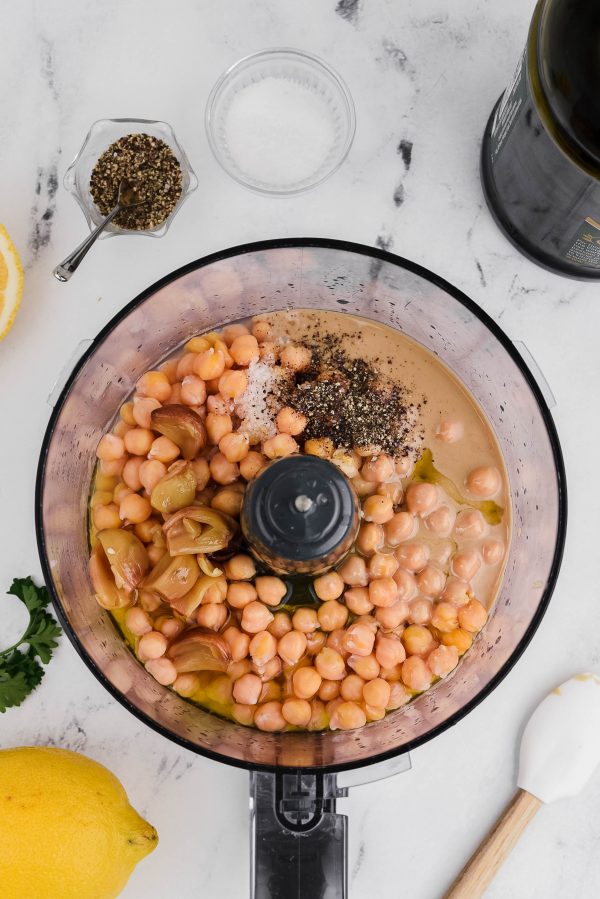
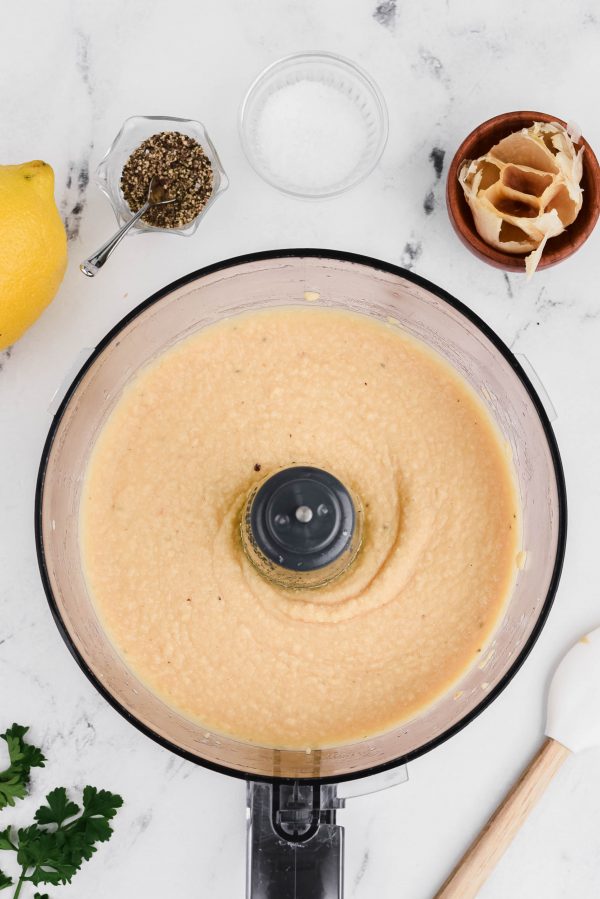
- Place the hummus ingredients in the work bowl of a food processor or blender and process for 1 minute.
- Scrape down the sides and process for an additional 1 minute.
- If it’s too thick, add water a teaspoon at a time until desired consistency. It will thicken as it stands. It should slowly flow off a spoon.
- Test for seasoning, add salt and pepper as needed.
- Chill for 30 minutes and serve cold.
- Store in an airtight container for up to 5 days.
Best Tips for Roasted Garlic Hummus
- Use a food processor to blend the beans. I use this Ninja Food Processor.
- Heat the rinsed chickpeas in the microwave wiht a bit of water before blending to breakdown the firm exterior.
- Squeeze the garlic easily once it has cooled.
- ALWAYS check the tahini labels to be sure that your sauce is gluten-free before using.
- If it looks too runny right out of the blender, it will firm up as it chills.
Variations
- Tahini Alternative – If you can’t find the sauce, you can make your own sauce using the instructions in the recipe card below. These instructions are listed in the notes section.
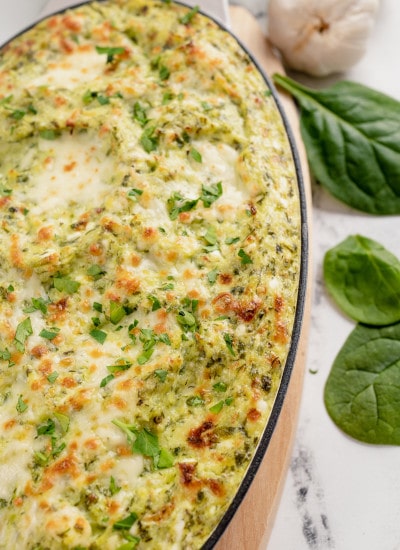
- Roasted Red Pepper – Add two roasted red peppers to the food processor for a sweet, smoky flavor.
- Spicy Garlic Hummus – Add in crushed red pepper flakes or cayenne pepper to the blender for a kick.
Frequently Asked Questions
Hummus is perfect to make in advance and store in the fridge for 1-2 days.
It is freezer-safe for up to 3 months when stored in a freezer-safe storage container. It will need to defrost overnight before serving.
A high-speed blender or food processor is needed to get a smooth consistency.
Hummus uses garbanzo beans as the main base.
What to Serve with Roasted Garlic Hummus?
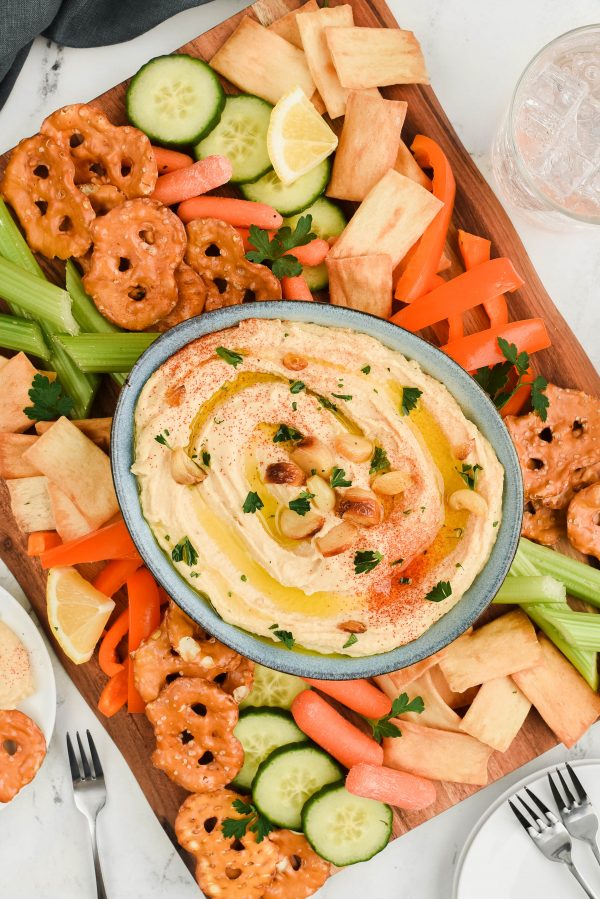
- Cucumbers
- Tomato Wedges
- Carrots
- Celery
- Broccoli
- Crackers
- Pita Bread
- Pita Chips
- Pretzels
- Bagel Chips
- …and More!
Storage Tips

Store the leftover hummus in the fridge for up to 5 days in an airtight container.
It can also be stored in the freezer in a freezer-safe storage container for up to 3 months. Stir well after thawing.
If you enjoy this dip, be sure to try my creamy dill dip too.
Making a homemade, wholesome snack is so easy with this Roasted Garlic Hummus recipe. This recipe is perfect to make with oven-roasted garlic and creamy garbanzo beans. We love to serve this pool side for the summer or throughout the week with veggies!

Roasted Garlic Hummus
Ingredients
- 15 Oz Canned Chickpeas, Drained and Rinsed
- 2 Tbsp Water
- 1/3 Cup Prepared Tahini
- 3 Tbsp Olive Oil
- 1/2 Lemon (Juiced)
- 2 Heads Roasted Garlic
- 1 Tsp Salt
- 1/2 Tsp Black Pepper
Instructions
Roasting the Garlic
- Preheat the oven to 400°F.
- Cut the top 1/2" off two garlic bulbs.
- Place bulbs and tops on a piece of aluminum foil and drizzle with canola or olive oil.
- Bring sides up and seal like a packet.
- Place on a baking sheet and bake for 45 minutes or until garlic is brown, soft, and fragrant.
- Remove cloves by squeezing the bulb upside down or use a paring knife to ease them out.
To make the Hummus
- Place chickpeas in a microwave safe bowl with 2 tbsp water.
- Cover with a wet paper towel and microwave for 1 minute and 30 seconds.
- Place the hummus ingredients in the work bowl of a food processor or blender and process for 1 minute.
- Scrape down the sides and process for an additional 1 minute.
- If it's too thick, add water a teaspoon at a time until desired consistency. It will thicken as it stands. It should slowly flow off a spoon.
- Test for seasoning, add salt and pepper as needed.
- Chill for 30 minutes and serve cold.
- Store in an airtight container for up to 5 days.
Notes
Nutrition
did you make this recipe?
Make sure to tag #mommyhatescoooking on Instagram and follow for more @momhatescooking
Comments & Reviews
Renae says
I love your blog name. I can certainly relate. This recipe is awesome. I would love it if you would share this on The Fabulous Friday Link Party this Friday. You can find the link on my website, Peacock Ridge Farm. Blessings to you.
Rachael | Milk Glass Home says
This looks so straightforward and delicious! We love hummus and roasted garlic, so we’ll try this recipe next!
Sue at Blu says
Kristy this is a must try! I can’t wait! pinned
elaine elzia says
what ihappens if you do not have a microwave elaine