Try another great Ninja Foodi Recipe with Ninja Foodi Taco Pasta, easy to make gluten-free too!
The Ninja Foodi has become my appliance of choice for quick meals and this Taco Pasta was the perfect choice to make in the Ninja Foodi.
This is made using the pressure cooker function on the Ninja Foodi. The Ninja Foodi is a great way to make the perfect pasta.
I simply adapted my taco pasta recipe and made it in the Ninja Foodi instead, but it can also be done in the Instant Pot too.
I was a bit skeptical of how the gluten-free pasta would turn out, but it worked just as well as regular pasta.
I used Tinkyada Gluten Free Pasta to make this.
Follow along on YouTube for more Ninja Foodi Recipes:
The Ninja Foodi is a wonderful appliance, be sure to check out more recipes on my YouTube Channel as well! I just recently did a step by step video making this recipe. I will soon be adding many more.
Be sure to go easy on me too, I’m trying to do more on YouTube, so this is my first actual video…hopefully those get better with time, Spanx, and the gym. (Seriously…)
Can you make pasta in a Ninja Foodi?
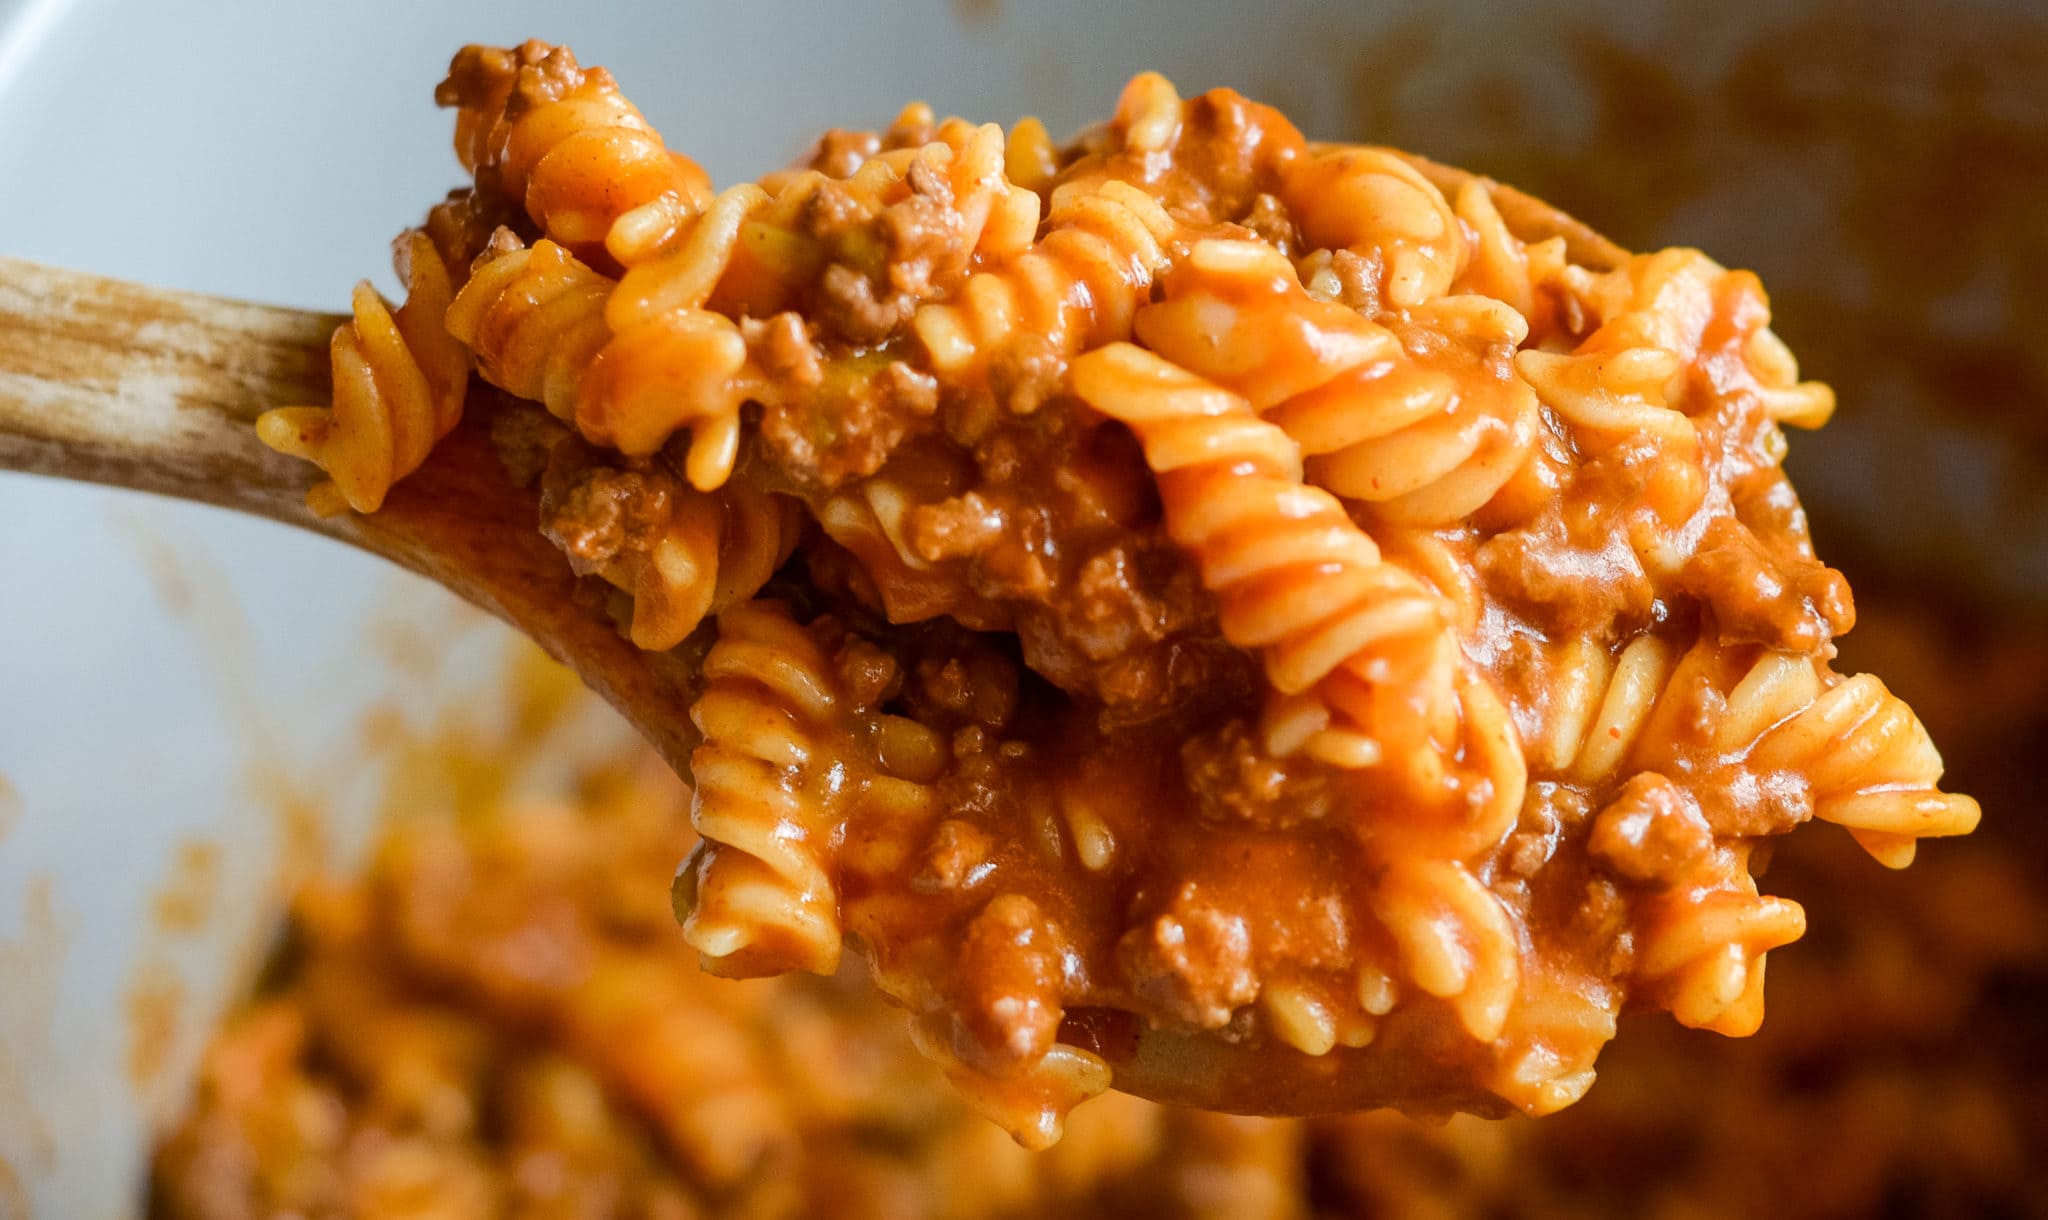
The Ninja Foodi makes some delicious pasta, it can literally be added in uncooked and comes out cooked and perfect. The method of cooking pasta will vary depending on the recipe.
This particular recipe will require 4 cups of water for 12-16oz of pasta.
How do you make Gluten-Free Ninja Foodi Taco Pasta?
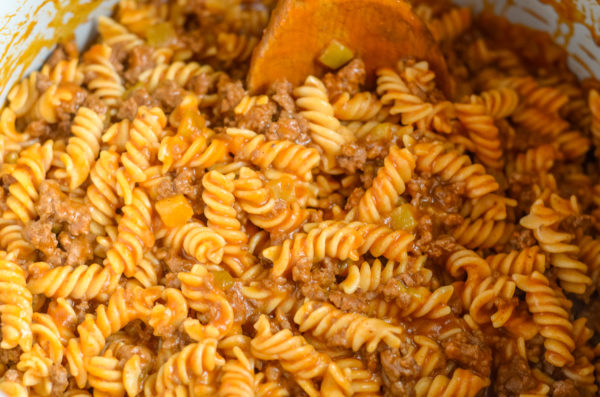
Making this in the Ninja Foodi is very simple. The first step is to cook the ground beef using the saute function of the Ninja Foodi.
Once the ground beef is cooked, all the remaining ingredients will be added. Then, you will cook it on high pressure for 6 minutes.
What do you need to make this recipe?

- Ninja Foodi
- Gluten-Free Pasta
- Water
- Tomato Sauce
- Diced Chilies
- Lean Ground Beef
- Gluten-Free Taco Seasoning
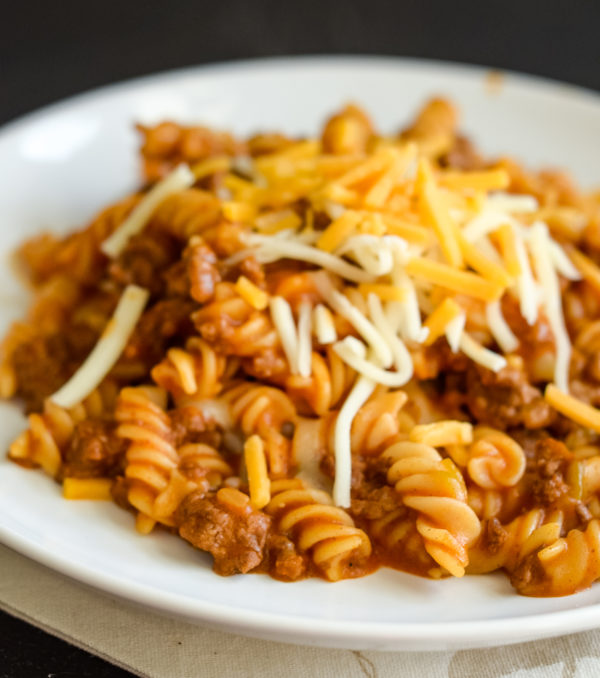
- Shredded Cheese
Tips for Making Taco Pasta in the Ninja Foodi:
It’s best to use very lean ground beef so that you do not need to drain it; however, if you do need to drain it, simply take the pot out with mitts and drain it, then return the meat back to the pot.
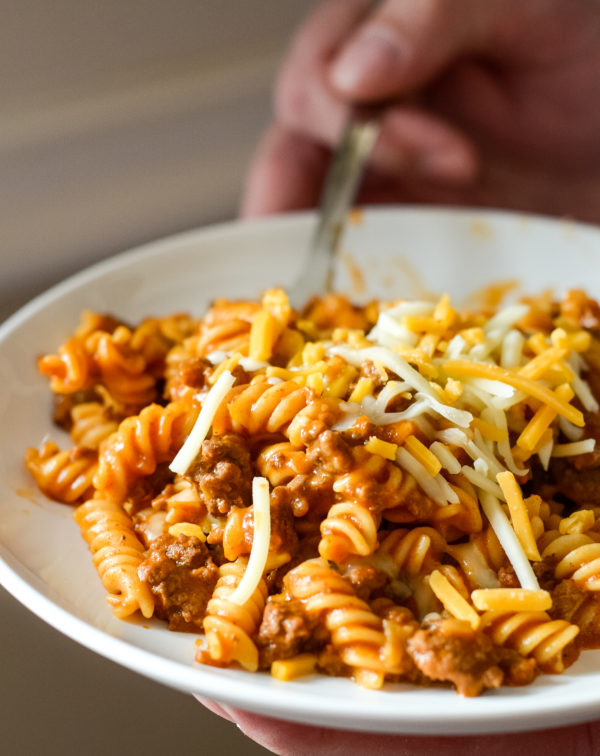
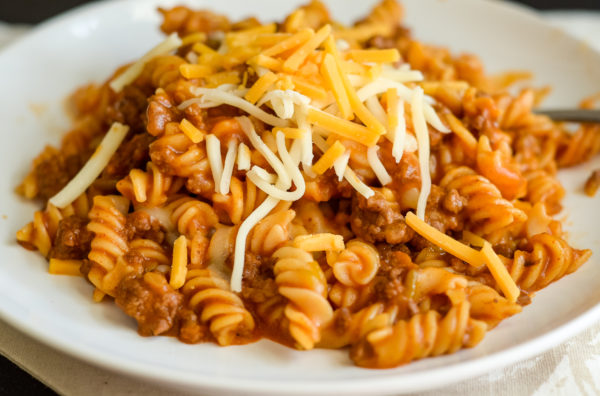
A quick release of the pressure and a nice stir, it was a delicious pasta all in one dish!
It’s very important that you do a quick release of pressure because if you do not release it immediately, the pasta gets mushy.
This particular dish will use the saute function for the beef and then the pressure cooker function.
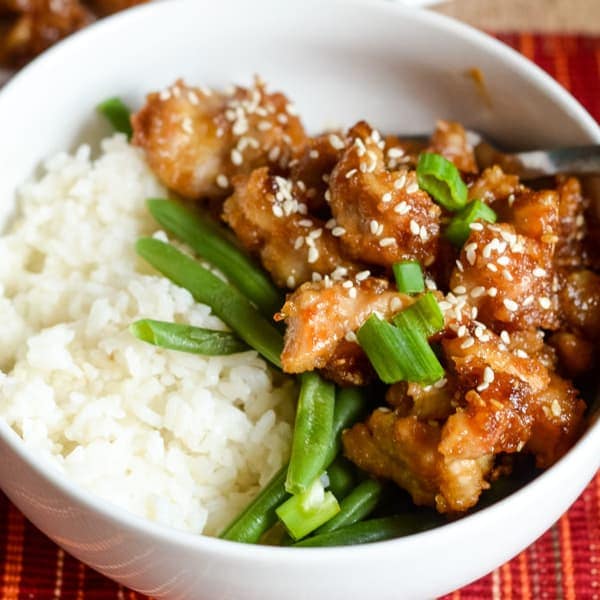
We paired ours with some corn, of course, a salad is nice too. Once it was paired, we had dinner ready to go. This made enough to serve 8 or more.

What products do I recommend for this recipe?
First, you will need a Ninja Foodi for this recipe, or you can use your Instant Pot. Then, I highly recommend some mitts to go with the Ninja Foodi.
These do come with the deluxe; however, they did not come with my 6.5 quart Foodi.
Are you ready for a tasty dinner? Let’s eat!
Ninja Foodi Taco Pasta (Gluten-Free)
Ingredients
- 1 Lb Lean Ground Beef
- 1 Package Gluten Free Taco Seasoning
- 16 oz Gluten Free Pasta or Regular Pasta
- 4 Cups Water
- 1 15 oz Can of Tomato Sauce
- 1 Small Can of Diced Green Chilies
- Shredded Mexican Cheese
Instructions
- Warm up the Ninja Foodi using the saute function to high.
- Add in the ground beef and cook until well done.
- Drain if needed and return pot and beef back to the Ninja Foodi.
- Add in the taco seasoning as instructed on the package.
- Add in the pasta, 4 cups of water, tomato sauce, and chilies. Be sure the liquid fully covers the pasta.
- Secure the pressure cooker lid onto the Ninja Foodi and set the nozzle to ‘seal’.
- Cook on manual high pressure for 6 minutes.
- Quick-release when it is done cooking. This needs to be done immediately so that your pasta does not turn to mush.
- Remove the lid carefully, stir up the pasta and let cool for about 5 minutes.
- Serve topped with cheese.
Video
Notes
- As a general rule, you look at the box of pasta you are using and cook it for 1/2 the cook time listed on the box. The pasta I used was to be cooked in 12 minutes, so I cooked for 6.
Nutrition
did you make this recipe?
Make sure to tag #mommyhatescoooking on Instagram and follow for more @momhatescooking

Comments & Reviews
Nancy Smith says
This really looks delicious and pretty easy to make.I received my ninja foodie 6.5 quart for Christmas and I love it , especially the crisper..look forward to more recipes with beef and chicken recipes..
Mommy Hates Cooking says
You’ll love it, one of my favorites in the air crisp are these Ninja Foodi Chicken Fajitas – easy to make and so good. We are having them tonight 🙂
https://www.mommyhatescooking.com/ninja-foodi-chicken-fajitas-air-fryer
Jennifer Egbert says
If I were to try to cut this recipe in half, since I am cooking for one, would I cut the liquid down by half also?
Mommy Hates Cooking says
Yes, I would. You just want to be sure the pasta is well under the water.
Debbie says
Would the cooking time be reduced as well? There are only 2 of us.
I would be cutting all pasta recipes in half. It’s the cooking time that I need to make sure of.
Thanks
Mommy Hates Cooking says
You want to do 1/2 the cook time indicated for the pasta that you are using, so go off what it says on the box for 1/2 the box and cut that time in 1/2 again. So for instance, if the box says 6 minutes to cook half the box on the stovetop, you’d do 3 minutes in the pressure cooker.
Kim says
Could I double this recipe
Mommy Hates Cooking says
I haven’t ever doubled it before, so it could be tried but may alter all the cook times.
Katie says
May i get your recipes emailed to me please
Mommy Hates Cooking says
Sure thing, I’ll add you to the email list.
Glen says
First recipe attempt in my brand new Foodi. Good flavor, but the pasta came out very mushy instead of the al dente we all shoot for. I’m going to chalk this up to the Foodi taking for-dang-ever to build up enough pressure to pop the red button to pop up and start the timer, and twice for-dang-ever for the pressure to release when the timer stopped (as compared to the Instant Pot). All told it was probably well past the 10 minutes you’d roiling book gluten free pasta in a pot on the stove, and I figure that’s what did me in.
So far 0-1 with the Foodi, but practice makes perfect I suppose. Next up – wings! 🙂
Glen says
(Boil), not book… autocoWRECKED! LOL
Mommy Hates Cooking says
Oh no, this one is one of my favorites too, I’m surprised that it didn’t work. Did you do it for 4 minutes? It sure may have been the pressure too. I tried to convert an Instant Pot recipe tonight for Chicken Pad Thai in my Foodi and it didn’t work…my noodles were mush. I ended up having pizza lol. This Taco Pasta though is my go-to for almost everything. The other thing to consider is if you have gluten-free pasta, which pasta you are using. I’ve found they aren’t all created equal.
Lorraine says
Ours was very mushy too and we cut the pasta cook time in 1/2. My son called it taco hamburger helper, nothing special.
Jin says
Hi ! Keep playing with the foodie, I LOVE it ! First try with it was my first time EVER using a pressure cooker, I’m impatient as it is but DAAANNGG it took sooooo long to get to pressure. I stood there staring at it ( like that would help)! But after amazing results time after time I learned to wait. It’s awesome ! Also use the pressure cooker then air fryer combo to crisp the tops of stuff, it adds the texture that’s missing from many slow cooker or pressure cooker foods.
Glen says
Hi Kristy, thanks for checking in and for the help. Sorry you got what I’ve come to think of as “GF’d” (gluten free’d lol) last night too.
We went with Tinykada GF pasta also (best we’ve found over the years), but your reply clued me in that my suspicions were probably correct – you asked me if I went with the 4 minutes. If you look at the recipe it says 6 minutes. While we were eating, I swear the thought went through my head “If I went about two minutes less, I bet I would’ve nailed this!” LOL!
Thanks for the reply, the help and all the great recipes you’ve got here. I’ve got a feeling we’re going to wind up being good cooking buddies! 🙂
Your brother in the GF cooking struggle,
Glen
Mommy Hates Cooking says
Oops – I mistyped in my comment, I do all my pasta for 6 minutes, I do soups and chilies for 4, which by the way those are really good during the fall and summer with the Foodi. I usually use Gluten-Free Skinner pasta but it’s made a bit different than Tinkyada and I bet if you use that pasta 4 minutes probably is enough especially with the pressure time. I can’t wait to hear what else you try in it, the wings are amazing too…I hope you enjoy those!!
Glen says
Reporting back… finally circled back to this recipe tonight, and our suspicions were confirmed. Pressure cooked for 4 minutes instead of 6 (used the Tinkyada macaroni noodles again) and absolutely NAILED IT!!! Noodles were perfect, and the recipe was delicious.
Thanks for the great recipe, and please keep up the great work! 😀
Mommy Hates Cooking says
Yay!! I’m so glad to hear that, it’s one of my faves too!
Nicolette says
I’m curious, could we add a can of corn in with the pasta to cook too or would that not come out right?
Mommy Hates Cooking says
I haven’t done that before, but it should work just fine.
David K. says
I veganized this recipe, and it came out great! I substituted one 12 oz package of Impossible Burger plant-based meat for beef, used 2 TBSP of homemade taco seasoning in place of the packet stuff, and used a small can of diced chipotle peppers instead of mild green chiles (I like it spicy!). Followed the recipe precisely, using only 3 minutes on the pressure cooker since the macaroni pkg boiling directions called for 6–7 mins. The second it hit zero, i did the quick release, stirred, and transferred to a bowl to cool for a few minutes. Topped with shredded plant-based cheddar. One of the simplest and most delicious dishes I’ve made in the Ninja Foodi so far. Thanks for the recipe, Kristy! I will be “veganizing” more of your Foodi recipes in the future because this one was terrific.
Mommy Hates Cooking says
That sounds AWESOME!!! So glad you commented so others can see a great way to do this too!
Laurie Cover says
I don’t think my last comment posted!
I like the Tinkyada pasta!
This looks good, although I’ve never used the Ninja Foodie or an instapot.
Thanks for sharing your recipe at the Homestead Blog Hop!
Laurie
Ridge Haven Homestead
Dalton Haze says
Was a super cost effective dish and produced a good amount of leftovers. However, it did need seasoning added. I used what was already in my spice cabinet so I didn’t actually have to add any of these seasonings to the shopping list. I added a tablespoon of garlic powder, 3/4 tablespoon of onion powder, 1 tablespoon of salt, 1/2 tablespoon of oregano, and 3/4 tablespoon of cumin
Tina Raynor says
This recipe has become a favorite! The only thing is, I need to cut the recipe in half for my small family. Are the leftovers freezable? There’s way too much left. Other than that, we love it!!
Mommy Hates Cooking says
It can be frozen but needs to be stored in freezer safe storage, here are some tips – https://www.thekitchn.com/how-to-freeze-cooked-pasta-179160
Tina Raynor says
Thanks! 🙂
Laura Leiter says
Do you have this recipe for a speedi or is it the same?
Mommy Hates Cooking says
I do not have one for the speedi for this recipe, this one uses a pressure cooker so your machine would need that function. This recipes for Air Fryer Pizza Pasta can be done in the speedi – https://airfryerfanatics.com/air-fryer-pizza-pasta/