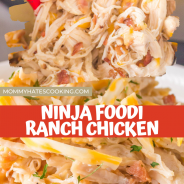
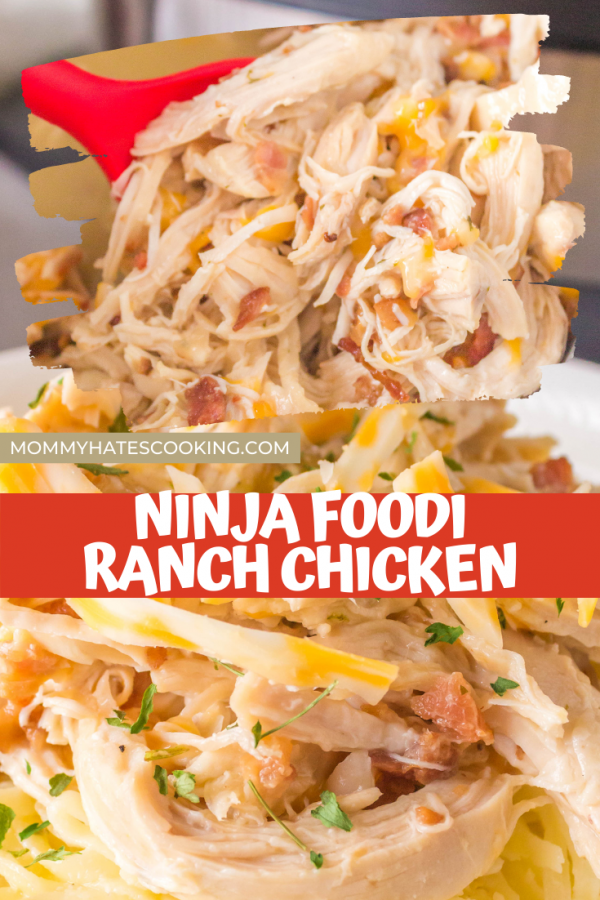
Ready in less than an hour, this Ninja Foodi ranch chicken is another amazing dinner recipe that the Ninja Foodi makes super simple!
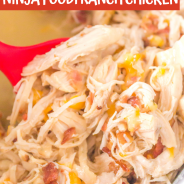
How about some easy-to-put-together Ninja Foodi ranch chicken for supper? Onions, bacon, cheese, chicken—so, so good.
It’s hard to believe you can have something so flavorful and filling done in just 20 minutes, but this recipe proves it’s possible. I keep falling in love with my Ninja Foodi more each day…and I’m sure you other Foodi owners feel the same.
I’ve heard this recipe called “shredded ranch chicken” or even “crack chicken,” and I can’t blame anyone for the latter.
It’s addictive and family-friendly, and nothing beats a hot home-cooked meal in your pressure cooker.
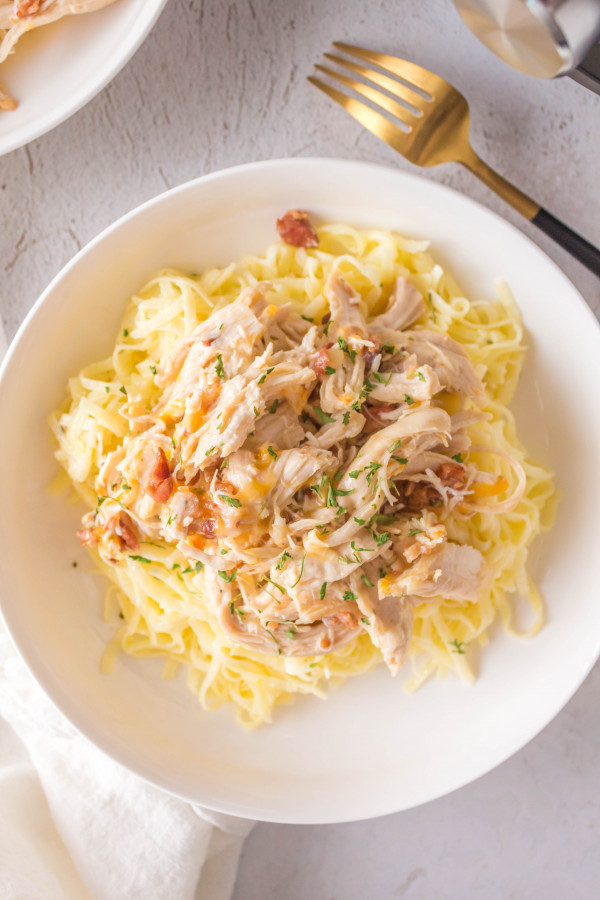
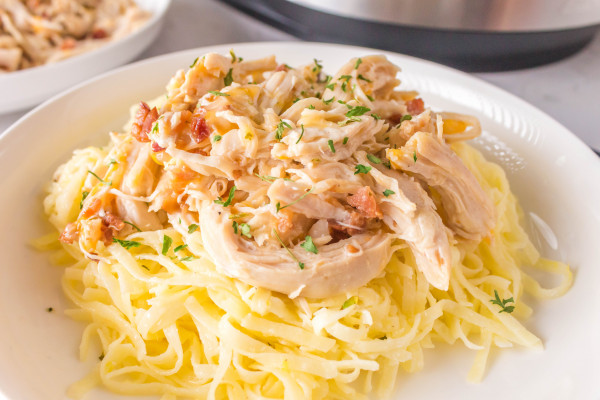
This can be served over pasta, sandwiches, quesadillas, tacos, or just as is!
Tips for Ninja Foodi Ranch Chicken:
If you had any questions about this recipe, check this section, and I may have answered them already!
How long does it take to make this ranch chicken recipe?
Not including the time it takes to bring your Ninja Foodi up to the right pressure, it’s done in about 20 minutes total. You’ll need 10 minutes to prep your ingredients and 10-12 to cook them.
How many servings does this recipe make?
It makes 6 servings. If you have a family to feed, it’s probably enough for everyone to have a plate.
Is there a difference between pre-shredded cheese versus shredding your own?
I recommend shredding your own since it melts SO much easier. Pre-shredded cheese (as it turns out) has preservatives in it that make it less likely to melt.
How long do leftovers last and how should I store them?
If you use an airtight container, this ranch chicken recipe will last 4-5 days in the fridge. You can also freeze it for about 3 months if you use something like a Ziploc bag.
Can you make this in another pressure cooker besides the Ninja Foodi (like an Instant Pot)?
Absolutely, but the overall time necessary to cook it all may vary. Know your appliances!
Can I use frozen chicken?
No, I’d wait for it to thaw first, or the cooking time will be off.
Are there any substitutions or additions you recommend?
- Green onions or chives as a topping or mix-in always hits the spot
- Chicken thighs can work if you prefer those over breasts (just make sure they’re boneless and skinless)
Did you enjoy this recipe?
It’s addicting, isn’t it? Best of all, it’s not just good by itself—it’s also great on salads, rice, and pasta. I’ve even used it in sandwiches, quesadillas, tacos, and more!
If you loved this Ninja Foodi ranch chicken recipe, leave a comment below. Feel free to ask any clarifying questions, too…because if I can’t help out, someone else certainly can!
Try my other Ninja Foodi chicken recipes, like my salsa chicken, teriyaki chicken, and coconut chicken curry.

Ninja Foodi Ranch Chicken
Ingredients
- 2 Lbs Skinless, Boneless Chicken Breast
- 3 Tbsp Ranch Seasoning or 1 Envelope
- 2 Tsp Onion Powder
- 2 Tbsp Olive Oil
- 1/2 Cup Chopped Sweet Onion
- 1/2 Cup Bacon Bits
- 1 Cup Chicken Broth
- 1 Cup Shredded Colby Jack Cheese
Instructions
- Place the chicken on a plate and pat dry with a paper towel.
- Sprinkle the ranch and onion powder seasoning evenly over the chicken breast and pat gently.
- Set aside.
- On the Ninja Foodi, select saute/sear function and let it warm up for 2 minutes with the gray pot in the Ninja Foodi.
- Add the olive oil and onion to the pot.
- Cook for 1-2 minutes until soft.
- Add the bacon bits, stir and cook for an additional 1-2 minutes.
- Pour the onion and bacon out of the Ninja Foodi onto a small plate and set aside.
- With the saute function still on, add the chicken broth and stir to loosen and bacon or onion.
- Turn the Ninja Foodi to OFF.
- Add the air crisp basket.
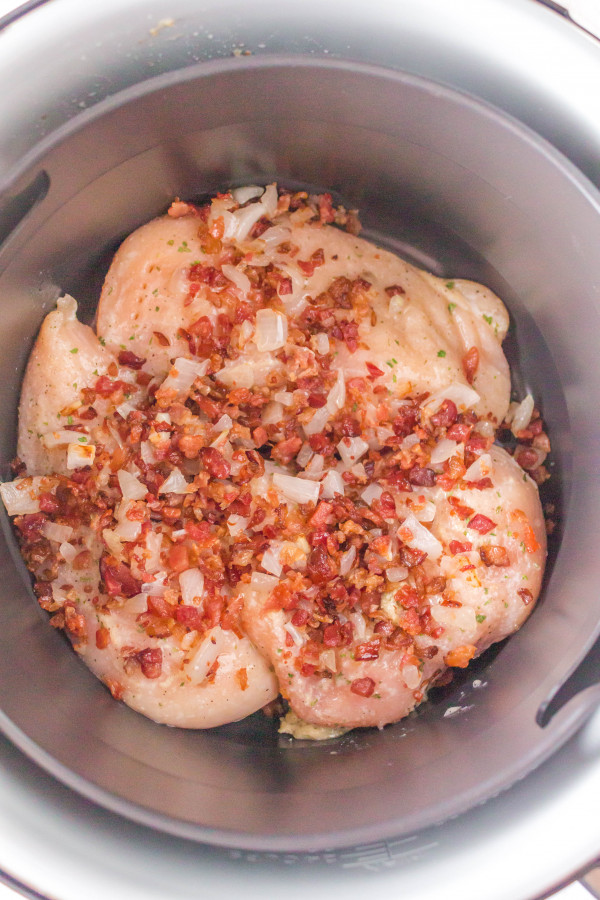
- Place the chicken breast in the basket and top with the onion and bacon bits.
- Set the Ninja Foodi to PRESSURE COOK (slide the knob or use the pressure cooker lid). Set the nozzle to SEAL. Cook on HIGH for 8 minutes.
- Move the nozzle to VENT as soon as the cooking time is up and release the pressure.
- Take the chicken out of the Ninja Foodi.
- Place it in a deep bowl and shred with 2 forks.
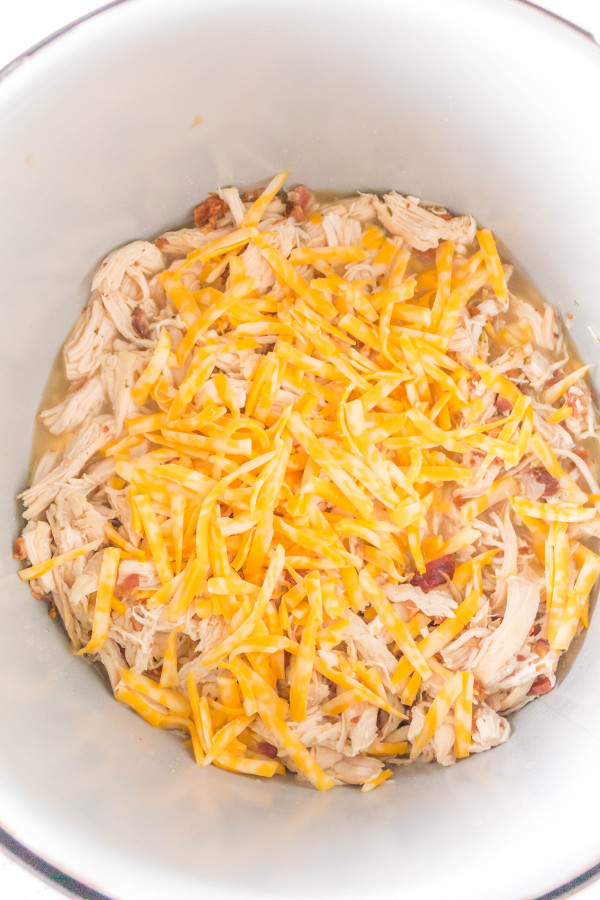
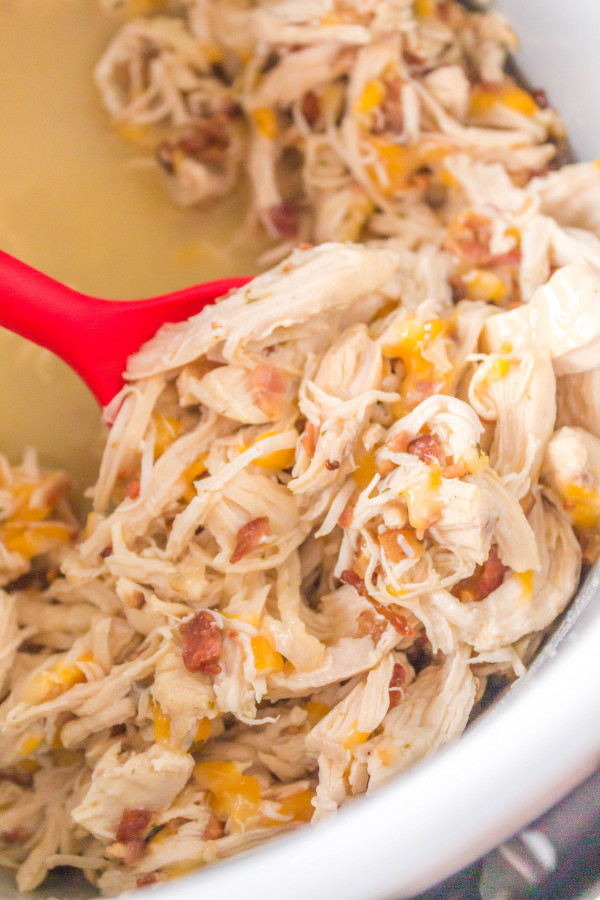
- Place the chicken back into the gray liner and coat the chicken with the cheese.
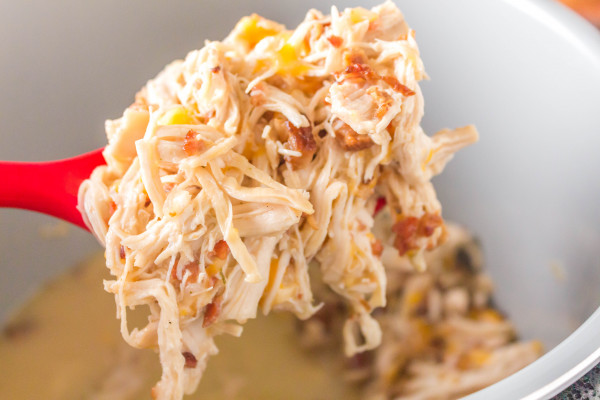
- Mix it up and serve.
Video
Notes
Nutrition
did you make this recipe?
Make sure to tag #mommyhatescoooking on Instagram and follow for more @momhatescooking

Leave A Reply!